

by Diego Sanchez
June 20, 2023
Diego prevents carpal tunnel syndrome in designers worldwide by making incredible time-saving Photoshop actions and mock-ups.
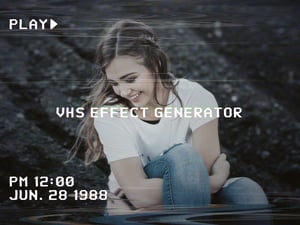
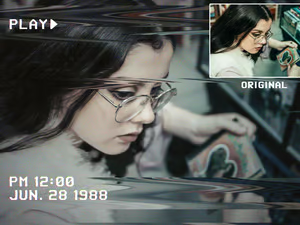

How to Easily Make TV Static Noise in Photoshop
Photoshop Textures
Sometimes, you need a specific texture for a project and you may find the one you are looking for is just not available. When in this situation, the only thing that you can do is make your own texture. Today, I will show you how you can make a TV Static Noise texture to use on any of your projects in less than 5 minutes and using only the default Photoshop tools.
Step 1
Open Photoshop and make a new file at any size you want using Black as the Background color. In this case, I will make mine at 3200 x 2400 px.

Step 2
Go to Filter > Noise > Add Noise. Apply the following settings and click OK.

Step 3
Go to Filter Blur > Motion Blur. Apply the following settings and click OK.

Step 4
Go to Image > Mode > Grayscale.

Step 5
Go to Image > Mode > Indexed Color.

Step 6
Go to Image > Mode > RGB Color.

Step 7
Go to Layer > New > Layer. Name this layer as "Black Gradient" and click OK.

Step 8
Press "D" on your keyboard to reset the Foreground and Background colors.

Step 9
Select the Gradient Tool (G). In the top toolbar select the "Foreground to Transparent" gradient and be sure to have the following options selected.

Step 10
While holding the Shift key on your keyboard, click and drag anywhere on your document (from top to bottom) to add a black to transparent gradient region as shown.

Step 11
In the Layers Panel, reduce the gradient layer Opacity to about 40%.

Step 12
Press "Ctrl + J" on your keyboard to make a copy of the Black Gradient layer.

Step 13
Lastly, move the copied layer a bit to the top part of your document to add one more horizontal band.

Some Final Notes
Now you know how easy it is to make a TV Static Noise in Photoshop, you can play with different motion blur settings, add more horizontal bands (black or white), and even distort them a bit to achieve the exact look you want.


Comments