

by Diego Sanchez
December 09, 2019
Diego prevents carpal tunnel syndrome in designers worldwide by making incredible time-saving Photoshop actions and mock-ups.
How to Use a Grass Brush in Photoshop to Make an Image More Appealing
Photoshop Brushes
Sometimes, when you want to make an outdoor photo really shine, you can find yourself with a few challenges to overcome like the light source, shadows, focus point, etc. Sometimes you can just wait for the weather to change to fix these issues, but other things are locked in the real world, like the absence of nice-looking elements like grass. And obviously we're here to show you how to overcome that challenge. There's an easy way to add grass in Photoshop to make your picture look good using nothing more than a simple grass brush!
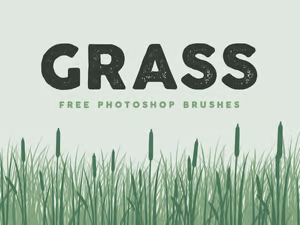
Today, you will learn one way (of many) to make your image even more appealing using a grass brush and just a bit of Field Blur. But before we begin, and if you want to follow this tutorial exactly as described, please download the following free resources:
Step 1
Open the image you want to add grass to in Photoshop.

Step 2
Select the Eyedropper Tool (I) and sample a green color from your image.

Step 3
With the Eyedropper Tool (I) still selected, press "X" on your keyboard and again sample a green color from your image, but this time choose a lighter or darker green color.

Step 4
Go to Layer > New > Layer. Name this layer as "Grass 1" and click OK.

Step 5
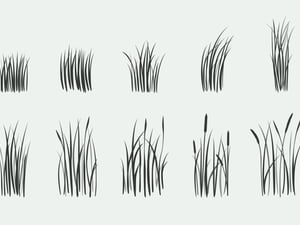
Select the Brush Tool (B) and from the Brush Preset Picker in the top toolbar, select the "Grass 3" brush from the "Medialoot -Grass Brushes" group.

Step 6
Go to Window > Brush Settings. In the Brush Settings Panel, increase the brush size according to your image, in this case, i will set up mine to 1500 px.

Step 7
In the Brush Panel, enable the "Color Dynamics" option ans apply the following settings.

Step 8
With the Brush Tool Selected, paint over the "Grass 1" layer.

Step 9
Go to Filter > Blur Galley > Field Blur. Apply the following settings and click OK.

Step 10
Go to Layer > New > Layer. Name this layer as "Grass 2" and click OK.

Step 11
Select the Brush Tool (B) and from the Brush Preset Picker in the top toolbar, select the "Grass 9" brush from the "Medialoot -Grass Brushes" group.

Step 12
Go to Window > Brush Settings. In the Brush Settings Panel, increase the brush size according to your image, in this case, i will set up mine to 2500 px.

Step 13
In the Brush Panel, enable the "Color Dynamics" option ans apply the following settings.

Step 14
With the Brush Tool Selected, paint over the "Grass 2" layer.

Step 15
Go to Filter > Blur Galley > Filed Blur. Apply the following settings and click OK.

Step 16
Select the Background layer and then select the Blur Tool in the Toolbar.

Step 17
Blur the areas between the grass we added to add a bit more of realism to the final image.


Comments