
How to Enable OpenType Features in Word, Photoshop and Illustrator
How to use Contextual Alternates and Stylistic Sets
If you have recently downloaded a font which uses advanced OpenType features and are wondering how to actually use those features, then this post will show you how. Whether you are using Apple apps, Microsoft Word or Adobe apps we have you covered.
OpenType Advanced Features
The OpenType format for fonts which was released in 2000 has lots of advanced features over previous standards TrueType and PostScript. The most commonly used of these features are Stylistic Sets and Contextual Alternates which are both enabled in the same way.
Stylistic sets usually contain different variations of the same characters or glyphs for example the lowercase 'a' and they enabled by manually choose a Stylistic Set to use. Contextual Alternates are similar to Stylistic Sets, except that once enabled the different variations of glyphs are automatically switched out based on context, for example the first or last letter of a word might have added flourishes.
Enable OpenType Features in Microsoft Word
To access OpenType features in Word, select the text and choose Format > Font then in the dialog box that appears go to the Advanced tab and choose a Stylistic set from the dropdown or enable Contextual Alternates.
Enable OpenType Features in Apple Apps
All native Apple applications including Pages, Keynote, Numbers and TextEdit support OpenType features. First you need to show the Fonts window which can be found via the Format menu or by using the keyboard shortcut CMD+T. Then click the little gear icon button and choose Typography, a list of available features will be shown.
Enable OpenType Features in Sketch
Sketch also uses the default macOS Fonts window, but unlike Apple apps it is accessed via the View > Show Fonts menu instead. Show the fonts window and click the little gear icon button and choose Typography, a list of available features will be shown.
Enable OpenType Features in Photoshop
In Photoshop, the OpenType features can be found in the Character panel which is accessed via the Window menu. There are some handy shortcuts in the main panel (highlighted below) or you can access a list via the top right menu icon.
Enable OpenType Features in Illustrator
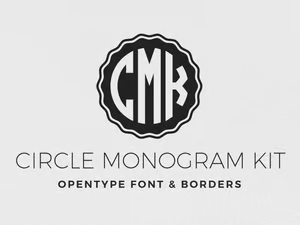
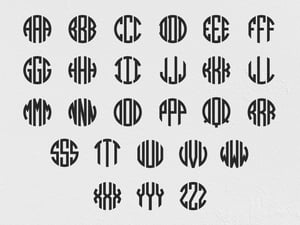
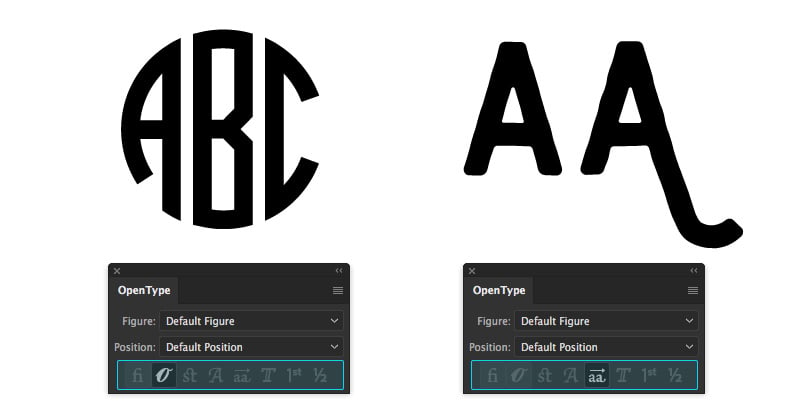
Illustrator is a little different to Photoshop, the OpenType features are not in the Character panel instead they have their own OpenType panel which can be accessed via the Window > Type menu. The example below shows Contextual Alternates with Circle Monogram Font and Stylistic Sets with Shoreditch 2.
Enable OpenType Features in InDesign
OpenType features are enabled via the Character window using InDesign. Unlike Photoshop there are not currently any shortcuts in the main panel so you will need to click the menu button in the top right corner of the window and go to OpenType.
OpenType fonts on Medialoot
The examples used above to demonstrate OpenType advanced features show Contextual Alternates with Circle Monogram Font and Stylistic Sets with Shoreditch 2. Be sure to check them out and download.





Comments