

by Diego Sanchez
April 16, 2021
Diego prevents carpal tunnel syndrome in designers worldwide by making incredible time-saving Photoshop actions and mock-ups.


How to Easily Replace a Sky in Photoshop
Sky Replacement in Photoshop
The latest versions of Photoshop offer a modern Sky Replacement feature, but there are times when this might be unavailable and I'm going to teach you a simple method to easily replace the sky in any image. All you will need is the sky image you want to use and an image you want to edit.
But before we begin, and if you want to follow this tutorial exactly as described, please download the following free images from Pexels:
Bird: Download
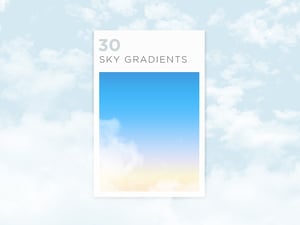
Sky: Download
Step 1
Open the image you want to replace the sky in Photoshop.

Step 2
Go to Select > Color Range.

Step 3
From the "Select" dropdown menu choose "Sampled Colors" and click over any part of your picture sky.

Step 4
Drag the "Fuzziness" slider left or right untill the sky portion that you want to replace becomes white. Once you are satisfied with your selection click OK in the Color Range window.

Step 5
With the selection active, go to Layer > New > Layer. Name this layer as "Selection" and click OK.

Step 6
With the "Selection" layer active, go to Layer > Layer Mask > Reveal Selection.

Step 7
Go to File > Place. Locate the Sky image on your computer and click Place. Adjust the size and location if needed and hit the Enter key on your keyboard to commit the changes.

Step 8
Select the layer mask of the "Selection" layer. Hold the "Alt" key and drag the layer mask to the sky image layer as shown.

Step 9
With the sky image layer selected, change the blending mode to "Overlay" to get a more realistic result.

Some Final Words
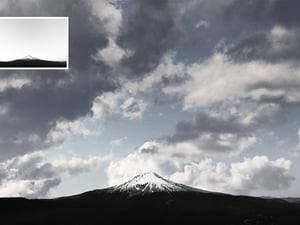
Now that you know how to easily replace a sky in Photoshop, you can use this same technique over any image you want, even on those with a complex foreground image like the following one.


Comments