
Quick Tip: How to Create Halftone Grunge Textures in Photoshop
Halftone textures can add an interesting vintage effect to your designs. Halftones use a series of solid colored dots or lines to create a tone or gradient. The use of solid colors in halftones make them great for screen printing, or to simulate the look of screen printing in your designs. They're super easy to create in Photoshop…. Let's take a look.
Step 1: You need a good texture.
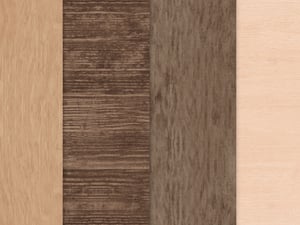
First up, we need a good texture. One that, when converted to black and white, has plenty of nice gray gradients. You can find lots of great textures here. Once you've found a texture to work with, open it in Photoshop. We want to convert it to Grayscale next. Click (Image | Mode | Grayscale). You may also need to adjust the levels to get a nice contrast (Image | Adjust | Levels). Here's a look at my texture.
Step 2: Convert to Bitmap and back again
Next up, we need to convert the image to a Bitmap. Click (Image | Mode | Bitmap). You'll then be see a couple of windows with options. The first is to flatten the layers, go ahead and select Okay. The next window asks about "Resolution" and "Method". The resolution should match the document… in my case it's 72dpi. For the "Method" choose "Halftone Screen", and click Okay. The next window has options for Frequency, Angle and Shape. You may have to play with the frequency amount a bit to get the right amount of halftone for your texture. For my image I'm going to choose a setting of 12. The shape I'm using will be lines set at a 45 degree angle.
 Here's a look at what these settings will produce.
 Another good option for halftones is circles. So for "Shape" I chose "Round" for the sample below.
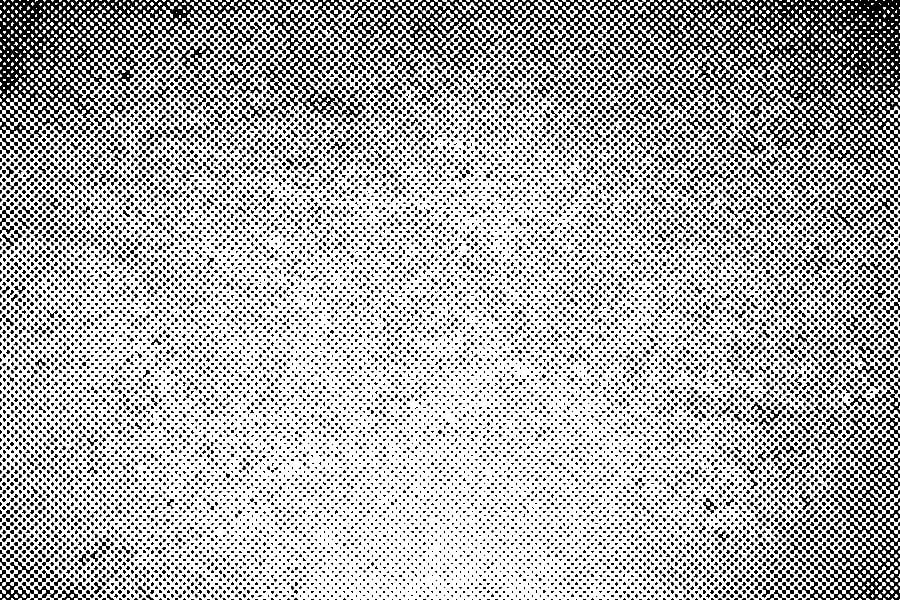 As a final step you can convert the image back to RGB. First you'll need to convert it back to Grayscale by clicking (Image | Mode | Grayscale), then back to RGB using the same method.
Step 3: Make it Transparent
There are many ways to make this texture transparent. In fact, I covered a few of them in a recent tutorial. One good method would be to select the Magic Wand Tool (W) with a tolerance around 10, and select the black (or white) area of the halftone. Then click (Select | Similar) to choose the rest of the black areas in the image. From there it's a simple copy and paste to a new document. Then use the halftone texture to create your own vintage design.
Give it a shot and share your work in the comments!



Comments