

by Jenn Coyle
July 28, 2014
You can find Jenn doodling and blogging, drinking beer, or running around Philly.
Quick Tip: Three Simple Ways to Make Any Texture Transparent
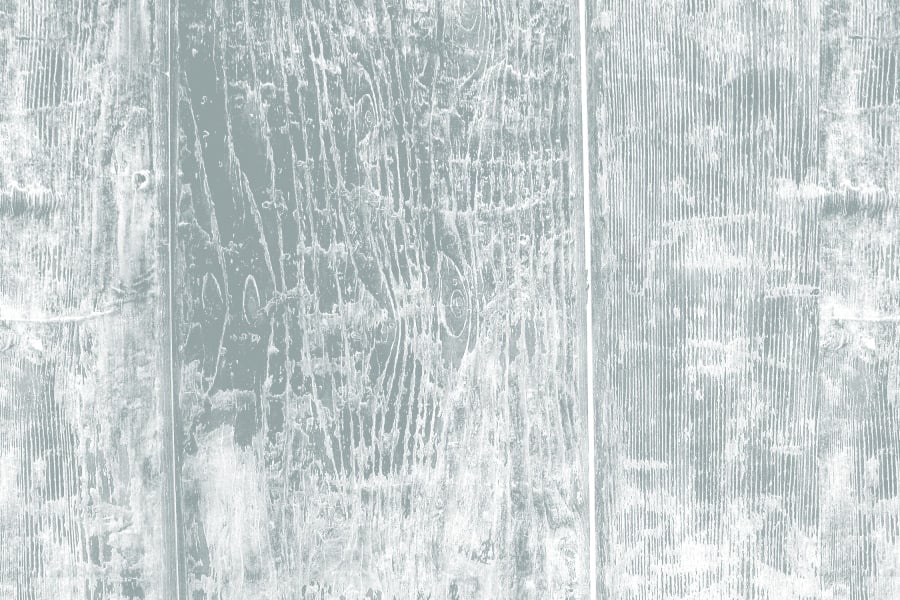
Textures are indispensable resources for designers. There are countless ways to use textures in Photoshop, but often times, you need a texture to be transparent in order to use it in the foreground of your work. In this post I'm going to share three of my methods for turning any texture into a transparent overlay.
Method 1: Layer Style
Open any texture in Photoshop. Double click the layer named "Background" and click "Okay" in the New Layer dialog box that appears. This unlocks the background layer. Now click Image | Adjust | Desaturate (Cmd+Shift+U) to make the texture image black and white.
 Next up, adjust the levels by clicking Image | Adjust | Levels (Cmd+L). You want to make the blacks and whites more defined, essentially removing some of the grays.
 Now from here, you could simply drag and drop this texture layer onto your artwork file and set the layer's blend mode to Screen (show whites) or Multiply (show blacks). This would make the texture transparent, but in a lot of cases you may want the texture to be truely transparent. Maybe you want to create a PNG or turn the texture into a vector for use in Illustrator.
Next up, create a new layer and fill it with black. Drag it below the texture layer.
Now from here, you could simply drag and drop this texture layer onto your artwork file and set the layer's blend mode to Screen (show whites) or Multiply (show blacks). This would make the texture transparent, but in a lot of cases you may want the texture to be truely transparent. Maybe you want to create a PNG or turn the texture into a vector for use in Illustrator.
Next up, create a new layer and fill it with black. Drag it below the texture layer.
 Now double click the texture layer to open the Layer Styles panel. Under "Blending Options" move the white arrow on the top slider toward the left and you will see the white areas of the texture begin to disappear. Because the layer underneath is black, you want to keep moving the slider until the image is as close to solid black as possible. Click okay.
 Go back to the black layer underneath the texture. Select it and press (Cmd+I) to invert it to solid white. Now you can see the texture again.
 Almost done. Delete the white layer underneath. Now to flatten the layer style, create a new layer above the texture. Select both layers and press (Cmd+E) to merge the two layers. Now you are left with a transparent texture.

Method 2: Custom Brush
One of the easiest ways to get a transparent texture is to create a custom brush. The only drawback is the texture will be limited to 2500x2500 pixels. Let's take a look at how it's done. Going back to Method 1... Let's open a texture, convert it to black and white, and adjust the levels. Now create a new document at 2500x2500 pixels. Click and drag the texture layer over to this new document. Arrange the texture so that it fits within the square canvas. Now select Edit | Define Brush Preset. A new dialogue box will appear. Give the new brush a name and click okay.
 Now your new brush will appear in the brush panel.
 Select your new brush and apply it to a new layer in your artwork.
Method 3: Selection
Perhaps the most simple, this method is also the most versatile. It involves making a selection, and adjusting that selection's attributes. First up, we need to open the texture, convert it to black and white, and adjust the levels same as before. (refer to method 1 for details) Now, with the Magic Wand Tool (W) select a black area. Now press Select | Similar. You may need to do this two or even three times to get the amount of selection that you need. Now press Select | Refine Edge. From this panel, you can make some very fine adjustments. See my settings below for this particular texture.
 Be sure to set "Output To:"" to "New Layer". Now you have a transparent texture layer to apply to your artwork.

Comments