
by Nathan Brown
March 24, 2015
Nathan Brown is an artist/designer from Austin Texas. He specializes in web design, poster design, and album cover art -- and has a particular affinity for grunge and retro design styles.

Create an Easy Neon Light Text Effect in Photoshop
Taking Your Words to the Street
Neon lights have a cool vintage look. Recreating that look in Photoshop is surprisingly easy. In this tutorial I'm using pink as my light color, but feel free to use blue or green or whatever color you prefer. Let's dive right in and get started.
Step 1 - Create the Type
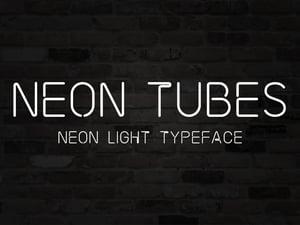
SKIP A STEP: Want to jump right past this step? Check out our Neon Light Font and start with beautiful type that is perfect for a neon sign.
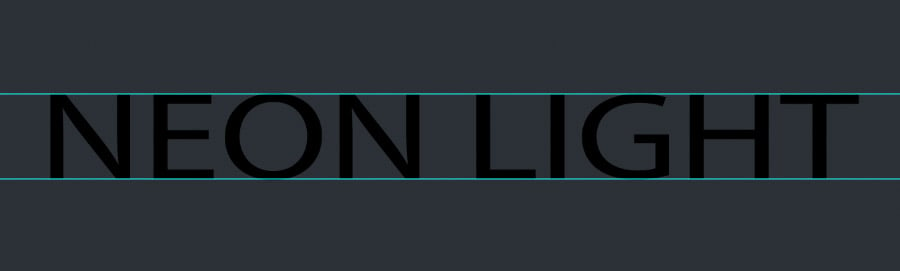
To start, create a new document in Photoshop. My document is 1400x525, but obviously the size doesn't matter, so create your document to fit your text. I filled the background with a dark gray/blue color (#2b3036). I typed my text using Myriad Pro, but Ariel or Helvetica will work as well. I then stretched and sized the text to fit within the document.

Add two guides to the top and bottom of the text, and make sure View | Snap To | Guides is checked in your menu.
Draw all of the vertical lines on a new layer, titled "Vertical", using the brush tool with a size of 10px. Hold down the shift key to maintain a perfectly straight line.

Now on a new layer use the same technique to draw the horizontal lines. Name this new layer "Horizontal". Make sure to leave a little space where the lines are supposed to connect.

To draw any curved shapes in your text, use the Pen Tool and stroke the path using the same 10px brush settings.

You can delete the text guide layer and remove the vertical guides. Here's what you should have now.

Step 2 - Add Horizontal Light Effect
Set the Horizontal layer's Fill to 0 on the layers panel. Now duplicate the Horizontal layer, and apply the following layer effects to the original Horizontal layer.


You should now have something that looks similar to mine below.

For the duplicate Horizontal layer use the following layer styles.


Now you should have something like the following.

Step 3 - Add Vertical Light Effect
For the Vertical layer set the Fill to 0, and copy the layer the same way you did the Horizontal layer. Now apply the following layer effects to the original Vertical layer.


Now your file should look similar to mine.

For the duplicate Vertical layer's effects, simply copy and paste the duplicate Horizontal layer's effects then edit the Bevel to these settings.

Step 4 - Add More Lighting
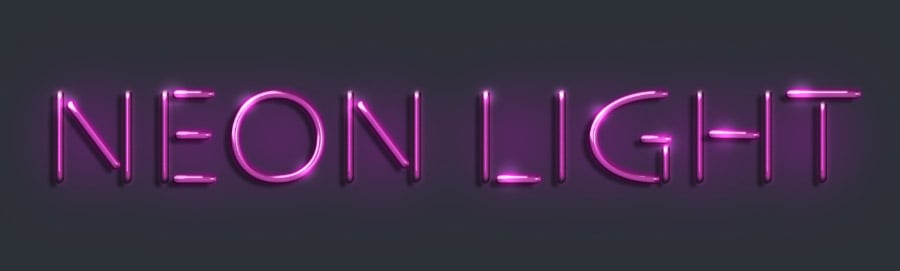
Hopefully you made it through all those layer effects and your still with me. The next few steps are easy and fun to apply. To add some more light around the letters choose a pink color and a large soft brush and create a new layer. Set the new layer's blend mode to Overlay and make sure it is behind the text layers. Use your brush to click one behind each letter to give it a glowing effect.

To intensify the letter's glowing effect choose a smaller white brush, and on a new layer above all of the text click a few areas you would like to highlight. Make sure to also set this layer's blend mode to Overlay. Below are the areas I chose to highlight.

Step 5 - Connect the Lights
To connect the lights, I simply chose a black brush set to 7px and drew straight lines on a layer behind the letters. This is a subtle effect that helps make the neon look a bit more realistic.

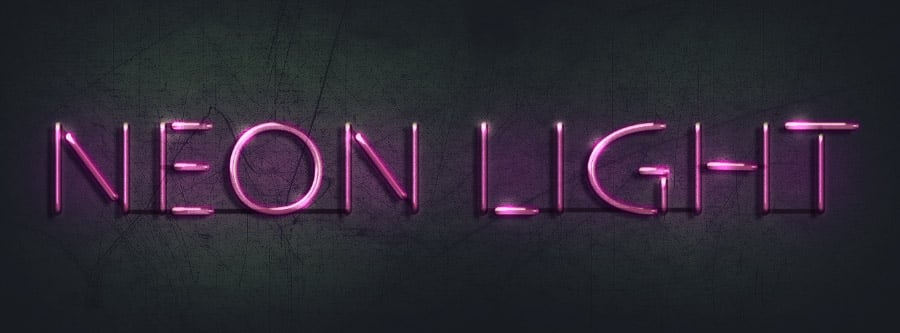
Step 6 - Add Texture
To finalize this effect I added a simple grunge background. It's on a layer below all others with opacity set to 30% so that the original blue background color shows through.

As a final touch, I added a gradient map with opacity set to 40% and the blend mode set to "Overlay". Here are the colors I used for the map.

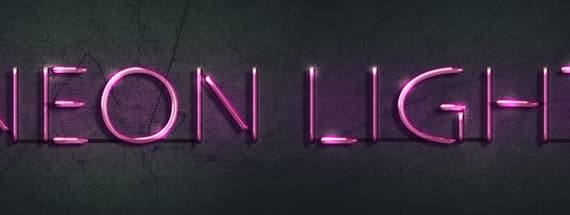
Here's a look at the finished effect!
If you've followed along, please share your results in the comments.
Want Results Faster?
Check out the Medialoot Neon Sign Font and jump-start your design with a beautifully realistic foundation:


Comments