

by Diego Sanchez
September 12, 2023
Diego prevents carpal tunnel syndrome in designers worldwide by making incredible time-saving Photoshop actions and mock-ups.

How to Make a Gritty Texture Brush in Photoshop
Photoshop Brushes
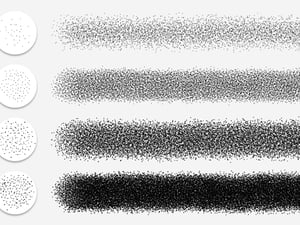
One of the key elements that can add depth and character to your digital artwork is the grittiness of textures. Whether you're aiming for a weathered vintage effect or a raw and expressive style, gritty texture brushes can be your secret weapon. Gritty texture brushes have become increasingly popular among digital artists, illustrators, and graphic designers for their ability to infuse artwork with captivating visual appeal. With these brushes at your disposal, you can transform plain, flat surfaces into textured, dynamic masterpieces. Gritty textures are often associated with vintage aesthetics and grunge styles. With the right brush settings, you can recreate the nostalgic feel of aged paper, distressed surfaces, or worn-out materials.
But before we begin, and if you want to follow this tutorial exactly as described, please download the following free image from Pexels: Download.
Step 1
Open the starter texture image that you want to use to create your brush.

Step 2
Go to Image > Adjustments > Desaturate.

Step 3
Go to Image > Adjustments > Levels. Drag the sliders until you get a good contrasting black & white image.

Step 4
If needed, go to Image > Adjustments > Exposure and increase the exposure in order to have a total white background.

Step 5
Select the Elliptical Marquee Tool (M) and make a selection around the area that you want to use as your gritty brush.

Step 6
Go to Select > Modify > Feather. Set a Radius of about 50 px and click OK.

Step 7
With the selection active, go to Edit > Define Brush Preset. Give your brush any name that you wish and click OK.

Step 8
Next, go to Window > Brush Settings.

Step 9
Select the "Shape Dynamics" option and apply the following settings.

Step 10
Now select the "Scattering" option and apply the following settings.

Step 11
Be sure to check the "Smoothing" and "Protect Texture" options.

Step 12
Lastly, click on the top right corner menu, and from the dropdown list select "New Brush Preset". Give your brush a name and click OK.

Step 13
To test the new brush, make a new file at any size you want.

Step 14
Select the Brush Tool (B).

Step 15
From the Brushes Panel (Window > Brushes), select the recently created brush and simply paint on your artboard.


Comments