

by Jenn Coyle
October 28, 2014
You can find Jenn doodling and blogging, drinking beer, or running around Philly.
Quick Tip: Creating Grunge Brushes in Adobe Illustrator
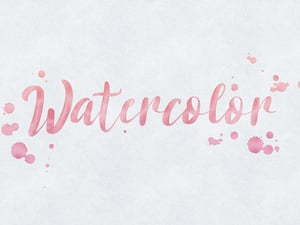
Add grunge specs to your vector artwork
Adding grunge specs and scratches in Adobe Illustrator is essential in creating a hand made or roughened look to your vector artwork. Doing so is easier than you think when you incorporate custom scatter brushes into your work flow. Below I'll explain my process for creating these brushes.
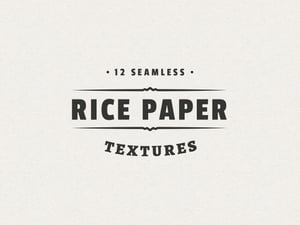
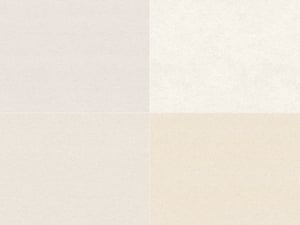
Step 1 - Find a good subtle grunge texture
First up, find a good subtle grunge texture. You can download the one I'm using here. Open the texture in Photoshop. Desaturate the image by pressing Cmd+Shift+U. Now select Image | Adjust | Threshold and using a setting around 200. This converts the texture to just black and white removing all gray tones from the image. Now select a square section anywhere on the image, and press Cmd+C to copy it to the clipboard. Open Adobe Illustrator and press Cmd+V to paste the selection onto a new document.

Step 2 - Auto trace in Illustrator
Now that you're in Illustrator, select the newly pasted texture portion and click Object | Live Trace | Tracing Options. In the Tracing Options panel be sure to click "Ignore White" then click Trace. Not that the image is traced, click Object | Expand so that the grunge is selectable as a vector object.

Step 3 - Create a custom scatter brush
Now open the brushes panel by clicking Windows | Brushes. Then click and drag the vector grunge over to the brushes panel. In the window that opens choose "Scatter Brush". For the scatter brush options choose something similar to what I have below.
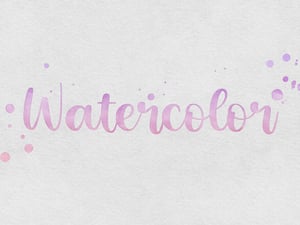
 Now with your newly created scatter brush selected on the brush panel, draw some random paths and watch the magic happen.
 Once you the amount of grunge you're looking for, select the paths and click Object | Expand again to get vector shapes from the scatter brush strokes you created. Simple as that!


Comments