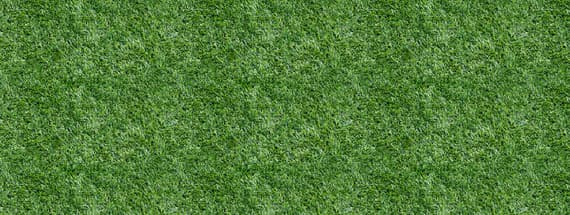
Make Your Own Seamless Grass Texture
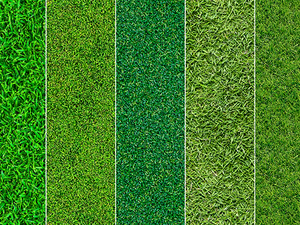
Seamless Grass Textures
A designer's toolbox can never be full! Especially because some resources are hard to find or don't exist yet, so you have to make them yourself. Today, you will learn how you can make your own seamless grass pattern using a single photo and the default Photoshop tools.
But before we start, and if you want to follow this tutorial exactly as described, please download the following image from Pixabay: Download.
Step 1
Open the grass image in Photoshop.

Step 2
Select the Crop Tool (C) and crop the image to the grass area you want to make seamless. In this case I will be using an area of 1400 x 700 px.

Step 3
Go to Filter > Other > Offset. As our image size is at 1400 x 700 px, we need to enter the exact same half on the Horizontal and Vertical fields. In this case, set the Horizontal value to 700, the Vertical one to 350, be sure to have the “Wrap Around” option selected and click OK.

Step 4
As you may notice, the union between the 4 different parts created is too obvious, so we need to fix that. Go to Layer > New > Layer. Name this layer as “Fixes” and click OK.

Step 5
Select the Clone Stamp Tool (S). In the top toolbar select the “Soft Round” brush with a size of 30 px, the Hardness set to 45% and apply the following settings for the remaining options:

Step 6
With the Clone Stamp Tool selected, hold the “Alt” key on your keyboard and click anywhere a bit far from the center of the grass texture to set that point as a starting point of our cloning source.

Step 7
Release the “Alt” key and with short strokes start painting over the middle part of the image where the mismatching texture appears.

Step 8
Keep cloning the grass until you see no mismatching areas in the center of the image. A good practice is to use different clone sources along the whole image to make it more realistic.

Step 9
When you finish making the retouches, go to Select > All.

Step 10
All we have to do now is to save our pattern for a future use. With the whole canvas selected, go to Edit > Define Pattern. Name the pattern as “Grass 1” and click OK.

Step 11
To test the new pattern, make a new file bigger than the original source image. In this case, I will setup this new file at 3000 x 2000 px.

Step 12
Go to Layer > New > Layer from Background. Set the layer name to “Grass Texture Test” and click OK.

Step 13
Go to Layer > Layer Style > Pattern Overlay. Click on the arrow next to the pattern thumbnail, select the new Grass Pattern and click OK.




Comments