

by Diego Sanchez
November 09, 2017
Diego prevents carpal tunnel syndrome in designers worldwide by making incredible time-saving Photoshop actions and mock-ups.


How to Easily Outline Text in Photoshop
Photoshop Text Effects
There are many methods to outline text in Photoshop, and some of them require that you rasterize the text, which is not good, because if you discover at a later point that you made a mistake you must do all the procedure again. By using Layer Styles, outlining text in Photoshop becomes very easy and that is the method I will show you today.
Please note that the values showed here are set only to make the steps easy to follow, you can use any values you want for the document and outline size and color.
Step 1
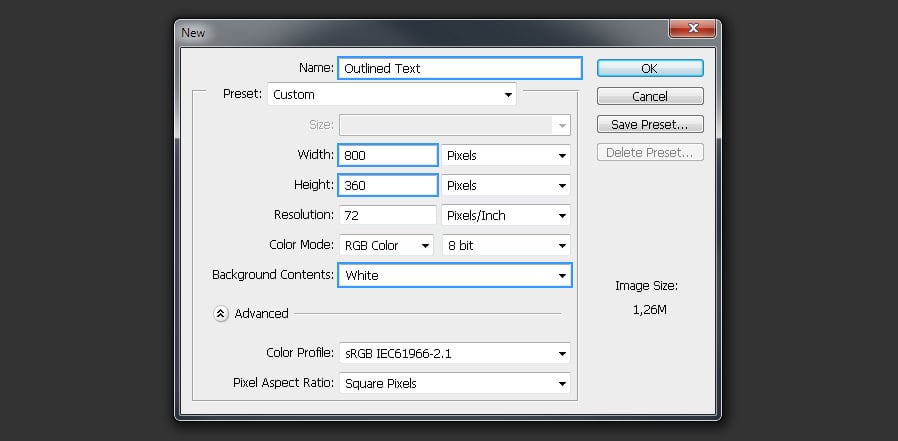
Open Photoshop and go to File > New. Set the document name as "Outlined Text", a Width of 800 px, a Height of 360 px and select "White" for the Background Contents. Click OK.
Step 2
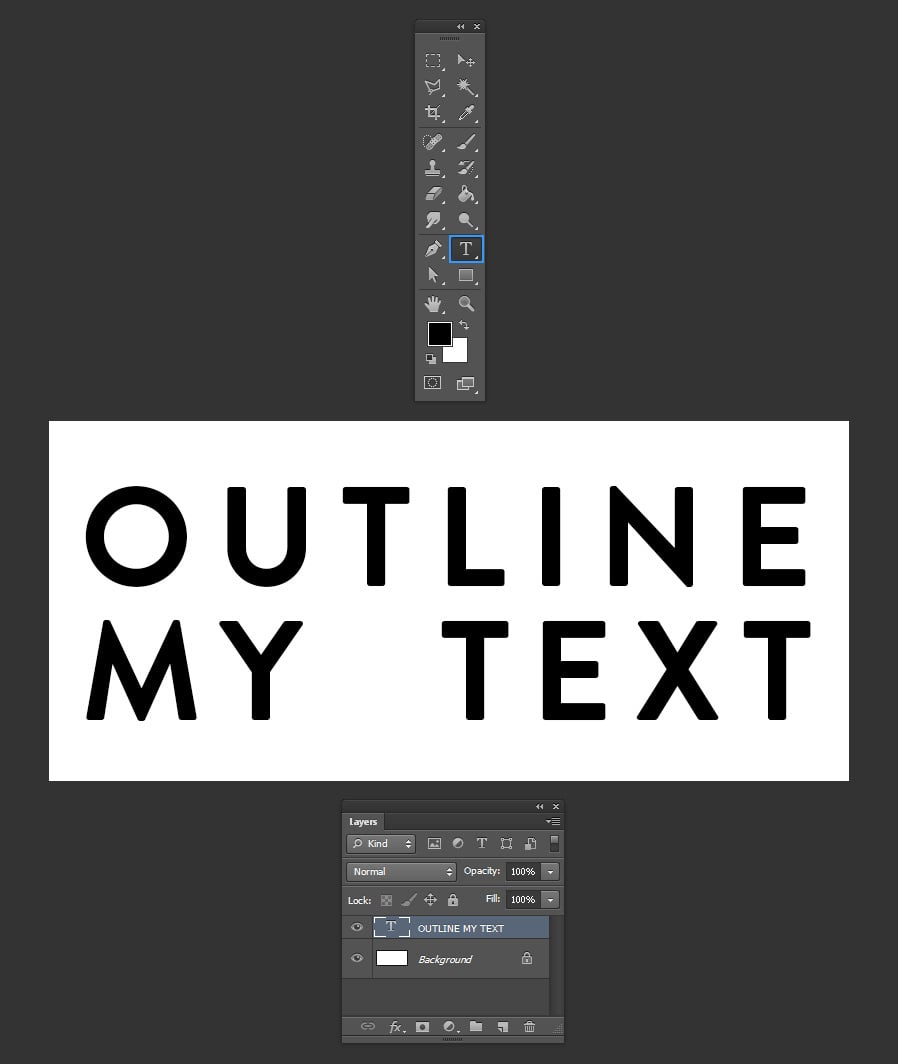
Select the Text tool (T) and type your text.
Step 3
With the text layer selected, go to Layer > Layer Style > Stroke and apply the following settings:

Side Notes: The stroke Position can be set to Inside, Center or Outside, the Blend Mode is used to determine how the stroke color will interact with the color under the stroke and the Opacity is used to set the transparency value of the stroke. Under the Fill Type, you may choose Color, Gradient or Pattern.
Step 4
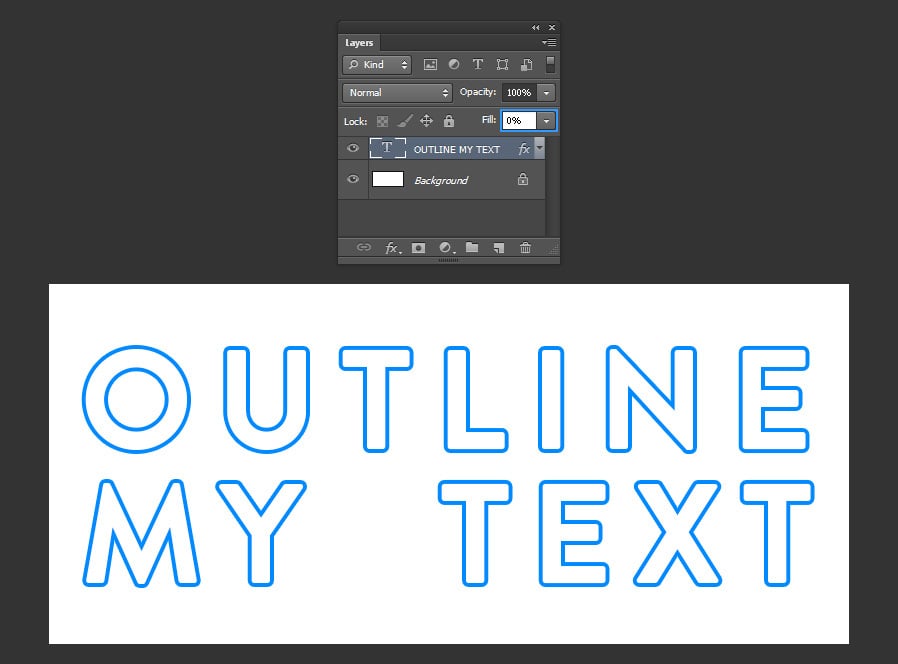
Additionally, you can just leave the outlined text with no fill by simply bringing down the layer fill to 0%. To do that, select the text layer an in the Layers Panel set the Fill value to 0%.
Final Notes
An outlined layer style that can be used on shapes or text can be a very useful resource to have in your toolbox. In the following sample, I've took the same procedure we followed in this quick tip, but setting the Fill to 25%, changing the stroke color and adding a layer mask to the text layer.


Comments