

by Diego Sanchez
October 10, 2025
Diego prevents carpal tunnel syndrome in designers worldwide by making incredible time-saving Photoshop actions and mock-ups.
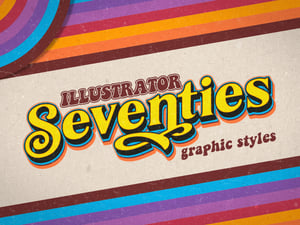
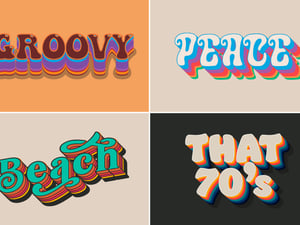
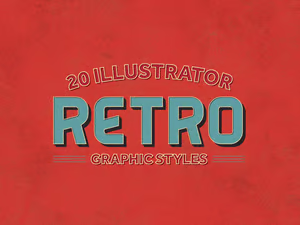
Make a Fully Editable Retro Text Effect in Illustrator
Illustrator Text Effects
Adding a nostalgic, vintage touch to your designs can be surprisingly simple. By using only the Appearance Panel in Illustrator, you can build a fully editable retro text effect that combines layered styles, bold color contrasts, and subtle details for extra depth. This method keeps the process straightforward while ensuring your text remains completely editable, so you can easily update fonts, wording, or styling at any time without having to rebuild the effect from scratch.
Step 1
Open Illustrator and make a new file at any size you want. In this case, I will make mine at 1800 x 1200 px using a blue background color for you to better see the effect.

Step 2
With the Type Tool (T), type your text. In this case, I will be using the Ministry font at 430 pt, but you can use any font you want.

Step 3
With the text selected, go to Window > Appearance.

Step 4
Add 2 new fills by clicking twice on the "Add New Fill" icon.

Step 5
Set the Stroke to 8 pt and use any color you want. In this case, I will set mine to #fa5d54.

Step 6
Select the first Fill layer. Click on the layer thumbnail and then on the Swatches Library Menu icon. From the dropdown, select Patterns > Basic Graphics > Basic Graphics_Lines.

Step 7
Select the "6 dpi 30%" pattern.

Step 8
With the fill layer selected, click on the FX icon and from the dropdown choose Distort & Transform > Transform. Apply the following settings in the Transform window and click OK.

Step 9
Click on "Opacity". Set the Blending Mode to "Multiply" and the Opacity to 50%.

Step 10
Select the second Fill layer and use any color you want. In this case, I will set mine to #e9cfb2.

Step 11
With the fill layer selected, click on the FX icon and from the dropdown choose Distort & Transform > Transform. Apply the following settings in the Transform window and click OK.

Step 12
Select the third Fill layer and use any color you want. In this case, I will set mine to #262424.

Step 13
With the fill layer selected, click on the FX icon and from the dropdown choose Distort & Transform > Transform. Apply the following settings in the Transform window and click OK.

Step 14
Lastly, click on the FX icon and from the dropdown choose Path > Offset Path. Apply the following settings and click OK.

Conclusion
Now that you’ve learned how to create a fully editable retro text effect in Illustrator, you can easily adapt it to any project: change the text, try different typefaces, or adjust the colors in the Appearance panel to achieve the exact retro look you want.


Comments