

by Diego Sanchez
August 21, 2017
Diego prevents carpal tunnel syndrome in designers worldwide by making incredible time-saving Photoshop actions and mock-ups.


How to Make an HDR Effect in Photoshop
easily get an HDR effect with one image
When you are creating a High Dynamic Range picture, you need to have 3 or more images taken at different stops and then blend them to create 1 photo with the color and light as the original 3. In this tutorial, I will show you a quick and easy way to create the effect of an HDR image with only 1 photo. Please note that this is not a true HDR, but it creates a similar effect.
Step 1
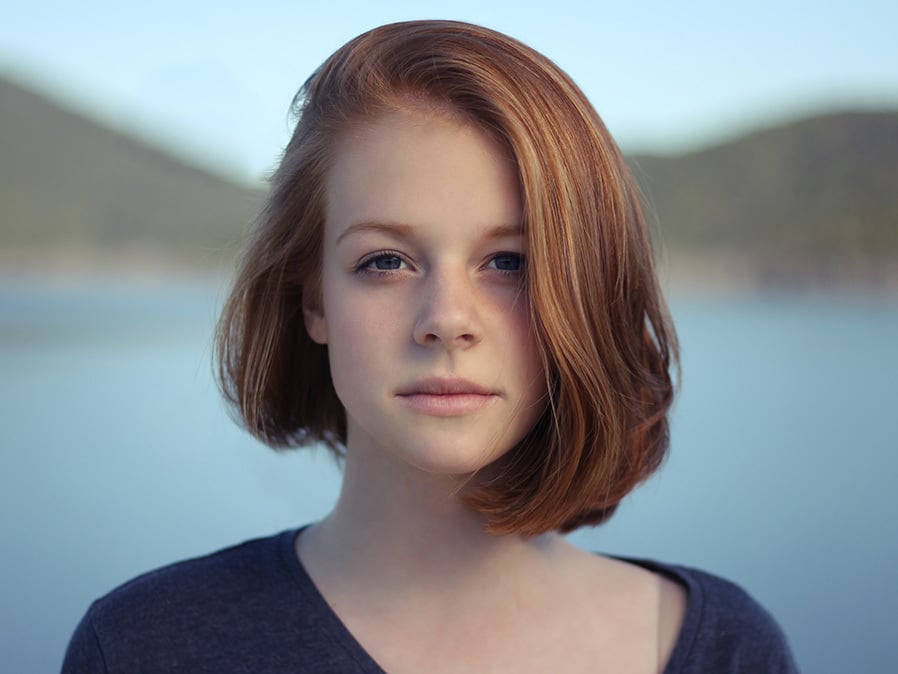
Open your image in Photoshop. Be sure that it is in RGB mode, if not, go to Image > Mode > RGB to set the image mode to RGB.
Step 2
Go to Layer > Duplicate Layer and set the name of this new layer as “Copy 1”

Step 3
Again, go to Layer > Duplicate Layer and this time set the name of this new layer as “Copy 2”

Step 4
Be sure to have the “Copy 2” layer selected and go to Image > Adjustments > Invert

Step 5
With the “Copy 2” layer active, set the blending mode to Vivid Light

Step 6
Go to Layer > Smart Object > Convert to Smart Objects

Step 7
Go to Filter > Blur > Surface Blur. Set the Radius to 20 pixels, the Threshold to 20 levels and click OK.

Step 8
Go to Layer > New Adjustment Layer > Hue/Saturation. Set the name of this layer to “Adjustment” and click OK.

Step 9
Be sure to have the “Adjustment” layer active and click over the layer thumbnail to display the Properties Panel. In the Hue/Saturation Panel, set the Saturation to -100.

Step 10
Press Command-Option-Shift-E (Mac) or Ctrl-Alt-Shift-E (PC) in order to create a merged copy of all visible layers. Go to Layer > Rename Layer and set the name of this new Layer to “Merged”

Step 11
Be sure to have the “Merged” layer active, and set the blend mode to Overlay.

Step 12
Hide the “Adjustment” and “Copy 2” layers by clicking on the eye icon next to the layer`s name.

Step 13
With the “Merged” layer still active, go to Filter > Sharpen > Sharpen

Step 14
Bring down the “Merged” layer opacity to 60%

Step 15
Again, press Command-Option-Shift-E (Mac) or Ctrl-Alt-Shift-E (PC) in order to create a merged copy of all visible layers. Go to Layer > Rename Layer and set the name of this new Layer to “HDR effect”

Step 16
Finally, hide the layers “Merged” and “Copy 1” by clicking on the eye icon next to the layer`s name and go to Layer > Delete > Hidden Layers.


Step 17
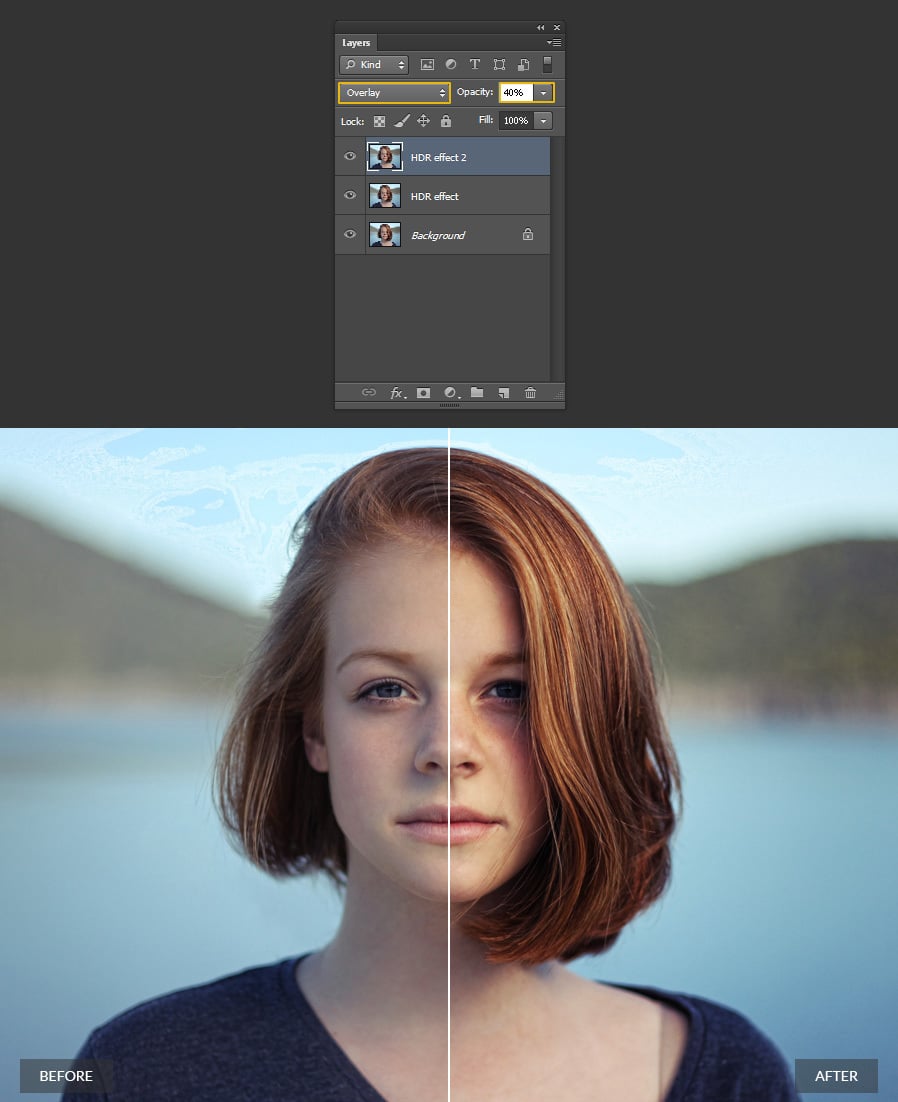
If you wish to increase the HDR effect, be sure to have the “HDR effect” layer active and go to Layer > Duplicate Layer. Set the name of this new layer as “HDR effect 2” and click OK.

Step 18
Set the blend mode of the “HDR effect 2” layer to Overlay and bring down the opacity to 40%.


Comments