

by Diego Sanchez
November 09, 2021
Diego prevents carpal tunnel syndrome in designers worldwide by making incredible time-saving Photoshop actions and mock-ups.


How to Make an Editable Highlighted Text in Illustrator
Illustrator Text Styles
Highlighted text is a popular text style seen a lot on social media since it makes the text readable on every background. Although this is a very easy process in other apps, Illustrator requires an extra step. Of course, you can simply draw a rectangle around your text. But if you change your text later, then you will have to change the rectangle shape as well. Today, I will show you how you can make a fully editable highlighted text in Illustrator so you don't need to make any changes to the background shape.
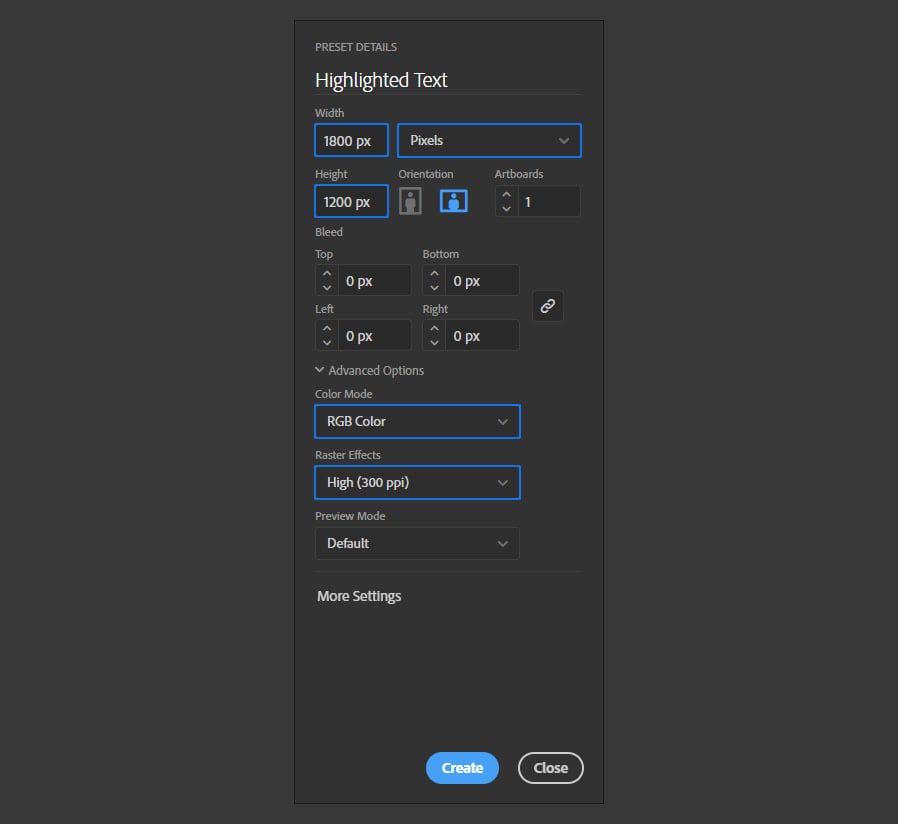
Step 1
Open Illustrator and make a new file at any size you want. In this case, I will make mine at 1800 x 1200 px.
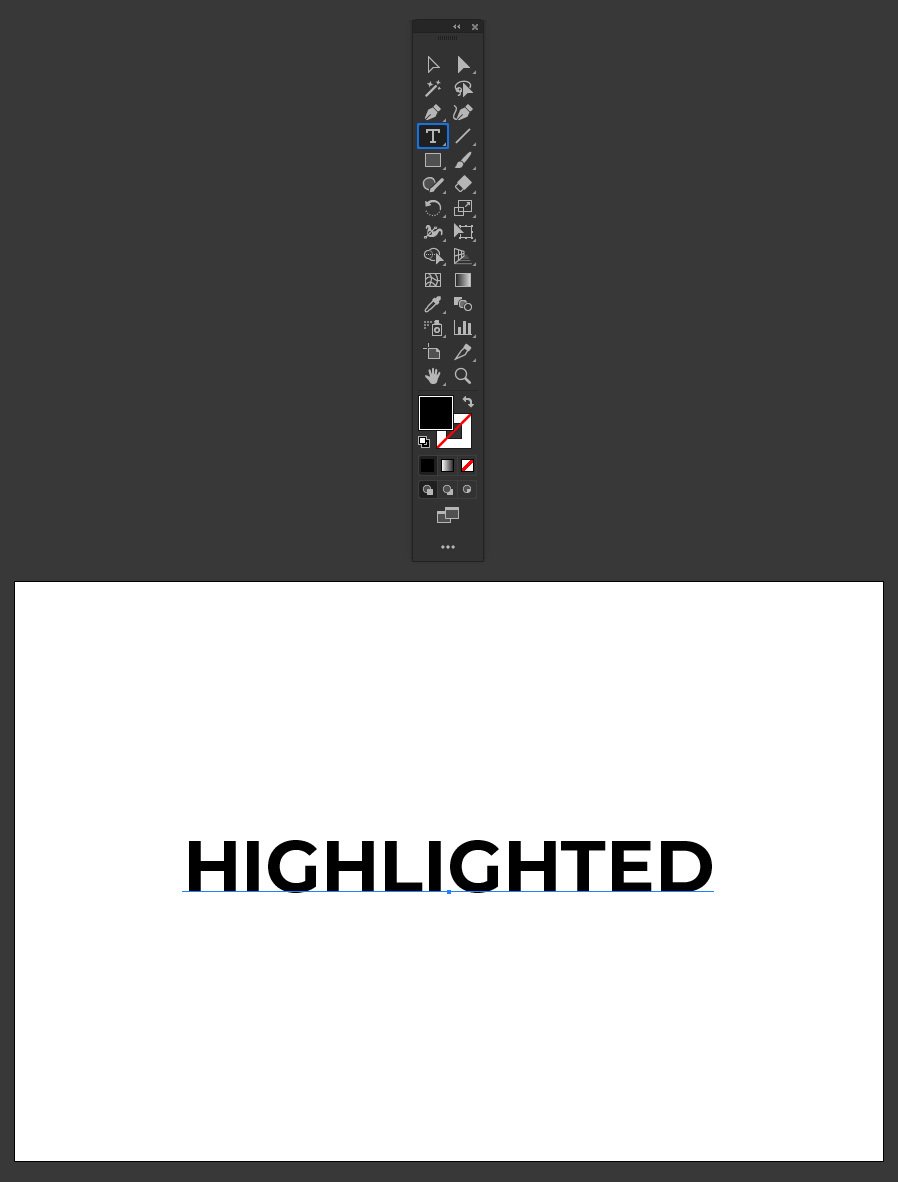
Step 2
Select the Type Tool (T) and type your text using any font at any size you wish. I will simply write "Highlighted" using the Montserrat font at 150 pt.
Step 3
With the text selected go to Window > Appearance.

Step 4
Click the "Add New Fill" icon and set the color to the one you want to use for your highlight color.

Step 5
Go to Effect > Convert to Shape > Rectangle. Apply the following settings and click OK.

Step 6
Back in the Appearance Panel, drag the "Characters" layer on top of the "Fill" layer.

Step 7
Again, click the "Add New Fill" icon and set the color to the one you want to use for your text. In this case, I will setup mine to white.

Step 8
With the effect made, now you can easily change the font, text, as well the color of the highlight and of course, the text color. To change the colors, go to the Appearance Panel and change the Text and Highlight Fill colors to your liking.


Comments