
by Diego Sanchez
September 14, 2021
Diego prevents carpal tunnel syndrome in designers worldwide by making incredible time-saving Photoshop actions and mock-ups.


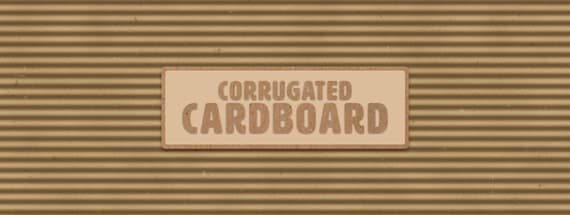
How to Make a Perfectly Corrugated Cardboard Texture
Cardboard Texture in Photoshop
Sometimes we spend so much time trying to figure out what right texture would apply to a design project that we have. Then there are those times that we think we found the right one but then learn that it doesn't match the size or color that we're looking for. Lucky for us, Photoshop has all the tools we need to make almost any texture we can think of, including corrugated cardboard textures! Here's a quick tutorial on how you can create that perfect corrugated cardboard texture in Photoshop.
But before we start, and if you want to follow this tutorial exactly as described, please download the following Subtle Noise Effects set from Medialoot: Download.
Step 1
Open Photoshop and make a new document at any size you want. In this case, I will be using a 1800 x 1200 px canvas with a white background.

Step 2
Set the Foreground color to #7a603b and the Background color to #c7a576.
Note: You may choose any other color combination you want for your cardboard.

Step 3
Go to Filter > Render > Clouds.

Step 4
Go to Filter > Noise > Add Noise. Apply the following settings and click OK.

Step 5
Go to Filter > Filter Gallery. Under Texture, select the Texturizer effect, apply the following settings and click OK.

Step 6
Go to Layer > New > Layer. Name this layer as “Halftone” and click OK.

Step 7
Select the Paint Bucket Tool (G) and fill the “Halftone” layer using the Foreground color.

Step 8
Go to Filter > Filter Gallery. Under Sketch, select the Halftone Pattern effect, apply the following settings and click OK.

Step 9
Set the “Halftone” layer blending mode to Darken and bring down the Opacity to 80%.

Step 10
Go to Layer > Duplicate Layer. Name this layer as “Ripple” and click OK.

Step 11
Set the “Ripple” layer blending mode back to Normal, and bring down the Opacity to 65%.

Step 12
Go to Filter > Distort > Ripple. Apply the following settings and click OK.

Step 13
Go to Layer > Duplicate Layer. Name this layer as “High Pass” and click OK.

Step 14
Go to Filter > Other > High Pass. Apply the following settings and click OK.

Step 15
Set the blending mode of the “High Pass” layer to Soft Light and increase the Opacity to 85%.

Step 16
Go to Layer > New > Layer. Set the layer name to “Dark Noise”, bring down the Opacity to 30% and click OK.

Step 17
Select the Brush Tool (B), set the Foreground color to Black and from the brush panel (located at the top toolbar) select any of the downloaded Subtle Noise brushes.

Step 18
With the Brush Tool selected, click once over the canvas to apply the subtle noise brush.

Step 19
Again, go to Layer > New > Layer. Set the layer name to “Light Noise”, bring down the Opacity to 20% and click OK.

Step 20
Select the Brush Tool (B), set the Foreground color to White and from the brush panel (located at the top toolbar) select any of the downloaded Subtle Noise brushes.

Step 21
Lastly, with the Brush Tool selected click once over the canvas to apply the subtle noise brush and finish our Corrugated Cardboard Texture.


Comments