

by Diego Sanchez
July 06, 2020
Diego prevents carpal tunnel syndrome in designers worldwide by making incredible time-saving Photoshop actions and mock-ups.

How to Make a Dispersion Effect in Illustator
Illustrator Vector Effects
In Illustrator, there are many different ways to achieve a certain effect, and that holds true for making Dispersion Effects. Also known as "Fragmentation", this effect can be achieved using different type-and-tool combinations, but it's super easy to make when you follow a certain workflow. Today, I'll show you how easily you can make this effect on text, or indeed any type of graphic you want, while keeping all in a vector format for you to be able to edit it later.
Step 1
Open Illustrator an make a new file at any size you want. In this case i will make mine at 800 x 600 px.

Step 2
Select the Type Tool (T) and type your text using any font you want. In this case, and for demostration purposes only i will simply type the letter "M" with the Ministry font at 500 pt for you to better see how this effect works.

Step 3
Go to Type > Create Outlines.

Step 4
With the Direct Selection Tool (A) select the 2 left anchor points of the letter and drag it to the left as shown.

Step 5
Reposition the design at the center of the Artboard.

Step 6
Select the Rectangle Tool (M) and draw a rectangle covering the whole design.

Step 7
In the Tools Panel, select the Gradient Fill.

Step 8
Go to Window > Gradient. Click the Black slider and set the Location to 50%.

Step 9
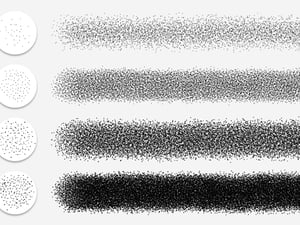
Go to Effect > Pixelate > Mezzotint. In the Mezzotint window select the Medium Dots effect and click OK.

Step 10
Go to Object > Expand Appearance.

Step 11
In the top toolbar click on the Image Trace button and from the dropdown menu select the "Default" value.

Step 12
Go to Window > Image Trace. Apply the following values and click "Trace".

Step 13
In the top toolbar click the "Expand" button.

Step 14
With the traced gradient selected, go to Object > Compound Path > Make.

Step 15
Lastly, go to Select > All and then to Object > Clipping Mask > Make.


Comments