
by Tony Thomas
December 20, 2016
Tony creates pixel-perfect UI kits & icons. His pug, Wednesday, is Medialoot's beloved mascot.
How to Install and Use Custom Illustrator Presets
Actions, Brushes, Graphic Styles, Swatches or Symbols
From swatch libraries and brush packs to actions and graphic styles, this tutorial will show you two different methods for installing and using custom Illustrator presets that you have downloaded from the web or created yourself.
The Quick Install Method
This is the quickest way to install a single preset file and is ideal if you only need the patterns, brushes, symbols etc. available for your current project. This is almost like a 'temporary install' because the presets are linked to the current document you have open and not actually stored as global presets so you don't need to worry about deleting them afterwards. Start by creating a new document or opening an existing one, and then locate the appropriate window for the type of preset you want to install either. This will be either Actions, Brushes, Graphic Styles, Swatches or Symbols which can all be found by using the Window menu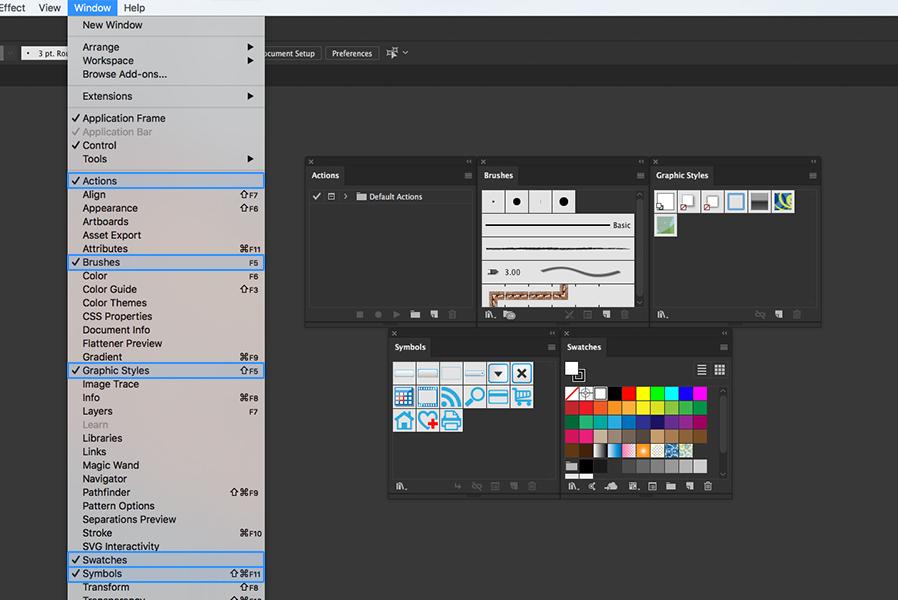 Next click the icon in the top right corner of the window to bring up a menu. At the bottom of the list there will be an option to Open Preset Library which will give you access to another sub-menu displaying all of the current preset libraries you have installed on your system and at the bottom of that list an option for Other Library...
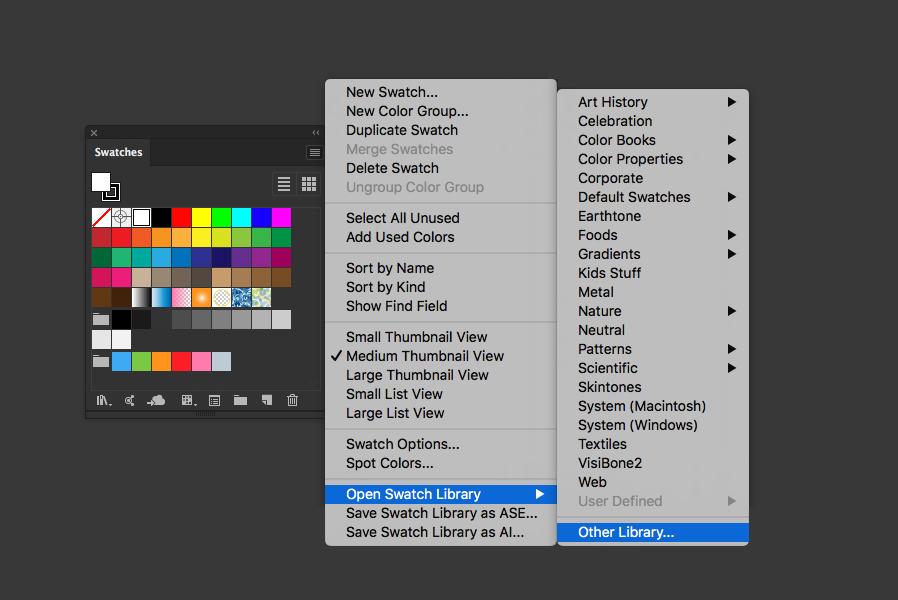 Select Other Library and a file browser window will open. By default it will open Illustrator's default presets folder. But your preset isn't going to be here, because if it was in this folder it would already be installed! So use the file browser to locate the preset file you want to install where it is actually located.
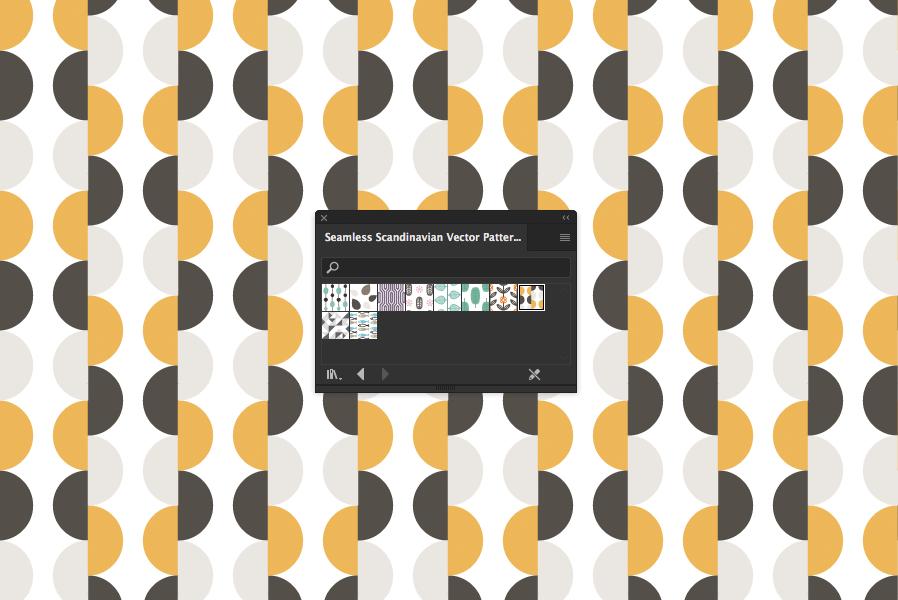
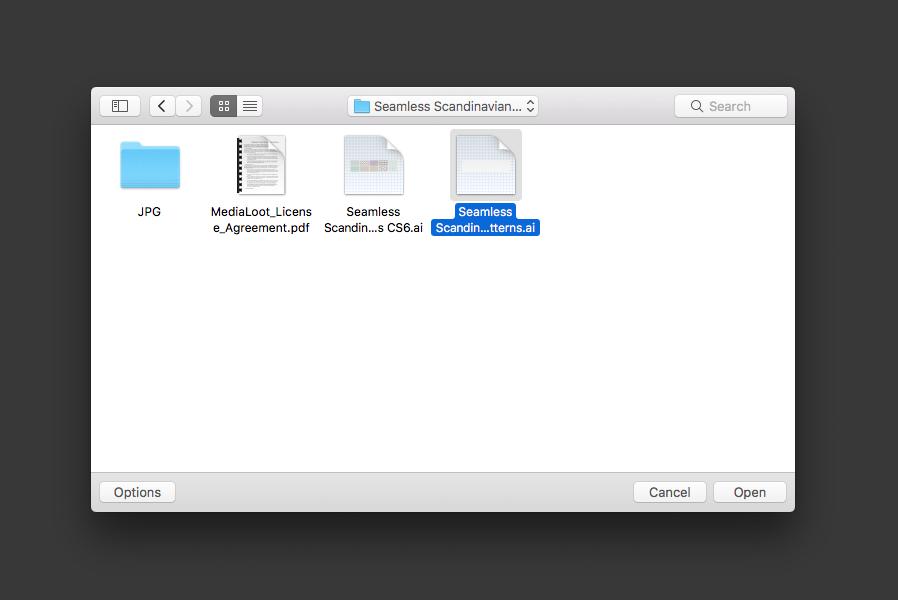 When you have located the preset file, click Open. Illustrator will bring up the presets you have just installed in a new separate window. Each time you use a preset it will also be added to the main preset window. For example if you install and use a new pattern swatch it will be added to the 'Swatches' window.
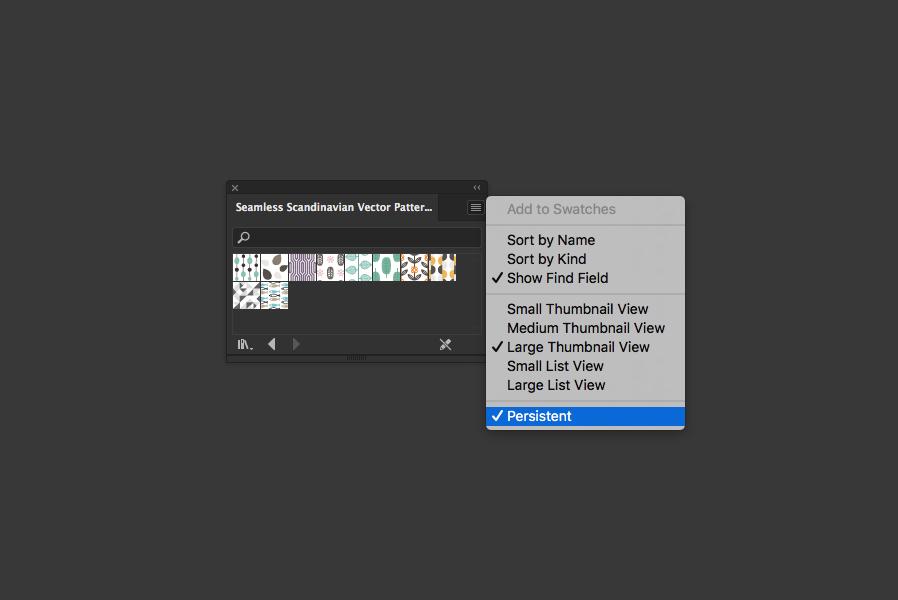
 If you want your presets to stick around a bit longer, there is an option to make the panel 'Persistent' which means that it will still be there after you close and reopen Illustrator or create a new document. However it should be noted that this is not the same as doing a full install which I will explain in the next step.
The Full Install Method
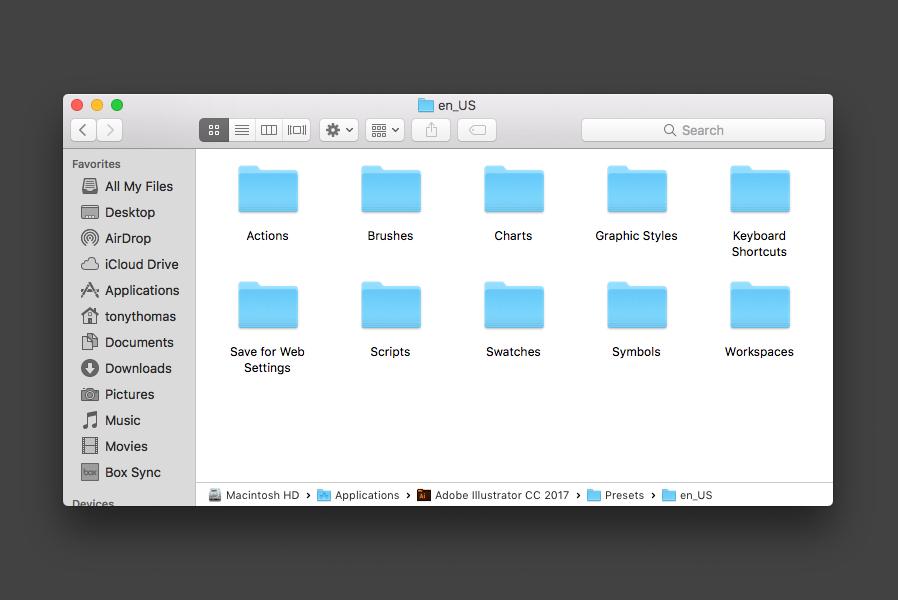
As explained in the previous method, presets installed using Illustrator's UI are only linked to the current document you have open and are not available globally for all documents (unless you tick persistent). However, if you do want to install global presets for Illustrator it is possible and very easy to do once you know how. You will need to use Finder on macOS or File Explorer on Windows for this method. Locate the main Adobe Illustrator app folder on your computer then open the 'Presets' folder inside. On macOS:/Applications/Adobe Illustrator XX/PresetsOn Windows:
C:\Program Files\Adobe\Adobe Illustrator XX\PresetsInside this folder there should be another folder for the language that you have installed (eg. 'en_US'). Open this folder and you will see directories for all of the types of preset that can be installed. Open the folder which relates to the type of preset you are installing. For example, to install a pattern swatch library open the Swatches folder.
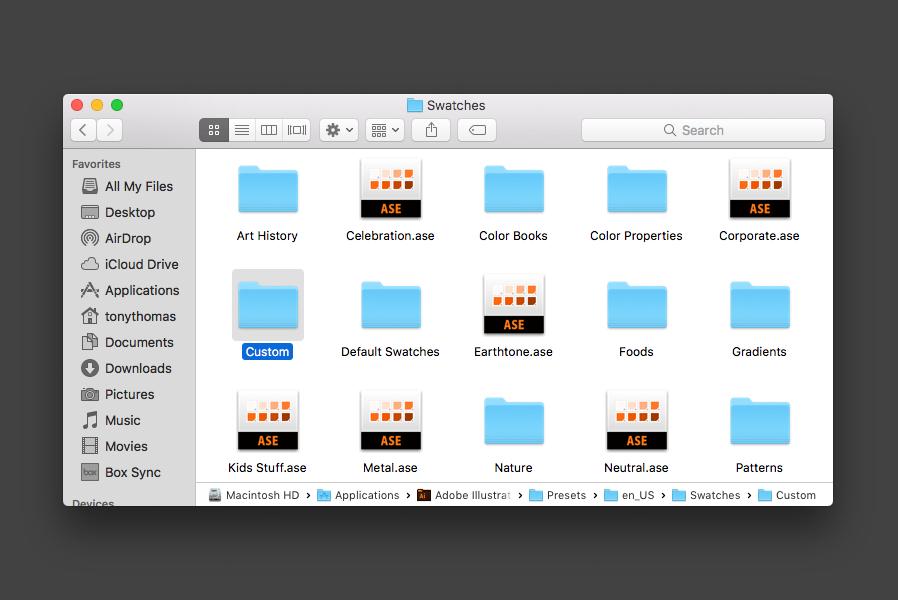
 Inside this folder, create a new folder called 'Custom' and place your preset library file(s) inside this folder.
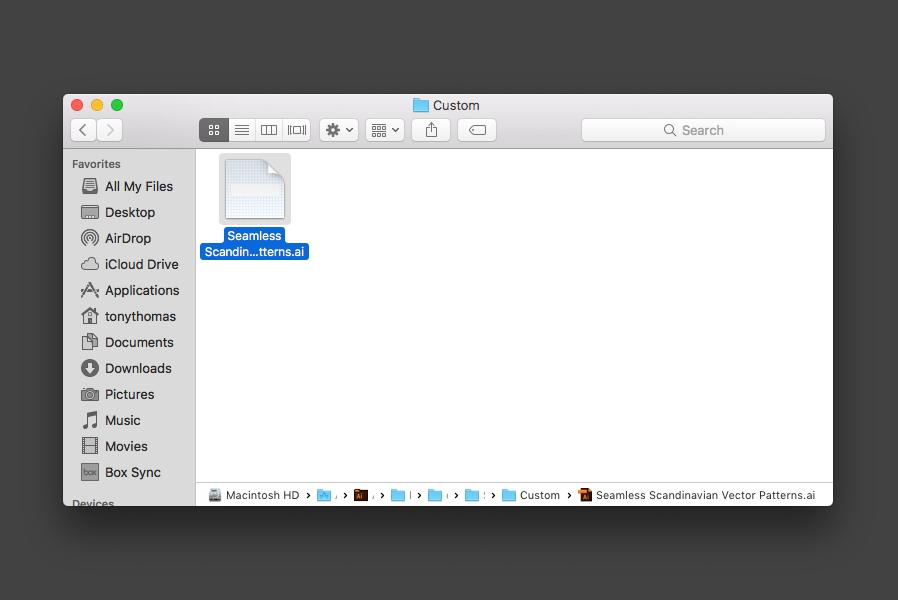 Head back to Illustrator and open a document, locate the window for the type of preset you have installed and click the icon in the top right corner to bring up the preset list. You should now see a folder called 'Custom' with your custom preset(s) inside.
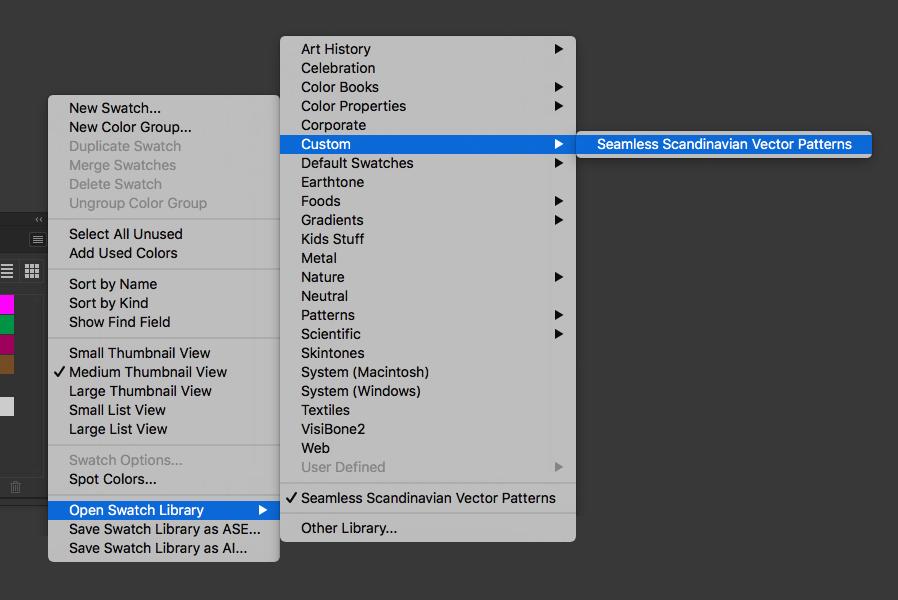 These presets will now be available to any document in Illustrator. And the good thing about using the Finder or File Explorer to manage presets is that you have complete control over your presets and how they are organized. There is also nothing to stop you rearranging, renaming or even deleting the awful default presets that are included with Illustrator.
Looking for some free Illustrator presets?
We have tonnes of brushes, patterns and graphic styles for Illustrator available on Medialoot. Here are some of our most popular free Illustrator presets:Illustrator Brush Strokes

Hand Sketched Divider Pattern Brushes

Seamless Vector Herringbone Pattern Swatches

Seamless Vector Quatrefoil Patterns

Vector Random Speckle Brushes

Seamless Icon Patterns

Mini Sparkles - Vector Shapes & Scatter Brushes

Seamless Vector Camouflage Patterns