
How to Easily Make a Pattern Fill in Photoshop Using Any Image
Photoshop Patterns
There are times when you need to fill large areas on your design with a specific image pattern, but if you do not have that specific pattern at hand and you need to make one from scratch, it could take you some time. Fortunately, in the latest versions of Photoshop, the pattern fill option has been updated, and now is even more easy to make pattern fills. So today, I will show you how you can make your own pattern fill in Photoshop using any image that you want, in less than 5 minutes using the improved Fill tool.
Step 1
Open Photoshop and make a new file at any size you want. In this case, I will make mine at 1800 x 1200 px.

Step 2
Go to File > Place Embedded. Locate the image you want to use as your pattern on your computer and click the "Place" button.
Note: For better end results, the image should have a transparent background.

Step 3
With your image layer selected, go to Layer > Smart Objects > Edit Contents. This action will open a new window with your image only.

Step 4
In the new window, go to Edit > Define Pattern. Give your pattern a name and click OK.

Step 5
Back on the original file, hide your image layer by clicking on the eye icon next to the layer's name.

Step 6
In the Layers Panel, click on the "Create a New Layer" icon.

Step 7
With the new layer selected, go to Edit > Fill. In the "Contents" dropdown menu select "Pattern".

Step 8
Click on the pattern thumbnail and select the pattern we've made.

Step 9
Check the "Script" option, select any script you wish to use and click OK. In this case, I will use the "Random Fill".

Step 10
Lastly, in the Random Fill window set the following values and click OK.
Note: You may set any values you like according to your image.

Conclusion:
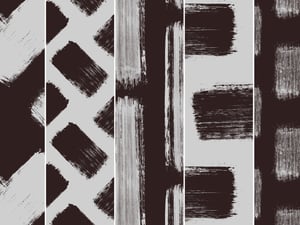
Now that you know how easy is to make a pattern fill in Photoshop, you can use this same method to fill any area of your design using any image that you want and modifying the pattern values like in the following example.








Comments