How to Enhance Your Winter Photos in Photoshop
Photoshop Post Processing
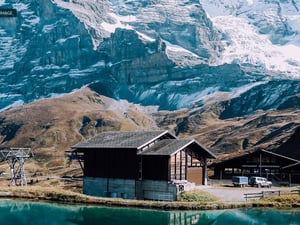
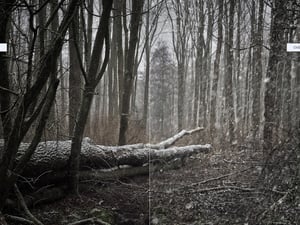
Winter offers a unique aesthetic other seasons can't give us: cool blues, creams, rich greens, and reds somehow stand out during this season. But many times, when you take an outdoor photo, all those colors don't look right. Today, I will show you a quick way to improve your winter pictures in Photoshop so you can get the atmosphere that winter offers us. But please, keep in mind that every image is unique and you may need to change some of the values shown here according to your image to get a better end result.
But before we begin, and if you want to follow this tutorial exactly as described, please download the following free image from Pexels: Download.
Step 1
Open your image in Photoshop.

Step 2
Go to Filter > Camera Raw Filter.

Step 3
Expand the "Basic" tab and apply the following settings.

Step 4
Expand the "Curve" tab. Be sure to select the "Parametric Curve" and apply the following settings.

Step 5
Select the "Point Curve" and add 3 new anchor points by clicking anywhere on the curve, then apply the following values for the Input and Output of each point:
- 0-30
- 50-65
- 128-128
- 190-185
- 255-250

Step 6
Next, select the "Red Channel". Add 3 new anchor points by clicking 3 times anywhere on the curve graphic and apply the following values for the Input-Output fields of each of the points:
- 0-0
- 60-20
- 120-120
- 175-200
- 255-255

Step 7
Next, select the "Green Channel". Add 3 new anchor points by clicking 3 times anywhere on the curve graphic and apply the following values for the Input-Output fields of each of the points:
- 0-0
- 65-35
- 120-125
- 180-205
- 255-255

Step 8
Select the "Blue Channel". Add 3 new anchor points by clicking 3 times anywhere on the curve graphic and apply the following values for the Input-Output fields of each of the points:
- 0-0
- 45-20
- 120-120
- 175-200
- 255-255

Step 9
Expand the "Detail" tab and apply the following values.

Step 10
Now expand the "Color Mixer" tab and apply the following values.

Step 11
Next, expand the "Color Grading" tab. Select the "Shadows" option and apply the following values.

Step 12
Now select the "Highlights" option and apply the following settings.

Step 13
Lastly, expand the "Calibration" tab, apply the following settings and click OK in the Camera Raw window.


Comments