

by Diego Sanchez
January 28, 2019
Diego prevents carpal tunnel syndrome in designers worldwide by making incredible time-saving Photoshop actions and mock-ups.

How to Easily Shade a Design Using Stipples Brushes in Photoshop
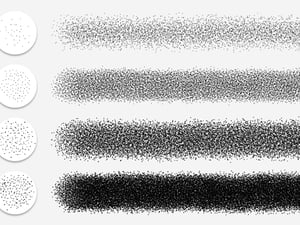
Stipple Shading in Photoshop
Stipple shading is a very old technique — artists have been engraving since the 14th century! Stippling consists of simulating different degrees of shades using small dots. These dots can be big or small, but when they're applied at the right distance and angles, they can produce fabulous textures and dimensions.
Today, you'll learn how to easily use this old technique in Photoshop to give a simple design texture and depth using some premade stipple shading brushes that you can find here at Medialoot.
Before we begin with this tutorial, go ahead and download the Stipple Shading Photoshop Brushes.
Step 1
Make a new file in Photoshop at any dimension you want. In this case, I will use a 1800 x 1200 px canvas size.

Step 2
Go to File > Place. Locate your design (be sure to have it over a transparent background) and click on Place. Hit the enter key on your keyboard to confirm. Note: in this case, I will be using a very basic anchor design.

Step 3
Select the Magic Wand tool (W) and click on an area of the design that you want to shade.

Step 4
With the selection active, click on the “Create New Layer” icon in the layers panel.

Step 5
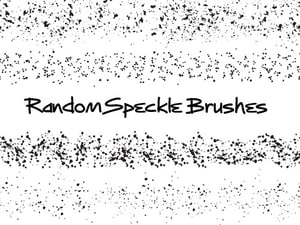
Select the Brush tool (B) and in the top toolbar from the Brush Preset Picker select the “MDL - Stipple Brush 14”.

Step 6
Decrease the brush size to 70 and be sure to have the Mode set to Normal and the Opacity to 100%

Step 7
In the new layer, paint where you want to apply the stipple shading with the selected brush.

Step 8
If you want to make an area a bit darker than other, simply paint over that area again to increase the points density.

Step 9
Select the design layer and again with the Magic Wand tool (W) select another area of the design.

Step 10
With the selection active, click on the “Create New Layer” icon in the layers panel.

Step 11
Again, select the Brush tool (B) and paint over those areas that you want to shade.

Step 12
Repeat steps 9 to 11 until you complete the shading on your design.

Some Final Notes
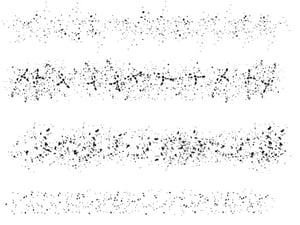
As you may see, shading a design using the Stippling technique is very easy if you use the right tools and the different end results that you can get are almost infinite because you can combine 2 or more brushes with different densities and sizes to paint over different areas of your design to emulate shadows and add some depth to it like the following examples.


Comments