

by Diego Sanchez
May 04, 2020
Diego prevents carpal tunnel syndrome in designers worldwide by making incredible time-saving Photoshop actions and mock-ups.

How to Easily Make a Dual Lighting Effect In Photoshop
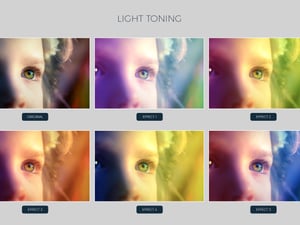
Photoshop Lighting Effects
Dual Lighting is a popular effect for portraits, sometimes adding a whole new atmosphere to an otherwise simple photo. There are of course many ways to make this effect in Photoshop, but the one I'll show you here is so easy to make — all you need is a photograph (color or black & white, either will work) and 5 minutes of your time.
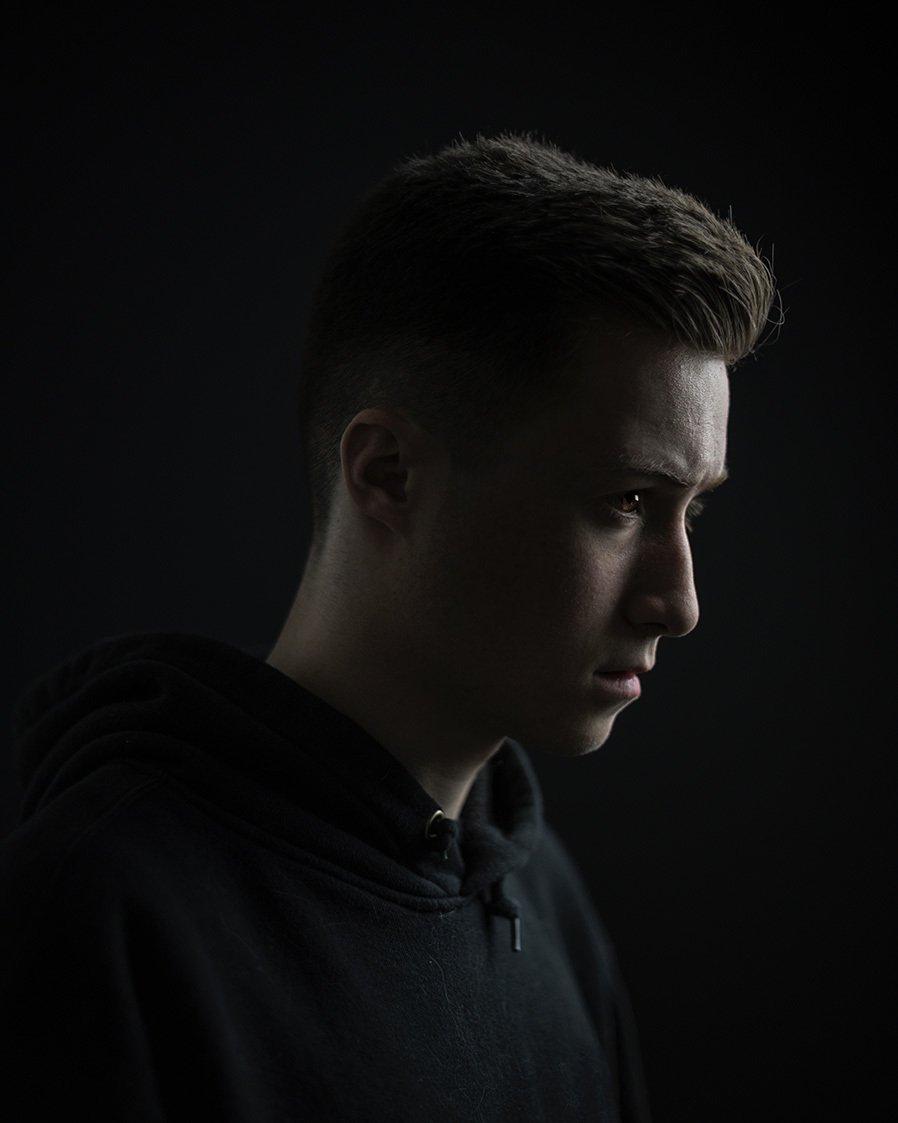
But before we start, and if you want to follow this tutorial exactly as described, please download the following free image from Pexels: Download.
Step 1
Open the image in Photoshop.
Step 2
In the Layers Panel, click on the "Create New Fill or Adjustment Layer" icon and from the dropdown menu select Gradient.

Step 3
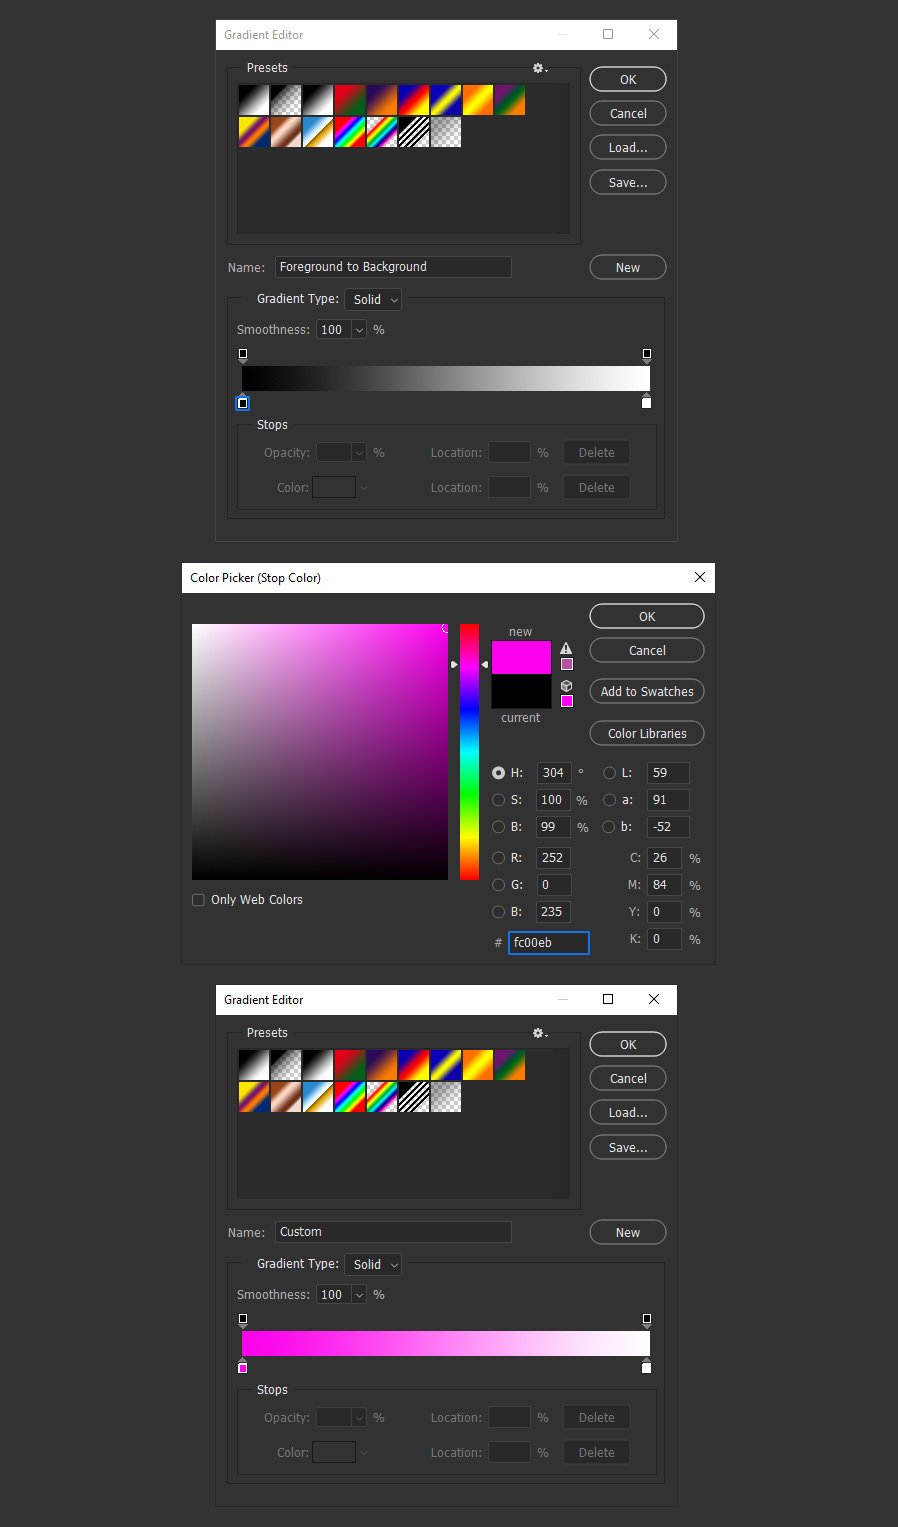
In the Gradient Fill window, set the Angle to 0º and then click on the gradient thumbnail to open the Gradient Editor.

Step 4
In the Gradient Editor window, double click on the first color stop, set the color to #fc00eb in the Color Picker and click OK.
Step 5
Click on the left Opacity stop and set the Location to 15%.

Step 6
Click on the right Opacity stop, set the Opacity to 0% and the Location to 60%.

Step 7
Click on the Opacity Midpoint, set the location to 75% and click OK on the Gradient Editor and Gradient Fill windows.

Step 8
In the Layers Panel, set the blend mode of the gradient to "Color" and bring down the Opacity to 85%.

Step 9
Press "Ctrl+J" on your keyboard to duplicate the gradient layer and double click on the layer thumbnail.

Step 10
In the Gradient Fill window, set the Angle to 180º and click on the gradient thumbnail to open the Gradient Editor.

Step 11
In the Gradient Editor window, double click on the first color stop, set the color to #3669fa in the Color Picker and click OK. Also click OK on the Gradient Editor and Gradient Fill windows.

Step 12
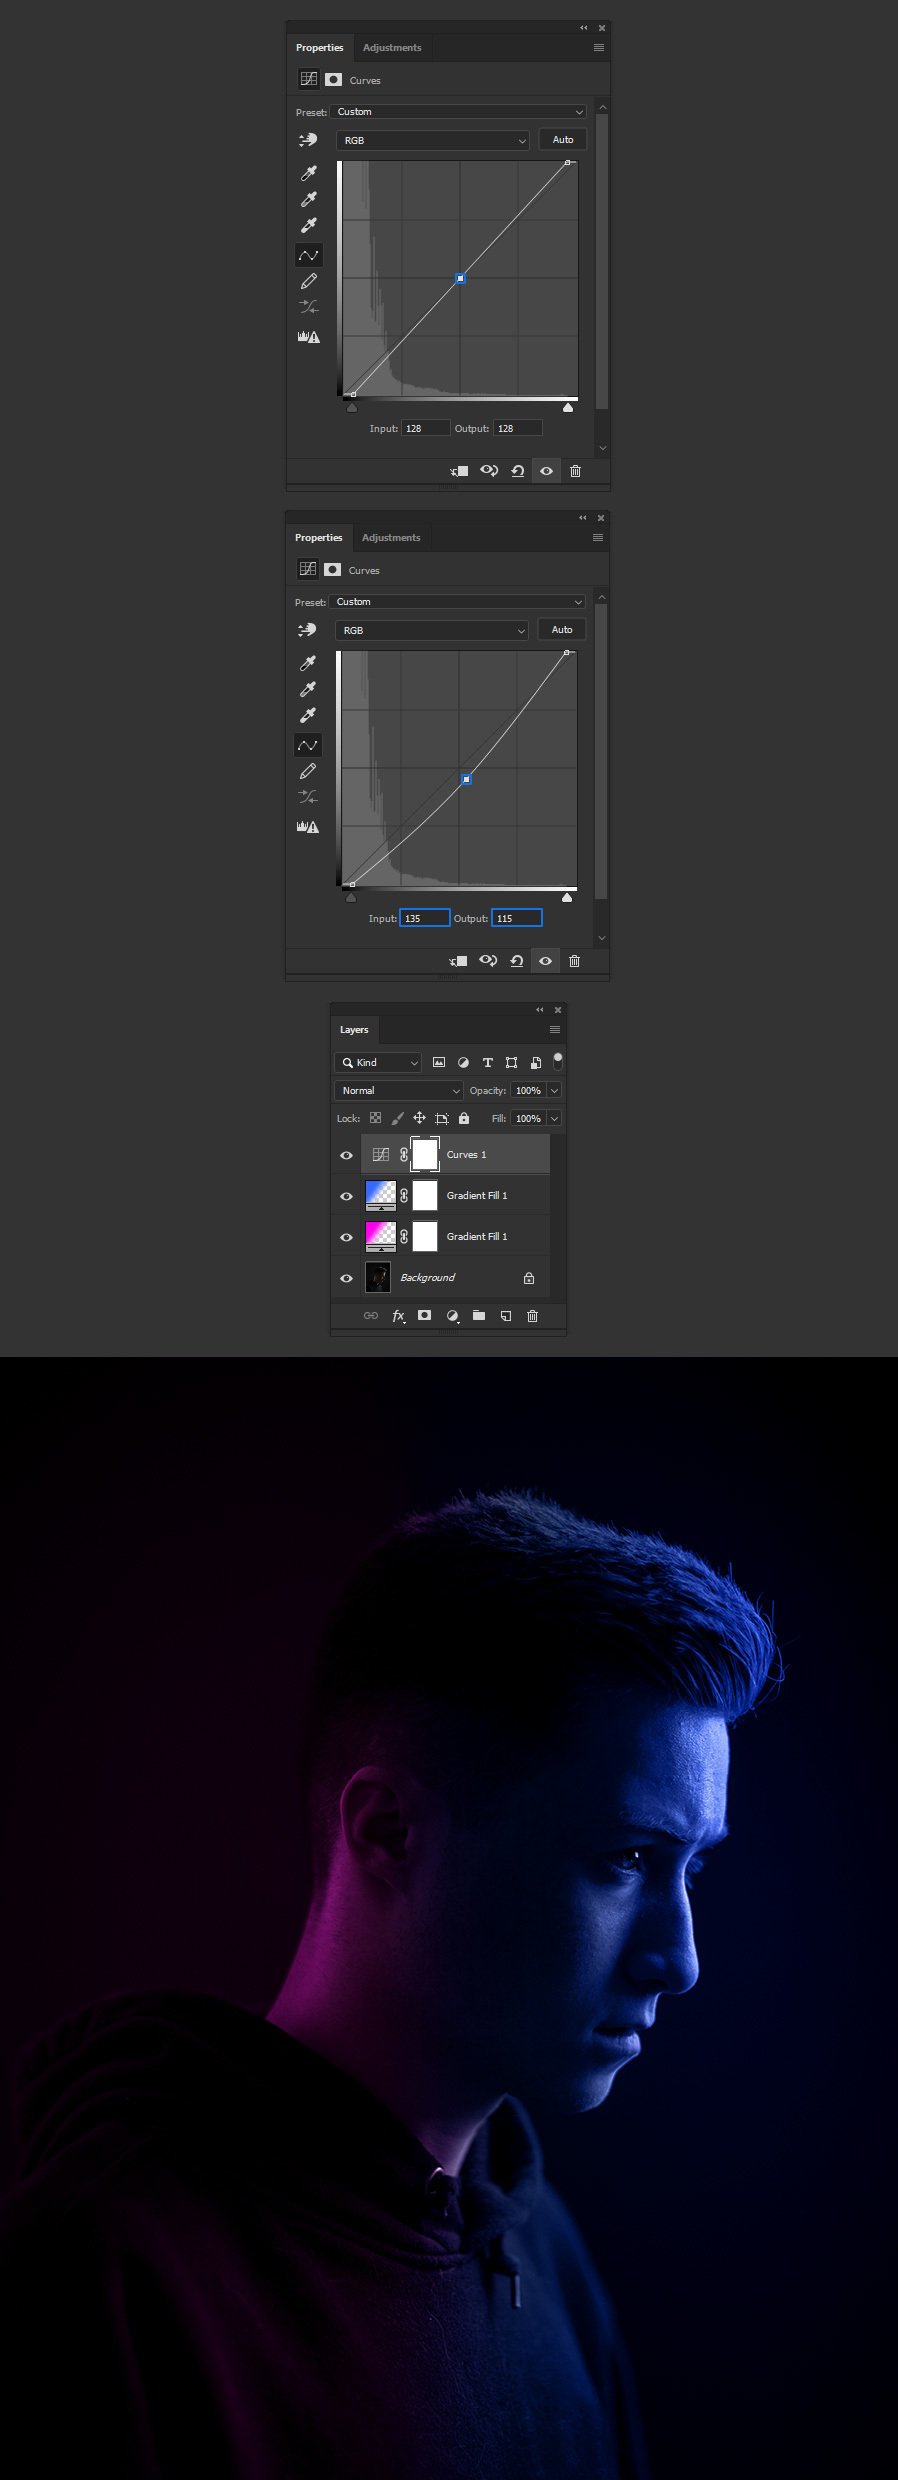
In the Layers Panel, click on the "Create New Fill or Adjustment Layer" icon and from the dropdown menu select Curves.

Step 13
Click on the first anchor point and set the Input value to 10 and the Output value to 0.

Step 14
Click on the top right anchor point and set the Input value to 245 and the Output to 255.

Step 15
Lastly, click over the default curve to add another anchor point, and set the Input value to 135 and the Output to 115.


Comments