

by Diego Sanchez
October 09, 2019
Diego prevents carpal tunnel syndrome in designers worldwide by making incredible time-saving Photoshop actions and mock-ups.

How to Easily Make a Cloud in Photoshop
Customizing Photoshop Brushes
There is a common way to make a cloud texture in Photoshop starting by using the Render Clouds filter, but if you want to add just a single cloud in a certain place of your image, or even control the size, then this method is just too time consuming — you'd have to erase the unwanted cloud areas, adjust the colors, etc. You could make your custom cloud starting with a sky image and isolate the clouds, but wait: there's a better way to make clouds in Photoshop using nothing more than the default tools. Just set up a single brush that will paint the clouds for you.
Step 1
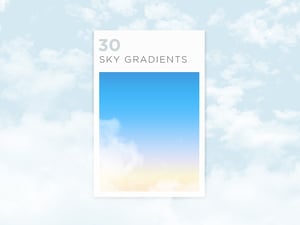
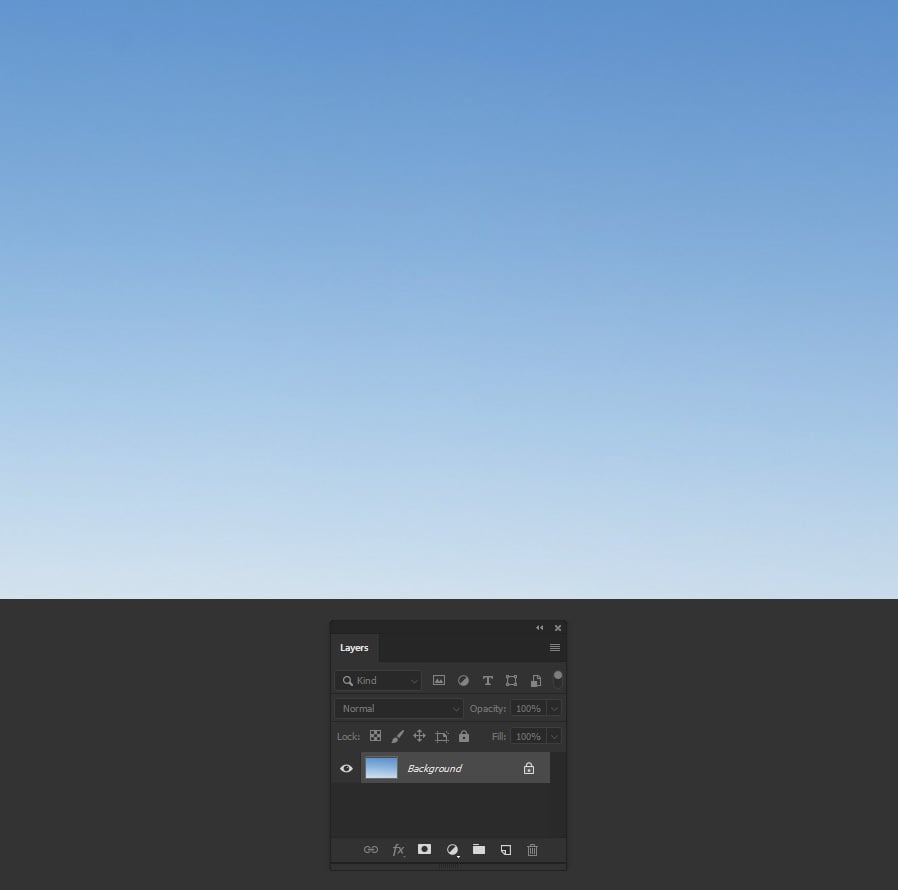
Open Photoshop, make a new file at any size you want and fill the background with a nice sky gradient or simply using a solid color.
Step 2
Select the Brush Tool (B) and go to Window > Brush Settings.

Step 3
Set the size to about 450 px, the Hardness to 0% and the spacing around 35%.

Step 4
Check the "Shape Dynamics" option and apply the following values.

Step 5
Now, check the "Scattering" option and apply the following settings.

Step 6
Check the "Texture". Click on the texture thumbnail, then click in the gear icon at the top right corner, and select "Patterns" from the menu.

Step 7
Select the "Clouds" texture from the thumbnails list and apply the following settings.

Step 8
Check the "Transfer" option and apply the following settings.

Step 9
Be sure to have the "Smoothing" option checked.

Step 10
To save the recently created brush for a future use, click on the top right icon of the Brush Settings window and select "New Brush Preset". Give the brush a name and click OK.

Step 11
Create a new layer above your background to paint the clouds.

Step 12
Be sure to have the Brush Tool (B) selected and set the Foreground color to white (or any other color you want for your clouds).

Step 13
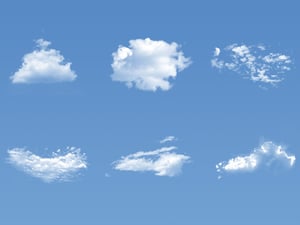
Now simply start painting over your canvas.

Step 14
To make the clouds a bit more lighter, simply decrease the Opacity of the layer where you painted your clouds to your liking.


Comments