

by Diego Sanchez
April 08, 2019
Diego prevents carpal tunnel syndrome in designers worldwide by making incredible time-saving Photoshop actions and mock-ups.


How to Create Highlighted Text in Photoshop
Photoshop Text Styles
Highlighted text is a super popular text style on social media, since it makes the text readable no matter what background it's on. But what's an easy process in other apps like InDesign or even Microsoft Word, is a surprisingly difficult one in Photoshop (at least for now). There are a few different ways to get the look — you can always make one rectangle per line behind the text, and then they duplicate the layer, reposition it on the next text line, adjust the rectangle to that line and repeat this process for all text lines. But there's a better way! (while we wait for Adobe to include this feature in the next releases). Note that this method is very effective for capitalized text, but not that effective for descenders letters.
Step 1
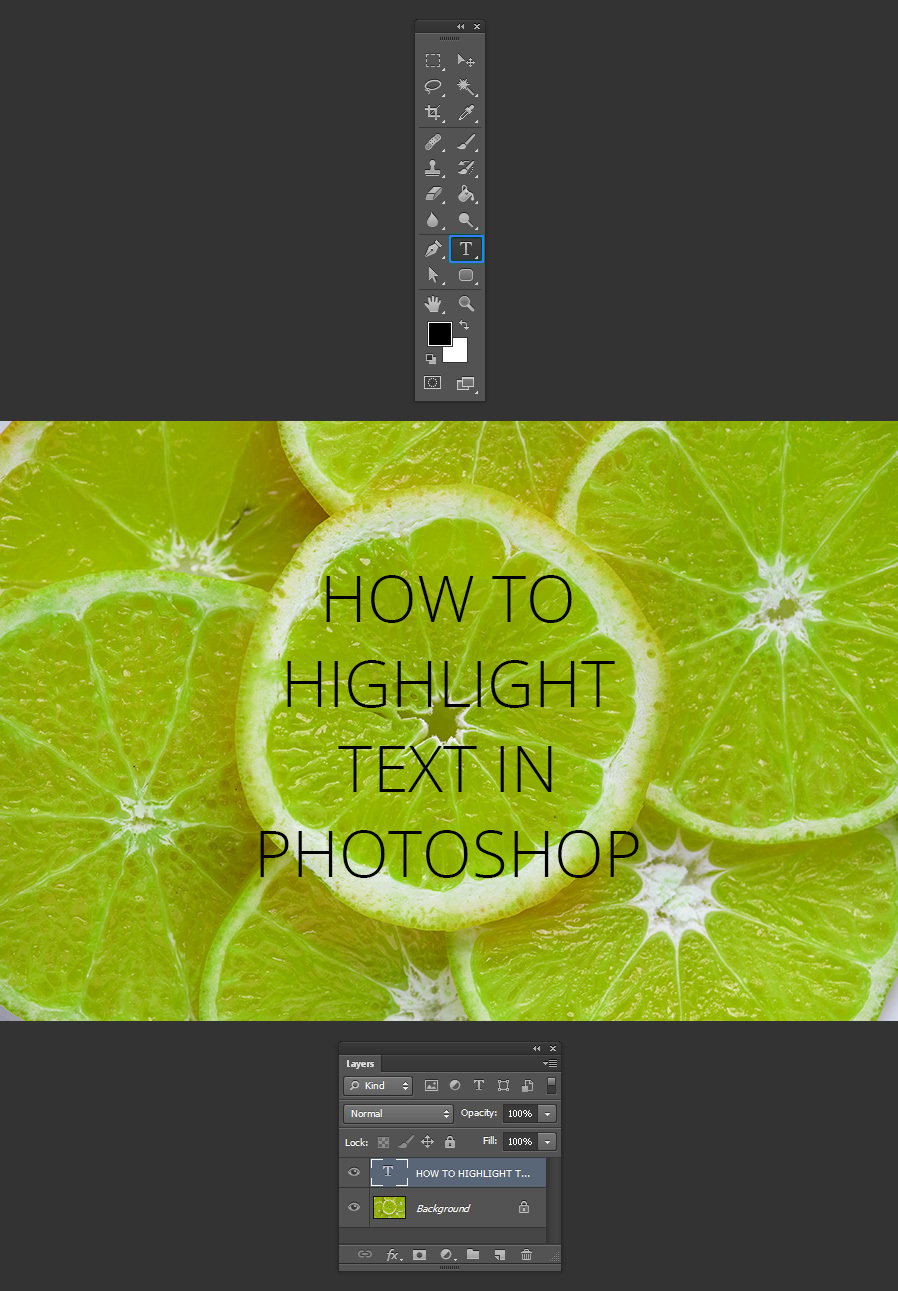
Open the background image you will use in Photoshop.

Step 2
Select the Text Tool (T) and write the text you want to place over your image. Tip: use the color you want for your highlighted text not the text itself (in this case I will use black).
Step 3
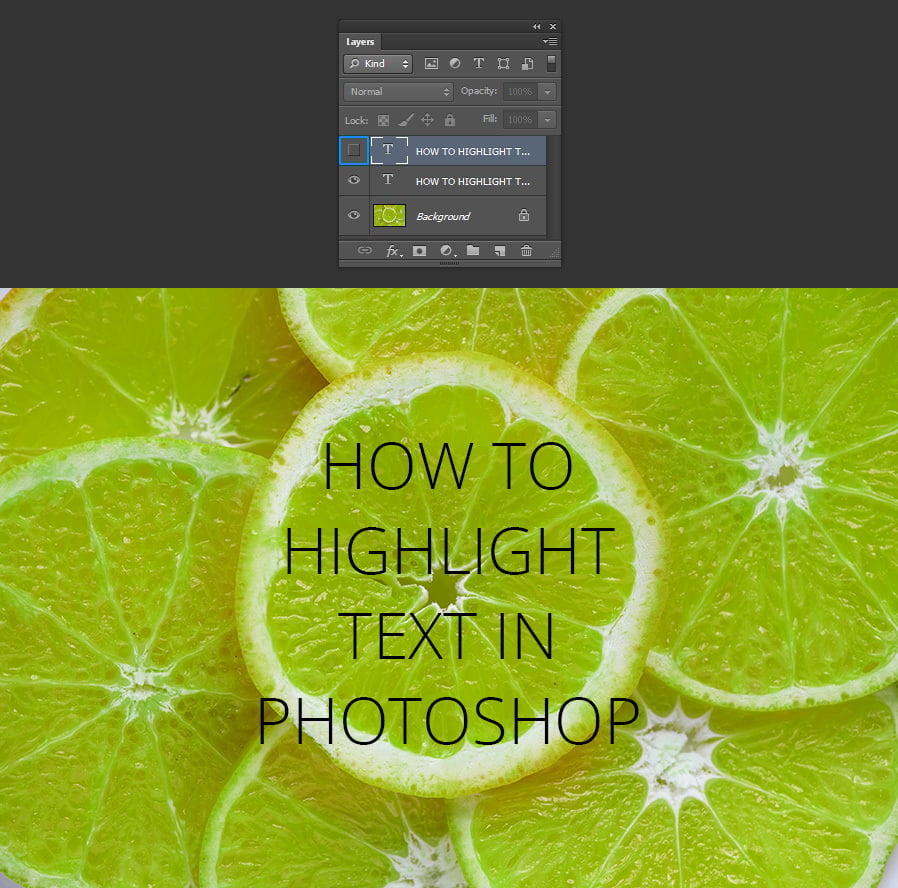
Press Ctrl+J on your keyboard to duplicate the text layer.

Step 4
Change the text color by the one you want to use on the actual text (in this case, I will use white).

Step 5
To work more comfortable, hide the white text layer by clicking on the eye icon next to the layer’s name.
Step 6
Select the black text layer and in the Character Panel, click on the “Underline” icon. If you do not have the Character Panel visible, go to Window > Character.

Step 7
Right click on the layer’s name and from the dropdown menu choose “Convert to Shape”.

Step 8
Using the Path Selection Tool (A) select all the text (except the underlines) and hit the delete key to delete it.

Step 9
Make the white text layer visible again by clicking where the eye icon was next to the layer’s name.

Step 10
Select the Direct Selection Tool (A) and click on the top anchor points of all the underlines.

Step 11
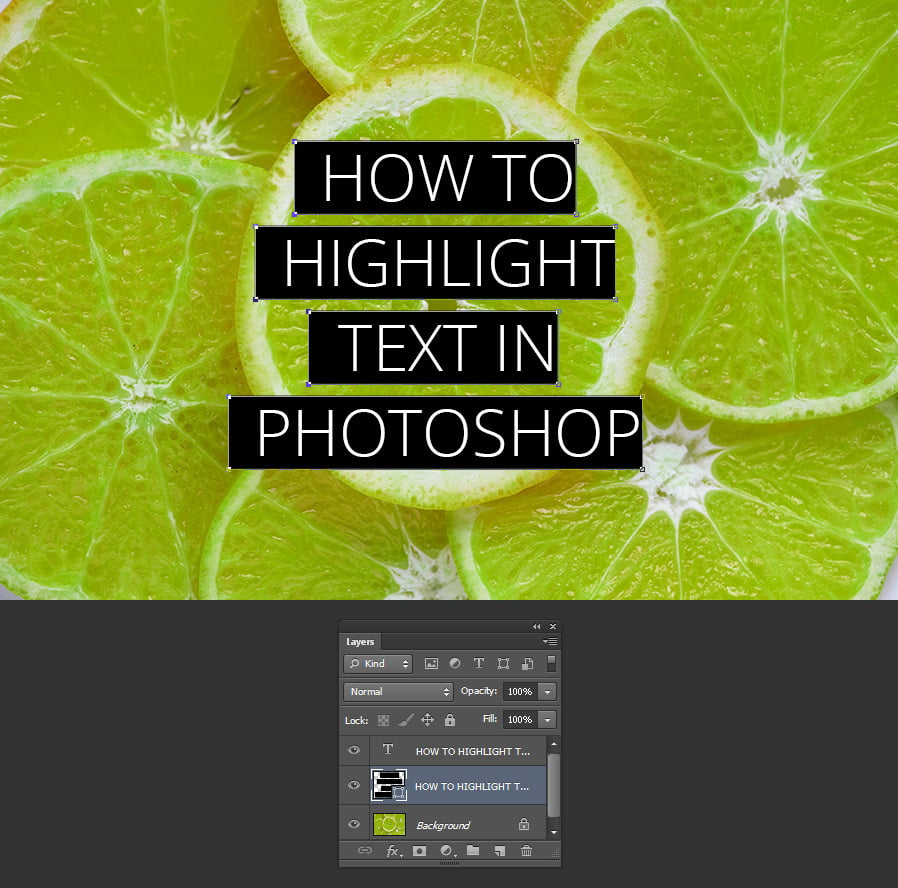
Using the up arrow key on your keyboard move the anchor points up until you are happy with the rectangle height size.

Step 12
Now select all the left anchor points and move them to the left until you are happy with the result.
Step 13
Repeat the process for the right anchor points to finish highlighting the text.

Conclusion
Although there is not a simple way to highlight text in Photoshop, by using this method you can speed up your workflow by creating all the text rectangles at the same time, change the text and highlight colors easily and also have the same space on all sides of the text making it look just perfect.


Comments