

by Tony Thomas
September 07, 2017
Tony creates pixel-perfect UI kits & icons. His pug, Wednesday, is Medialoot's beloved mascot.
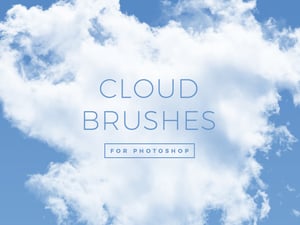

How to Create a Cloud Brush in Photoshop
Create your own cloud brush presets that can be added to other images
This quick and easy tutorial will show you how to sample a cloud from a source photograph and create a Photoshop brush preset that can be used to decorate absolutely any sky with clouds.
Download
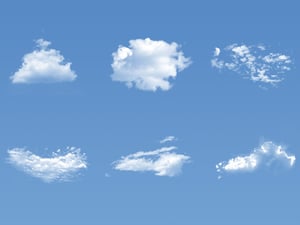
If you want to save some time, we have a full set of 30 high resolution cloud brushes for Photoshop ready to use and available to download here.

Step 1
Open your source image in Photoshop. There are literally hundreds of free high resolution images that can be found on websites like Pixabay. I chose to go with this heart shaped one.

Step 2
Use the Marquee Selection tool to draw a rough selection around the cloud and copy to the clipboard.

Step 3
Create a new document in Photoshop using the Clipboard document preset which should be the exact size of your cloud.

Step 4
Paste your cloud into the new document.

Step 5
Use Hue/Saturation to remove all saturation, or press the shortcut CMD+SHIFT+U or CTRL+SHIFT+U

Step 6
Press CMD+I or CTRL+I to invert the colors.

Step 7
Add a new Brightness/Contrast adjustment layer, and increase the brightness and contrast sliders until the remaining part of the sky around the clouds is barely visible and the detail of the clouds is clear.

Step 8
Next add a Levels adjustment layer and adjust the highlight input level until the cloud is completely isolated. If you want to be sure you can use the eye dropper tool to check that the area around the cloud is #FFFFFF.

Step 9
Depending on the source image, you may need to remove some pixels manually. This example has actually worked out very well but we will just tidy it up a little bit anyway. Select the Dodge tool, set the Range to Shadows and on the cloud layer paint over elements you want to remove.


Step 10
Use the Transform tool to adjust the shape of the cloud and straighten it out. Again, this is an optional step and may not be required depending on the source image that you use.

Step 11
Go to Image > Trim... and trim away all directions.

Step 12
Older versions of Photoshop (<CS6) limit the size of brushes to 2500 pixels. If the Edit > Define Brush Preset... option is greyed out, you may need to reduce the size of the cloud to a maximum width or height of 2500 pixels.
If you have Photoshop CS6 or newer, the limit is 5000 pixels so you can probably skip this step.

Step 13
Go to Edit > Define Brush Preset... give it a name and click OK create your brush preset!

Step 14
You can now use your new brush preset to add clouds to any image you want. Make sure you set the foreground color to #FFFFFF. I also found that in this example, reducing the Brush Opacity to 90% made the cloud look a little more realistic.


Download
If you want to save some time, we have a full set of 30 high resolution cloud brushes for Photoshop ready to use and available to download here.


Comments