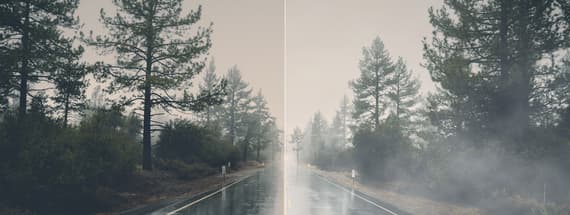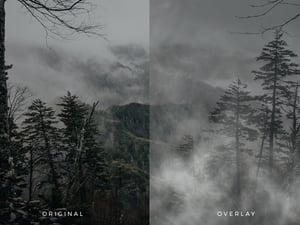
How to Add Easy Fog Overlays to Any Image
Fog Overlays to add Atmosphere to our Pictures
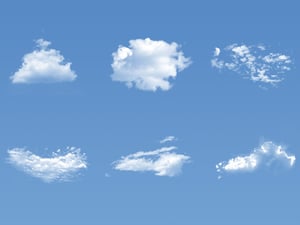
Adding a mysterious atmosphere is a snap. There are of course many different ways to achieve the same effect, and today you'll learn 2 different methods to make it. For the first one we will use some really nice (and free) Mist & Fog overlay textures made by Tony here at Medialoot. For the second one we will use a sky image and apply some adjustments to it to emulate the fog on our image.
But before we start, go ahead and download the following assets:
Method 1
Step 1
Open your image in Photoshop.

Step 2
Go to File > Place. Locate the fog overlay texture you want to use and click on Load. In this case, I will use the “Fog Overlay 4”.

Step 3
Resize the overlay texture to fit your image and press the Enter key on your keyboard to commit the transformation.

Step 4
In the Layers Panel, set the blend mode of the fog texture to “Screen” and decrease the Opacity to 75%.

Step 5
Go to Layer > New Adjustment Layer > Curves. Be sure to check the “Use Previous Layer to Create Clipping Mask”, name this layer as “Curves” and click OK.

Step 6
In the Curves Properties Panel, click on the first anchor point and set the Input value to 15.

Step 7
Next, click on the second anchor point and set the Output value to 250.

Step 8
Go to Layer > New Adjustment Layer > Brightness/Contrast. Name this layer as “Contrast” and click OK.

Step 9
Lastly, in the Brightness/Contrast Properties Panel, set the Contrast to 20.

Method 2
Step 1
Open the cloudy sky image in Photoshop.

Step 2
Go to Image > Adjustments > Desaturate.

Step 3
Go to Image > Adjustments > Levels. In the Levels Properties Panel set the Shadow Input Level to 115 and click OK.

Step 4
Go to Filter > Blur > Gaussian Blur. Set the Radius to 15 and click OK. Note: you may need to change this value a bit according to your image size.

Step 5
Open the image you want to add the fog in Photoshop.

Step 6
Go back to the cloudy sky image and go to Layer > Duplicate Layer. Name the layer that will be duplicated as “Fog Overlay”, under “Destination” select your opened image where you will add the fog overlay and click OK.

Step 7
Back to your image document you will find the cloudy sky image modified in a new layer and named as "Fog Overlay".

Step 8
Resize the new "Fog Overlay" layer if needed and set the blend mode to “Screen”.

Step 9
Hold the “Alt” key on your keyboard and click on the “Add Layer Mask” icon in the Layers Panel.

Step 10
Be sure to have the mask thumbnail selected and go to Filter > Render > Difference Clouds.

Step 11
Lastly, adjust the "Fog Overlay" layer opacity to your liking.

Conclusion
As you may see, any of these 2 methods achieve the same final effect, but in the second one you will need to make some image adjustments prior to get a really nice fog overlay texture to use on your images. In the other hand, using readymade Fog textures like the ones we used on the first method can speed up your workflow while keeping a professional end result.


Comments