
Create a Convincing Hand Drawn Effect in Illustrator
Convert Your Existing Vectors into Realistic Hand Drawn Graphics
This tutorial will show you how to create a realistic hand drawn effect in Illustrator. Ideal for those without scanners, or for when you already have the graphic you want in Illustrator but need to give it a convincing hand drawn effect (without attempting to recreate it with pen and paper).
Step 1
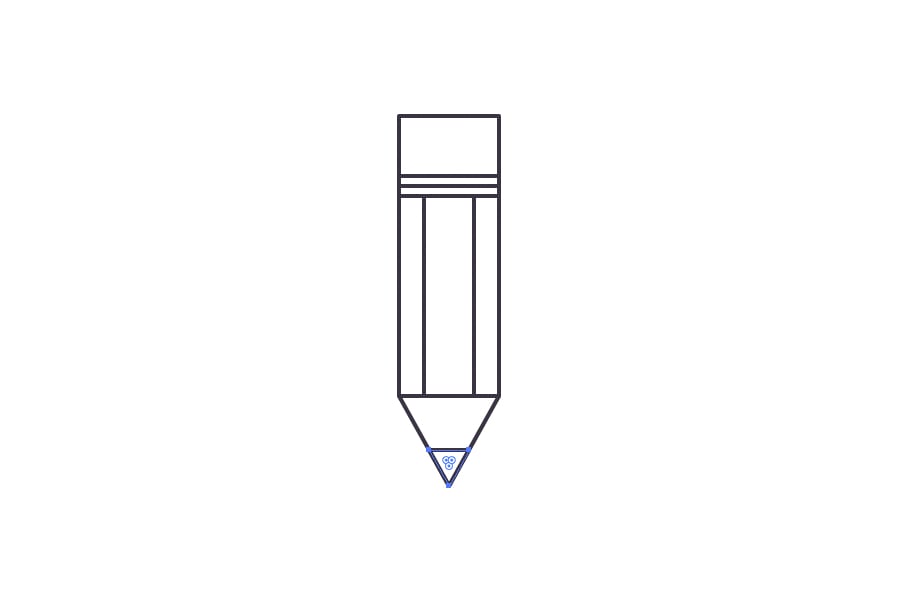
Create a new document in Illustrator and begin to draw the pencil graphic that we will use. The pencil is a very simple shape that is made up of a series of rectangles and triangles. Use a transparent fill and a 4px #EAE2D3 stroke aligned to the center.
Step 2
When you reach the middle section of the pencil, duplicate the main rectangle and reduce the width by about 50%. Copy the top (smaller) rectangle to the clipboard and then use the Subtract Pathfinder operation with both rectangles selected to divide the lower rectangle into two. Finally Paste in Place (CMD+SHIFT+V or CTRL+SHIFT+V) to restore the top rectangle.
Step 3
Similar to the last step, draw two triangles for the tip of the pencil. Copy the smaller triangle to the clipboard and use it to subtract from the larger triangle. Then Paste in Place to restore the smaller triangle.
Step 4
Group the pencil shape and copy to the clipboard to use later (or move off canvas).
Step 5
Remove the strokes from all of the shapes and apply a solid color fill for each section:
- Eraser: #E5A8BE
- Metal: #F1F2F2
- Body (light): #F2B974
- Body (dark): #E4A564
- Wood: #EAE2D3
- Tip: #3A3442
Step 6
Paste the outlined version of the pencil in place, or move back to it's original position if it is off canvas.
Step 7
Use the Direct Selection tool to highlight the top two points of both the color and outlined layers, and set the corner radius to 10px.
Step 8
Now double click the outlined version's group to enter Isolation Mode. In Isolation mode, select all and apply the Roughen filter from the Effect > Distort and Transform menu to distort the lines slightly and give them a more hand drawn appearance.
- Size: 0.25%
- Option: Relative
- Detail: 6/in
- Points: Smooth
Feel free to tweak these settings, to find a realistic effect, hand drawn line effect.
Step 9 (Optional)
You may notice that the corners look a little strange when using the Roughen filter. To remedy this, select all of the affected corner point and give then a 1px radius.
Step 10
The pencil should now look something like this:
The line widths are rough, but a little too consistent to be convincingly hand drawn. Grab the Stroke Width tool (SHIFT+W) and make 2-4 random adjustments per section. They can be either slightly wider or thinner, depending on what looks right to the eye.
As you can see, the changes in stroke width are very subtle but do make a difference:
Step 11
Double click the color version's group this time to enter Isolation Mode again. Select all of the shapes and apply a Scribble filter from the Effect > Stylize menu. Tweak the settings to find a suitable effect, I like to use a thick stroke with minimal spacing, so that the effect is almost solid with a just few gaps in the color.
- Path Overlap: 0 / Variation: 0
- Stroke Width: 3px
- Curviness: 6% / Variation 20%
- Spacing: 2px / Variation: 4px
Step 12
Select all of the shapes with a Scribble effect and Expand Appearance from the Object menu.
Step 13
With the Scribble effect expanded, we can roughen up the effect by applying another Roughen filter.
- Size: 0.25%
- Option: Relative
- Detail: 10/in
- Points: Corner
Step 14
The pencil should now look something like this:
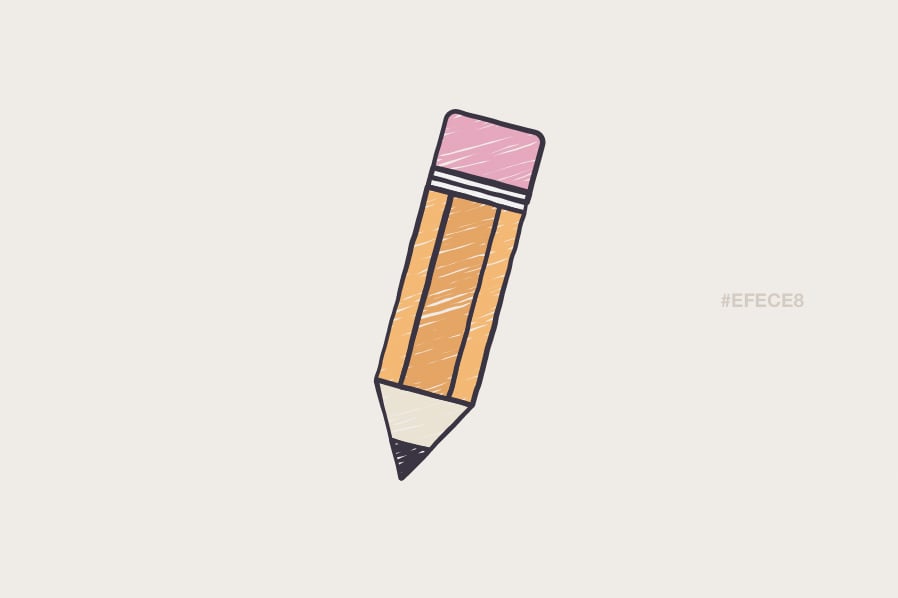
Rotate the pencil 15° and add a background by drawing a rectangle that fills the artboard on a new layer below the pencil, with the fill color #EFECE8.
Step 15
And finally, add a shadow by drawing a black oval shape near the tip of the pencil and applying another Roughen filter for some jagged edges. Then set the Transparency of the layer to 10%.
Result
And there we have it, a hand drawn looking pencil created entirely within Illustrator. This technique is great for when you already have a vector shape in Illustrator and simply want to make it look hand drawn, instead of trying to recreate it with pen and paper. Although I provided some exact settings to use in this tutorial, I strongly recommend experimenting with the Roughen and Scribble effects in particular, to achieve the exact effect you require.








Comments