

by Tony Thomas
March 28, 2017
Tony creates pixel-perfect UI kits & icons. His pug, Wednesday, is Medialoot's beloved mascot.


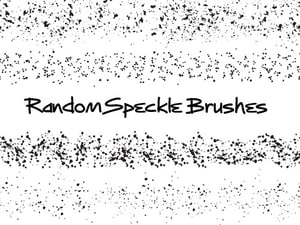
Quick Tip: How to Create Custom Illustrator Art Brushes Using Real World Media
This quick tip will show you step by step how to create a a custom illustrator art brush using real world media from paper to Illustrator. This can of course be done with any type of media such as fine tip pens, pencil scribbles and anything else that leaves a mark on paper.
What you will need:
- A flatbed scanner (or a very good camera)
- Paint and a paintbrush
- A sheet of paper
- Adobe Illustrator
Step 1
Use your paintbrush to create a custom brush stroke on the paper. Feel free to try out a few variations with different brushes if you have them, or simply make them different sizes and apply more or less pressure each time.

Step 2
Wait for the paint to completely dry and then use your scanner to import the brush stroke. This process will vary depending on your scanner and software, but if the options are available choose Black & White, 300DPI and JPG format. If you don't have a scanner, take a photo from above and use a tripod if needed.

Step 3
Open Illustrator and create a new RGB document 1200 x 800 pixels.

Step 4
In Illustrator drag and drop your scan onto the artboard, or go to File > Place and locate the file on your system.

Step 5
Select your image in Illustrator and click Image Trace in the top application bar. In the tracing options panel, choose mode Black and White and check Ignore White under the Advanced dropdown.
Then use the Threshold, Paths, Corners and Noise sliders to isolate your brush stroke. Tweak them so that you get as much detail as possible without unwanted areas popping up. When you are done click Expand in the top application bar.

Step 6
(Optional) Rotate or Transform the brush stroke to straighten it.

Step 7
Show the Brushes window (Window > Brushes), then select your brush stroke and click the small New Brush button at the bottom of the Brushes window. In the dialog option that appears, choose Art Brush and click OK.

Step 8
Name your custum brush, set the direction of the stroke and choose Hue Shift for the Colorization method. Hue Shift will allow you to completely change the color brush depending on the stroke color. Click OK when you are done.

Step 9
Move or delete the original brush stroke, then select the Paintbrush Tool(B) and paint a random path onto the canvas using your new brush preset.

Step 10
Because we chose Hue Shift, you can now change the brush to any color you desire.
Tip: If the brush will only change to different shades of grey. Show the Color window and choose RGB from the dropdown menu
Step 11
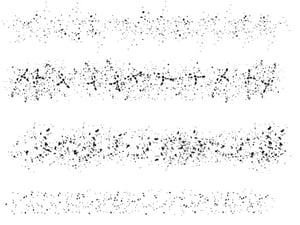
Have some fun! Your custom brush can be applied to any path or shape.

Step 12
If you want to save your brush preset to share with others, select your preset(s) in the Brushes window, click the dropdown menu and choose Save Brush Library..

Conclusion
And that is how you create a a custom illustrator art brush using real world media. This can of course be done with any type of media such as fine tip pens, pencil scribbles and anything else that leaves a mark on paper.


Comments