

by Diego Sanchez
March 11, 2019
Diego prevents carpal tunnel syndrome in designers worldwide by making incredible time-saving Photoshop actions and mock-ups.
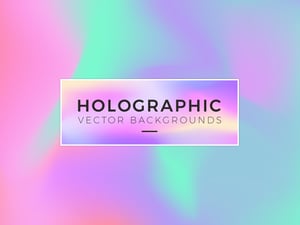


5 Different Ways to Create a Beautiful Colorful Background
Colorful backgrounds in Photoshop
Colorful backgrounds for website headers are right one trend in the past few months. Fortunately there are a ton of different ways to make them in Photoshop. Here are 5 different (and super quick and easy) ways to make a beautiful colored background in Photoshop that you can later use in your website headers, banners, social media (or like, really anything).
Method 1
Step 1
Make a new Photoshop document at any size you want. In this case, I will setup mine at 1800 x 1200 px.

Step 2
Set the Foreground color to #dbdbdb and the Background color to #919191.

Step 3
Select the Gradient Tool. Be sure to have the Foreground to Background gradient selected in the top toolbar, the Gradient set to Linear, the Mode to Normal and the Opacity set to 100%.

Step 4
Click and drag from the top left corner to the bottom right corner of the document to apply the gradient.

Step 5
Go to Filter > Pixelate > Mosaic. Set the Cell Size to about 120 and click OK.

Step 6
Go to Layer > New Fill Layer > Solid Color. Name this layer as “Color”, set the Mode to “Vivid Light” and click OK.

Step 7
In the Color Picker window, set the color to #cf5ad0 and click OK.

Step 8
Now simply add your content over the new created background.

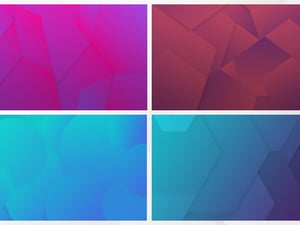
Method 2
Step 1
Make a new Photoshop document at any size you want. In this case, I will setup mine at 1800 x 1200 px.

Step 2
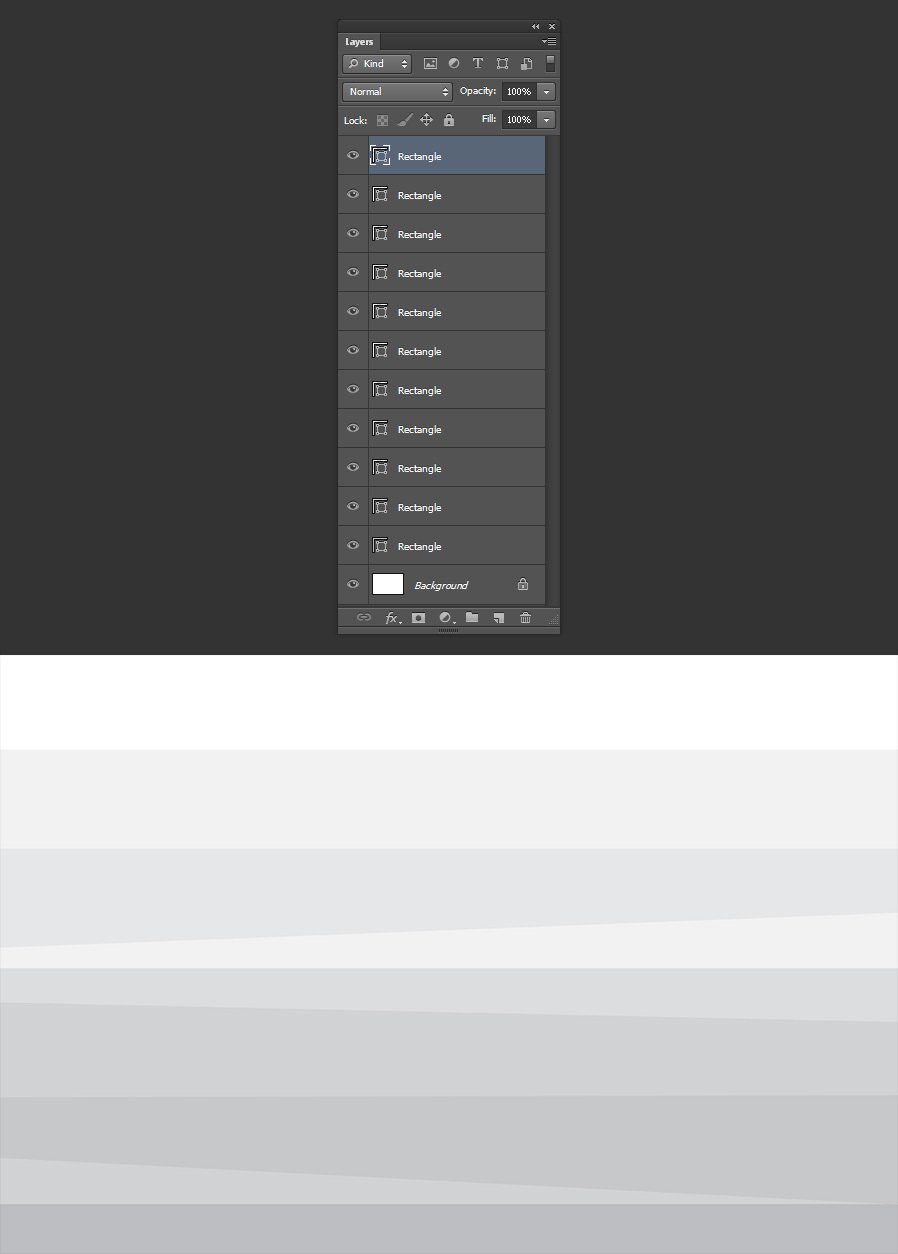
Select the Rectangle Tool (U). Be sure to have the Mode set to Shape and the fill set to #bcbec0 in the top toolbar. Draw a rectangle at the bottom of the canvas as shown.

Step 3
Draw another rectangle in a new layer at the top of the first one as shown. Set the color of this rectangle to #d1d3d4.

Step 4
Draw a few more rectangles changing the size and angles and make them a bit lighter/darker every time you draw a new one. In this case, I drawn 9 more rectangles.
Step 5
Select the top rectangle and go to Layer > Layer Style > Drop Shadow. Apply the following settings and click OK.

Step 6
Right click over the layer and choose “Copy Layer Style”. Select some of the rectangle layers, right click over any of them and select “Paste Layer Style”.

Step 7
Select the top layer and go to Layer > New Fill Layer > Gradient. Name this layer as “Gradient”, set the Mode to Multiply and click OK.

Step 8
Set the gradient to any colors that you like (in this case I am using #f0c27b - #4b1248), the Style to Linear, the Angle to -50º and click OK.

Step 9
Now simply place your content over the new created background.

Method 3
Step 1
Make a new Photoshop document at any size you want. In this case, I will setup mine at 1800 x 1200 px.

Step 2
Select the Brush Tool (B). In the top toolbar be sure to have the Mode set to Normal, the Opacity and Flow to 100%, the Hardness set to 0 and choose any brush size that you feel comfortable with to paint over the canvas.

Step 3
Make a new layer and paint with any color using the selected brush as shown.

Step 4
Pick another color and make a new layer. Again, paint with the brush on different areas of the canvas. You may change the brush size if you want.

Step 5
Again, make a new layer, choose another color and paint on the other empty areas of the canvas.

Step 6
Repeat this process as many times as you want until you cover the entire canvas.

Step 7
Go to Layer > Merge Visible.

Step 8
Go to Filter > Blur > Gaussian Blur. Set the Blur Radius to about 96 and click OK.

Step 9
Now you just need to place your content over the new created background.

Method 4
Step 1
Open any image in Photoshop. In this case I am using a watercolor gradient from Pixabay which you can download from here.

Step 2
Go to Filter > Liquify. In the Liquify window, pick any brush size that you want, set the Brush Pressure to about 80 and be sure to have the “Forward Warp Tool” selected.

Step 3
Now simply click and drag to change the mesh. When you are happy with the result click OK.

Step 4
Go to Filter > Blur > Gaussian Blur. Set the Blur Radius to around 60 and click OK.

Step 5
Now you just need to add your own content over the new created background.

Method 5
Step 1
Make a new Photoshop document at any size you want. In this case, I will setup mine at 1800 x 1200 px.

Step 2
Set the Foreground color to #c33764 and the Background color to #1d2671.

Step 3
Select the Gradient Tool. Be sure to have the Foreground to Background gradient selected in the top toolbar, the Gradient set to Linear, the Mode to Normal and the Opacity set to 100%.

Step 4
Click and drag from the top right corner to the bottom left corner of the document to apply the gradient.

Step 5
Select the Pen Tool (P) and be sure to have the Mode set to Shape in the top toolbar.

Step 6
Draw any abstract shape.

Step 7
Again, and still with the Pen Tool, draw a few more shapes (one shape per layer).

Step 8
Select the first shape layer and go to Layer > Layer Style > Gradient Overlay. Be sure to have the Gradient set to “Foreground to Background”, then apply the following settings and click OK.

Step 9
Right click over the layer and choose “Copy Layer Style”. Select the remaining shape layers, right click over any of them and select “Paste Layer Style”.

Step 10
Double click over the bottom shape layer and in the Layer Style window highlight the Gradient Overlay Option.

Step 11
Click and drag over the canvas to move the Gradient of that particular shape to a position you like. When you are happy with the result click OK in the Layer Style window.

Step 12
Repeat this last process for the remaining shape layers.

Step 13
Select any of the shape layers and go to Layer > Layer Style > Drop Shadow. Apply the following settings and click OK.

Step 14
Now all you have to do is place your content over the new background.


Comments