
by Jenn Coyle
August 12, 2014
You can find Jenn doodling and blogging, drinking beer, or running around Philly.
Create an Easy Worn Press Text Effect in Photoshop
Textures and type are a great combo.
Lately I've seen a lot of lettering artists use a technique to give their artwork an old printed or worn out look. In the tutorial below, I'll walk you through a process that I've used to achieve such a look. It's pretty easy to do, and you can vary it to customize your look.
Step 1
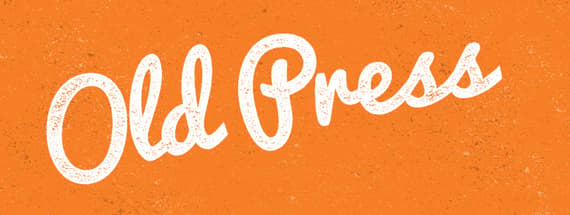
Start with a blank document in Photoshop. My document is 900x600 pixels at 72dpi. I filled the background with an orange color (#f67e26), and added some text. The font I chose is called Pacifico.
I tilted it slightly by going to Edit | Transform | Rotate.

First up, we want to create a duplicate of this text layer.

Step 2
Now, you can turn off the visibility on the bottom text layer by clicking the eyeball icon next to the layers thumbnail on the layers panel. On the top-most text layer we need to apply some layer effects. Let's start with reducing the Fill Opacity to 0.

Next, apply a rough outer glow with the following settings. This effect is very subtle and is used simply to make the edges of the text a little distressed as if they were printed on a rough surface or with an old press.

Then apply an Inner Glow with these settings. This is to give the inner edges of the text a more filled in look as if the ink ran to the edges leaving the center most portions of the letters thin and worn.

Last up, let's apply a stroke to the inside of the letters. This further defines the edges of the type.

Step 3
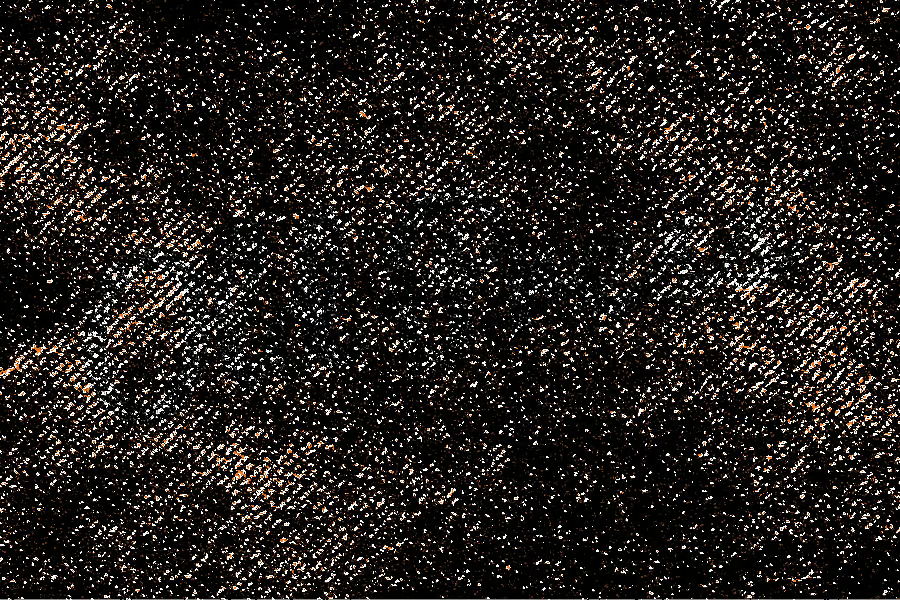
For this final step we'll need a transparent grunge texture. I've provided one here for you to download. Copy and paste the texture onto a new layer in our document. Then scale it down to roughly the same size as the document.

Now Cmd+Click the texture layer's thumbnail on the layers panel to make a selection.
Then turn off the texture layer's visibility by click the eye next to the thumbnail on the layers panel. Then turn the bottom-most text layer's visibility back on. Now, with the texture selection active, click the "Add Vector Mask" icon at the bottom of the layers panel.

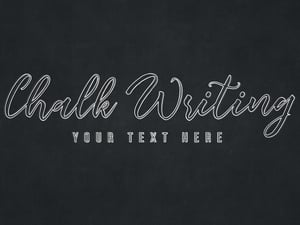
And there you have it! To wrap things up, I added some back ground texture by making another selection from the texture layer, and inverting it (Cmd+Shift+I) then filling it with solid white, and then again with solid black.

Conclusion
I hope you found this simple tutorial easy and effective. Test this method out on your lettering and illustration projects. Experiment with different textures to create a variety of worn out looks!


Comments