

by Diego Sanchez
April 30, 2018
Diego prevents carpal tunnel syndrome in designers worldwide by making incredible time-saving Photoshop actions and mock-ups.
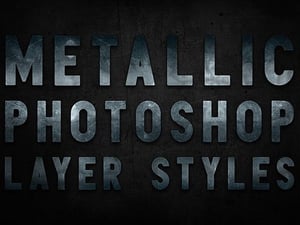
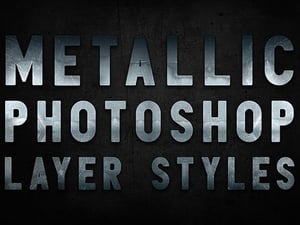

Create a Steely Metallic Texture in Photoshop
Make a Brushed Metal Texture from Scratch
Textures are a useful resource that almost all designers have in their toolbox. They can be used in an unlimited number of works and usually they give character to a design piece. Although you can find thousands of metal textures on the internet, sometimes you have to make your own to match your design-specific needs.
Today, you will learn how to create a metal texture in Photoshop from scratch using only default Photoshop tools, adjustment layers, layer styles and a few filters.
Step 1
Open Photoshop and go to File > New to create a new document of 1200 x 700 px.

Step 2
Press ‘D’ on your keyboard to reset the Foreground and Background colors and go to Filter > Noise > Add Noise. In the Add Noise window, set the amount to 100%, the Distribution to Gaussian, make sure Monochromatic is checked and click OK.

Step 3
Go to Filter > Blur > Radial Blur. Set the Amount to 55, the Blur Method to Spin, the Quality to Best and click OK.

Step 4
Hit Control+F on your keyboard to apply again the Radial Blur if you wish to achive a more clean look. Otherwise, you can leave it as is.

Step 5
Go to Layer > New > Layer from Background. Set the name to ‘Base’ and click OK.

Step 6
Go to Layer > Layer Style > Gradient Overlay. Set the Blend Mode to Overlay, the Opacity to 80% and the Style to Angle. Do not click OK yet.

Step 7
Click on the Gradient thumbnail to display the Gradient Editor.

Step 8
Double click on the black color stop and in the Color Picker window, set the color to #111111 and click OK.

Step 9
Click 3 times anywhere right under the gradient to add 3 instances of the same color to the gradient.

Step 10
Click on the first black color stop, and set the Location to 2.

Step 11
Now set the location for each of the remaining black color stops to 33, 66 and 98.

Step 12
Double click on the white color stop and in the Color Picker window, set the color to #c1c1c1 and click OK.

Step 13
Set the Location of this color to 16.

Step 14
Add 2 more instances of this color at 49% and 81% and click OK.

Step 15
While you still have the Layer Style window visible, click and drag the recently created gradient to match the center of the ‘Base’ texture. Once you are happy with the result, click OK on the Layer Style window.

Step 16
Go to Layer > New Adjustment Layer > Brightness/Contrast. Set the name of this layer to ‘Brightness/Contrast’ and click OK.

Step 17
In the Brightness/Contrast Properties panel, set the Brightness to -60 and the Contrast to 85.

Step 18
Go to Layer > New Fill Layer > Solid Color. Set the name of this layer to ‘Color’ and click OK.

Step 19
In the Color Picker window, set the color to #dae7ef and click OK.

Step 20
In the Layers Panel, set the Blend Mode of the ‘Color’ layer to Color.

Step 21
To add a bit more of darkness to the texture, go to Layer > New Adjustment Layer > Levels. Name this layer as ‘Levels’ and click OK.

Step 22
In the Levels Properties panel, set the Shadow Input level to 35, the Midtone Input level to 0,90, the Highlight Input level to 240 and in the Output Levels, set the Shadow to 5 and the Highlight to 250.

Step 23
Finally, if you do not want a polished metal, select the ‘Base’ layer and go to Layer > New Layer. Name this layer as ‘Clouds’ and click OK.

Step 24
Go to Edit > Fill. Under Contents select ‘White’ and click OK.

Step 25
Go to Filter > Render > Difference Clouds.

Step 26
Set the Blend Mode of the ‘Clouds’ layer to Darker Color and decrease the Opacity to 10%.

Some Final Notes
As we did our texture using adjustment layers, you can now easily control the metal color, brightness and intensity of the effect easily.


Comments