
by Diego Sanchez
October 04, 2017
Diego prevents carpal tunnel syndrome in designers worldwide by making incredible time-saving Photoshop actions and mock-ups.

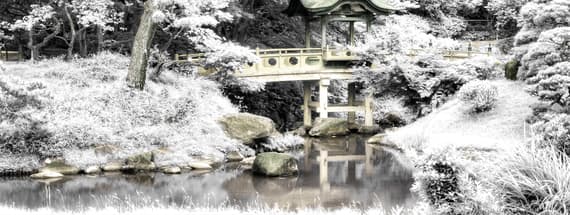
How to Make a Fake Color Infrared Effect in Photoshop
Colors Beyond the Human Eye
The Infrared light is beyond the human visible spectrum, but when it gets in contact with plants and grass the result is a surreal effect caused by the foliage reflecing the light strongly in the same way snow does with visible light making this photography method very popular for landscape photographers. But that is not the only IR photography type, the color ones are just as incredible as the Black and White ones. In this tutorial you will learn how to make a Fake Color Infrared Effect in Photoshop and also some quick tweaks you can make to give it an even more surreal effect.
Before you begin
If you want to follow this tutorial exactly, you can download the image I am using from here.
Download
Step 1
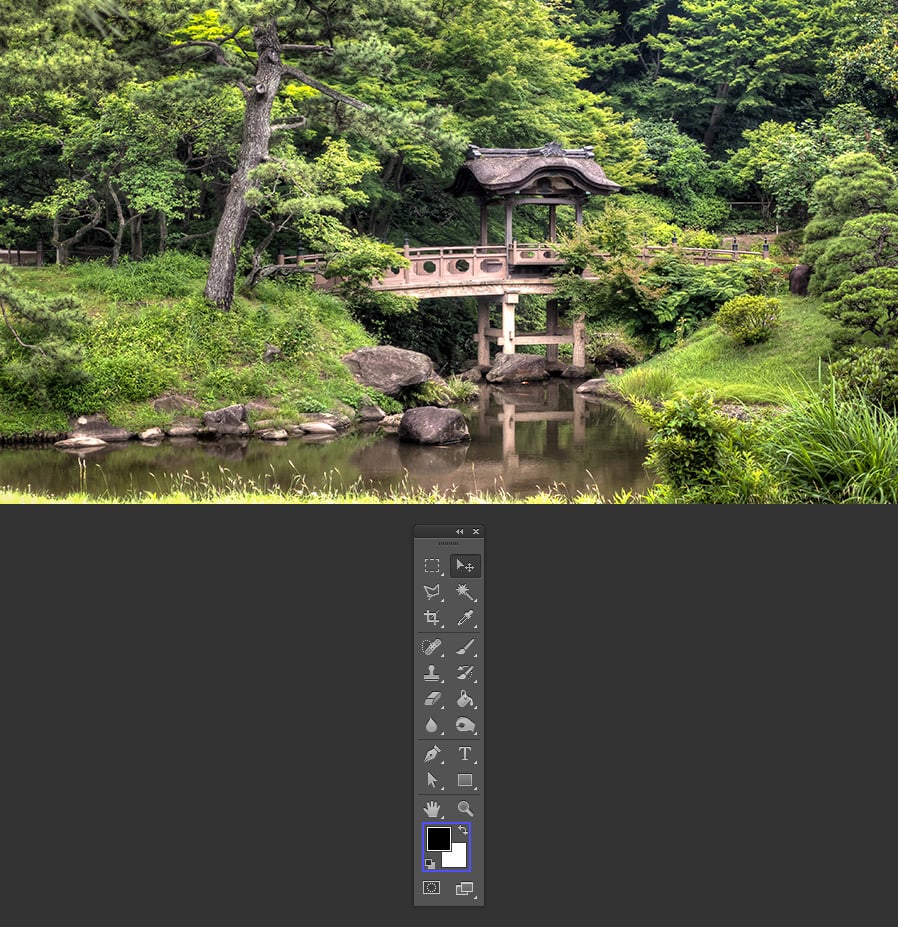
Open your image in Photoshop and press “D” on your keyboard in order to reset the Foreground and Background colors.
Step 2
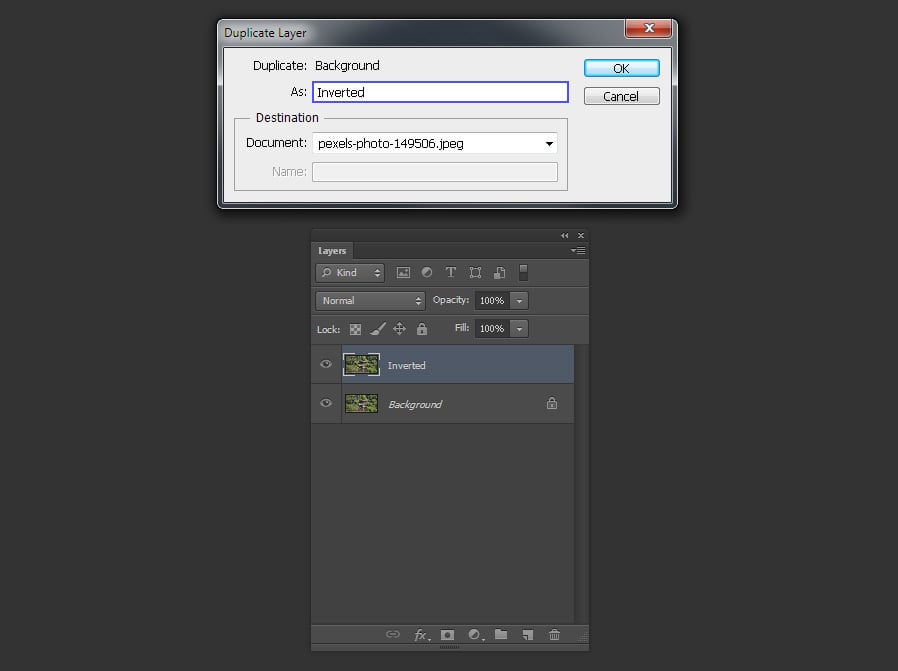
Select the background layer and go to Layer > Duplicate Layer. Name it as “Inverted” and click OK.
Step 3
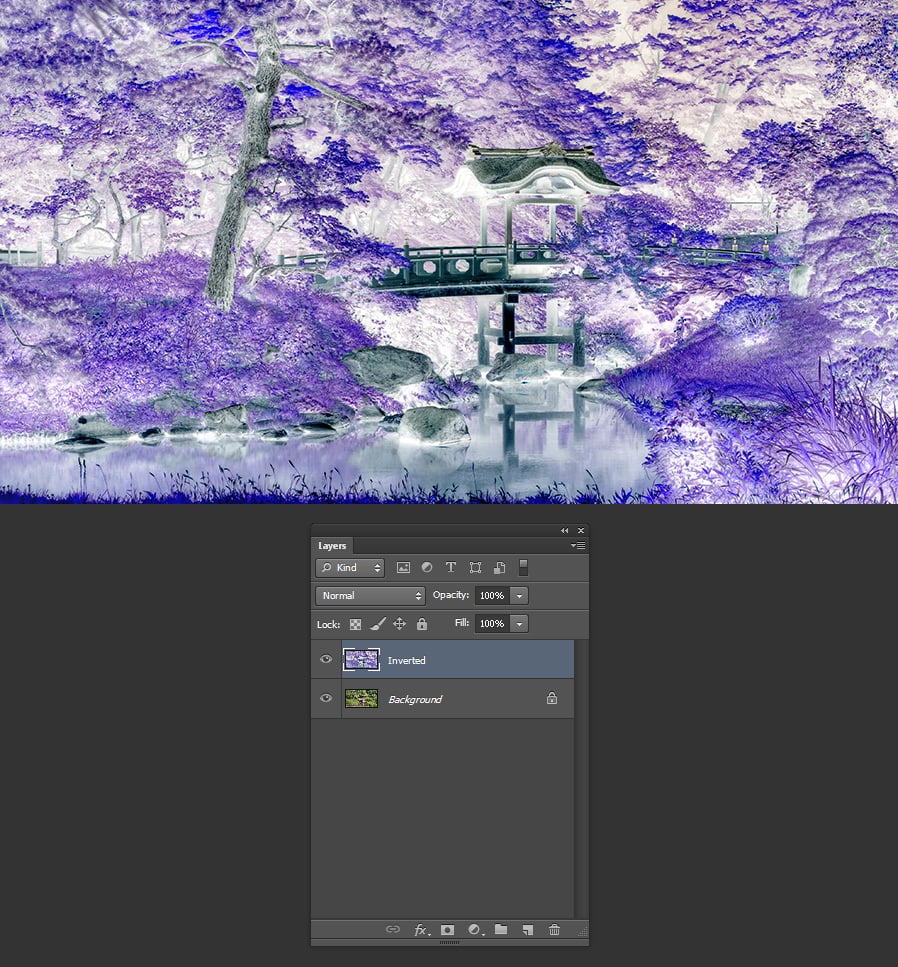
Select the “Inverted” layer and go to Image > Adjustments > Invert.
Step 4
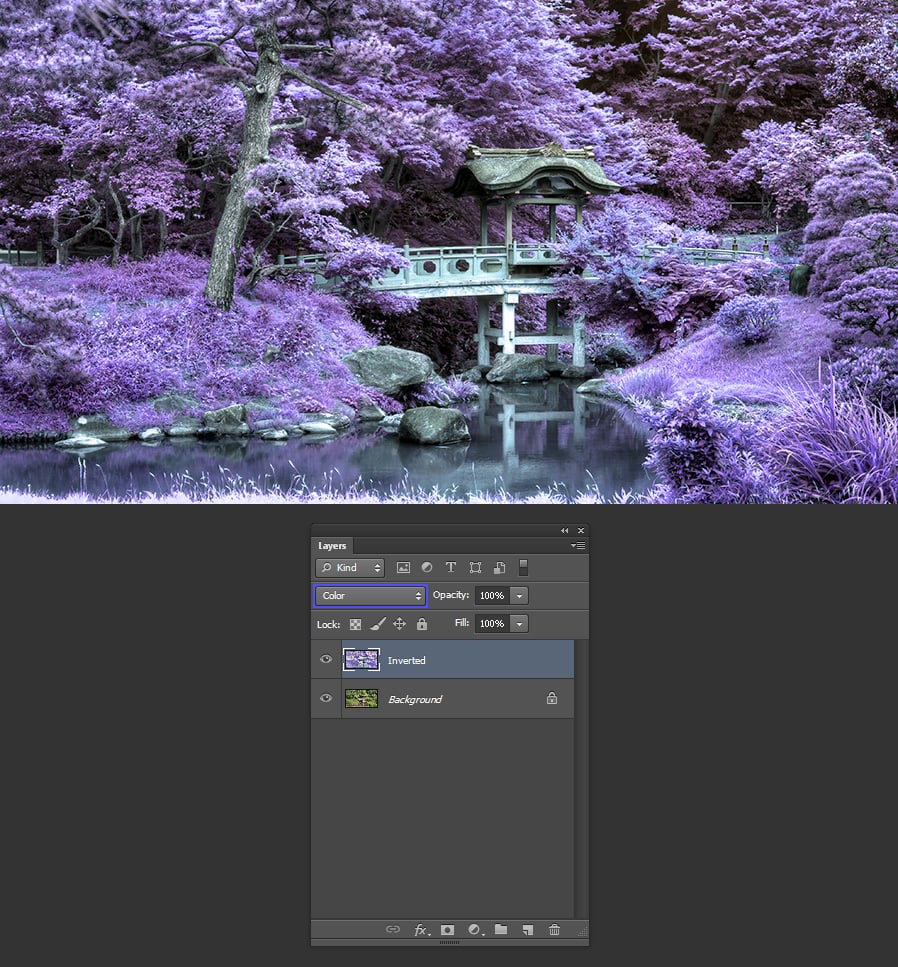
With the “Inverted” layer selected, set the blend mode in the Layers Panel to Color.
Step 5
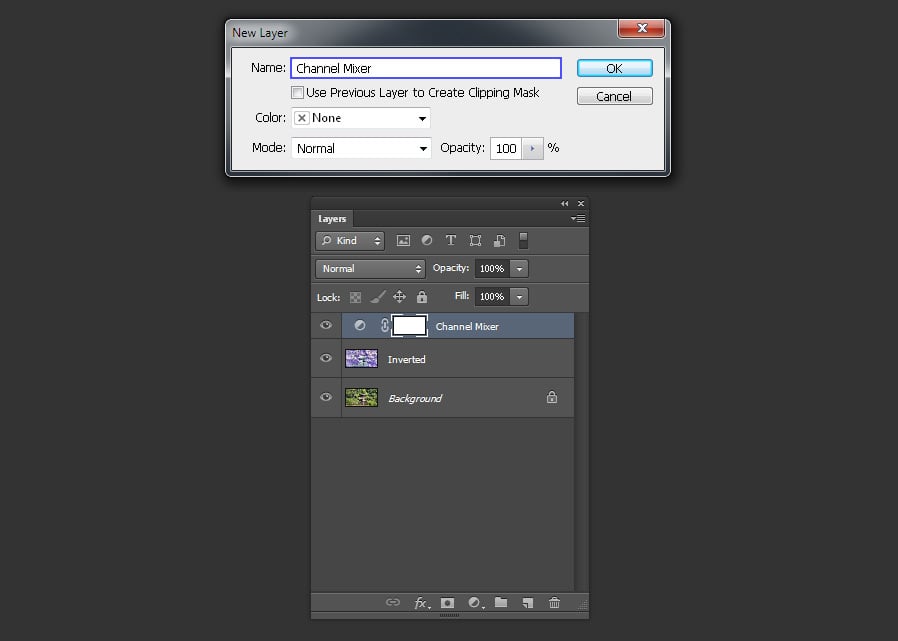
Go to Layer > New Adjustment Layer > Channel Mixer. Set the name of this adjustment layer to Channel Mixer and click OK.
Step 6
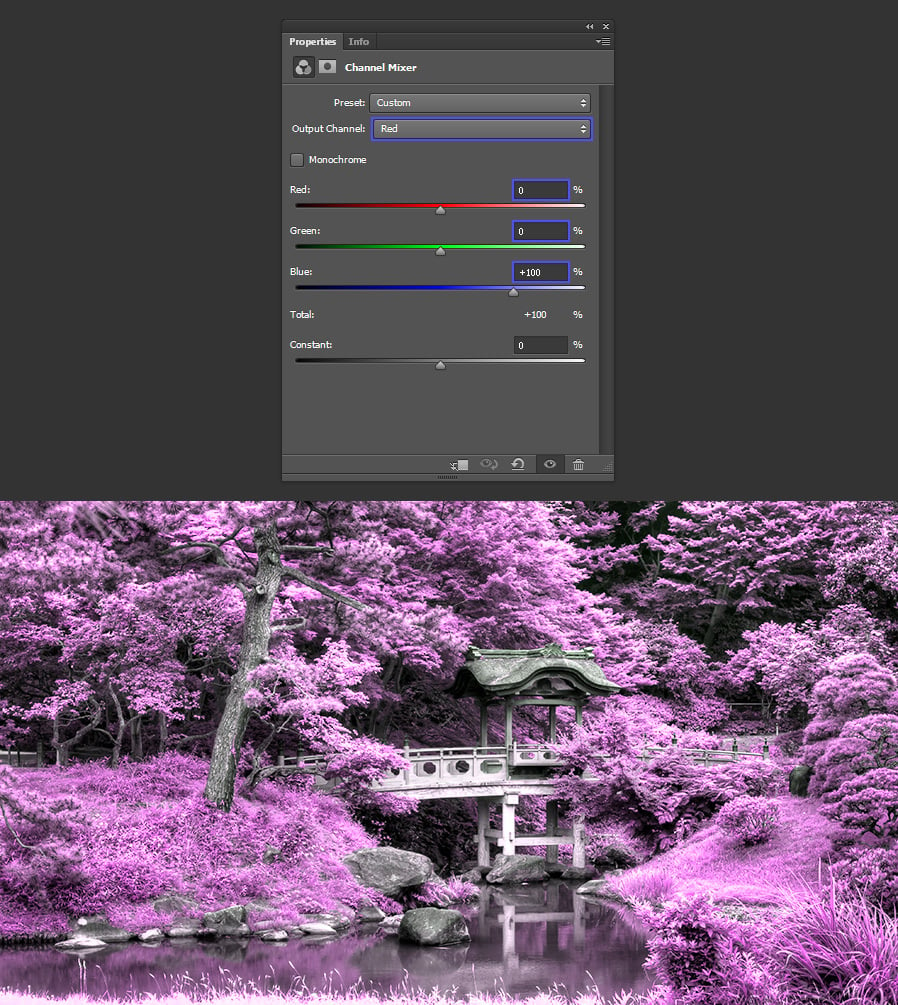
In the Properties panel, select the Red Output Channel and set the values to: Red = 0% Green = 0% Blue = 100%
Step 7
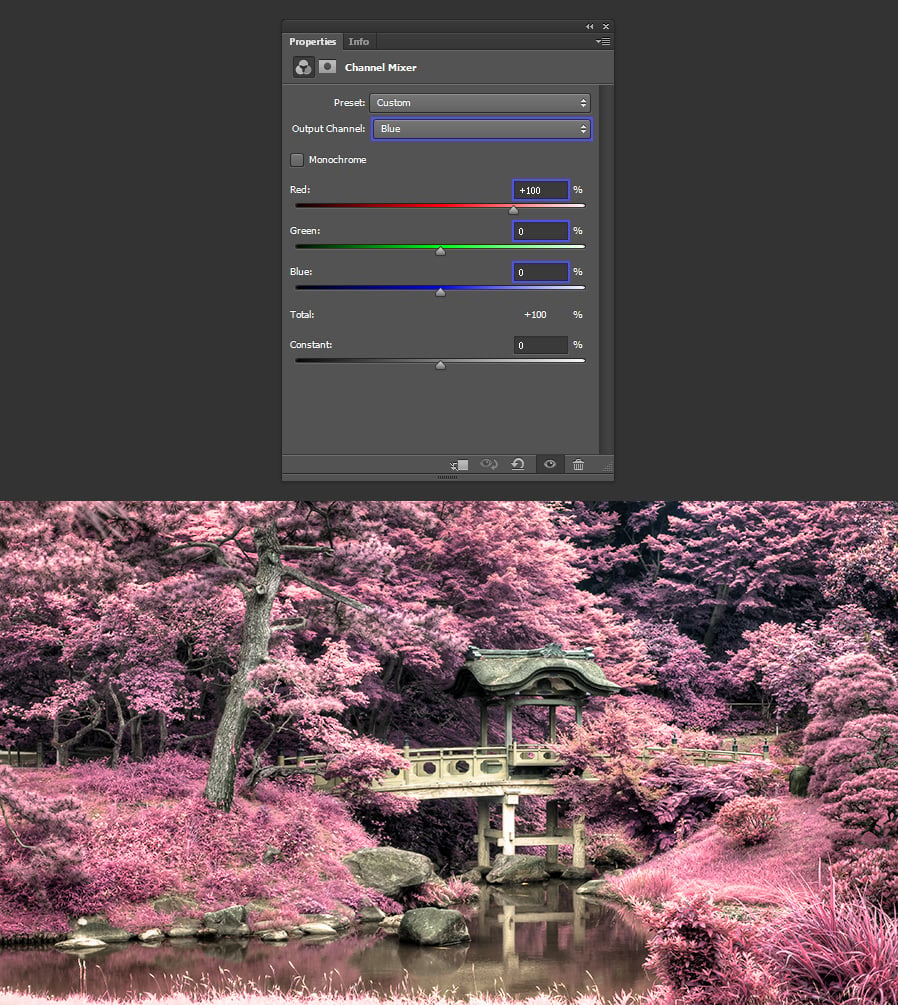
Still in the Properties panel, select the Blue Output Channel and set the values to: Red = 100% Green = 0% Blue = 0%
Step 8
Go to Layer > New Adjustment Layer > Hue/Saturation. Set the name of this adjustment layer to Hue/Saturation and click OK.

Step 9
In the Properties panel, select the Reds Channel and bring down the Saturation to -45 and the Lightness to +100
Note: if you are not using the same image from this tutorial you may need to change the values a bit to match your own picture.

Step 10
Still in the Properties panel, select the Yellows Channel and increase a bit the Saturation to +10 and the Lightness to +5
Note: if you are not using the same image from this tutorial you may need to change the values a bit to match your own picture.

Step 11
Now select the Blues channel and increase the Hue to +5, decrease the Saturation to -30 and set the Lightness to +25
Note: if you are not using the same image from this tutorial you may need to change the values a bit to match your own picture.

Step 12
Finally, select the Magentas channel and bring down the Saturation all the way down to -100 and the Lightness all the way up to +100
Note: if you are not using the same image from this tutorial you may need to change the values a bit to match your own picture.

Step 13
To make it look a bit more like a real IR image we will add some glow to it. With the “Hue/Saturation” layer selected, press Control+Alt+Shift+E (Command+Option+Shift+E if you are on a Mac) on your keyboard in order to create a new copy of the merged layers.

Step 14
With the merged layer active go to Layer > Rename Layer and rename this layer to “Glow”.

Step 15
To easily adjust the effect we will apply to this layer, first we will convert it to a Smart Object. Go to Layer > Smart Objects > Convert to Smart Object.

Step 16
Go to Filter > Filter Gallery. Inside the Distort folder, select the Diffuse Glow effect and set the following values: Graininess = 2 Glow Amount = 2 Clear Amount = 15 and click OK

Step 17
At this point the glowing effect takes too much attention, so we will bring it down a bit. First, in the Layers Panel change the blend mode of the “Glow” layer to Screen, then, bring down the Opacity to 50%.

Step 18
To finish our image, we will create a Curves adjustment layer. First, select the “Hue/Saturation” layer and then go to Layer > New Adjustment Layer > Curves. Set the name of this layer to Curves and click OK.

Step 19
In the Properties panel of the Curves layer, click once over the curve and set the point value to: Input = 185 Output = 195. Then again, click over the curve graph and set this point value to: Input = 70 Output = 60

Here is our before and after:

Some Simple Tweaks
There are many different ways to tweak the image colors, a simple one is to hide the “Hue/Saturation” layer:

Another way, is to change the Hue/Saturation values on the Reds channel to: Saturation = +90 Lightness = -50

Also you can change the Constant value to -200% in the Red channel of the “Channel Mixer” layer:


Comments