
by Tony Thomas
July 08, 2014
Tony creates pixel-perfect UI kits & icons. His pug, Wednesday, is Medialoot's beloved mascot.

How to Create an Abstract Mosaic Background in Photoshop
Learn how to use filters, smart objects and adjustment layers in Photoshop to convert a photograph into a unique abstract mosaic effect. Perfect for making custom wallpapers for your devices or desktop.
Introduction
This effect is created in 3 stages by applying filters and adjustments to a base image. The photograph that you select for the base image will define the overall color scheme and atmosphere of the result. Unsplash is a brilliant source for high quality royalty free photographs if you don't already have one. Here is a link to download the photograph used in this tutorial by Fré Sonneveld.Step 1
Create a new document in Photoshop with the intended final dimensions for your background, 3000 x 2000 pixels will cover most devices and screen resolutions.
Step 2
Place the image you want to work with into your document. If it isn't already, convert it to a Smart Object and then resize the image to fill the document canvas. Duplicate the Smart Object twice so that you have 3 identical layers.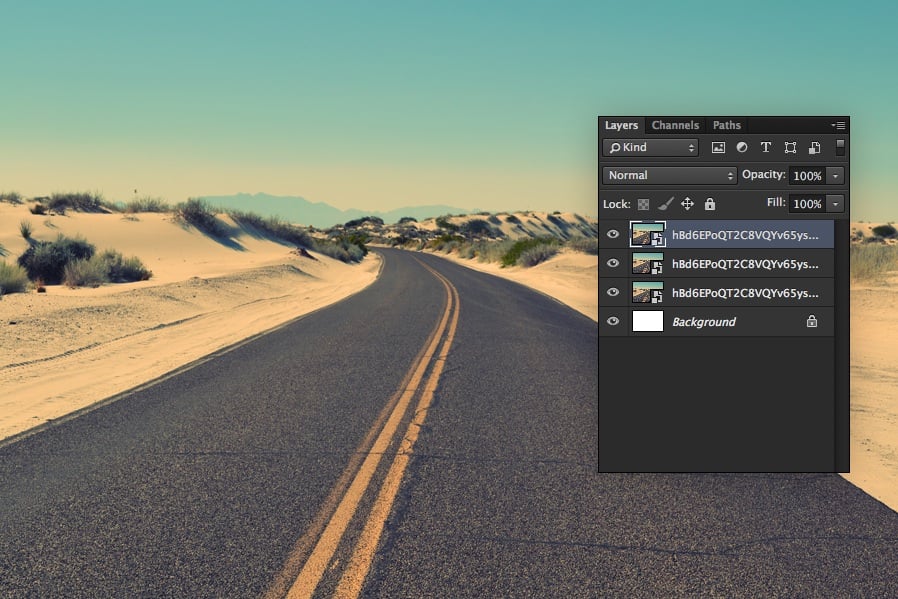
Step 3
This effect requires 3 layers so we will be focusing on only one layer at a time. Hide the top two Smart Object layers and select the first layer. Optionally you can rename them 'Layer 1', 'Layer 2' and 'Layer 3'.
Step 4
On 'Layer 1' apply a Gaussian Blur filter with a radius of 250 pixels, and that is all we will do to the first layer.
Step 5
Select 'Layer 2' and make it visible, then apply another Gaussian Blur with the same settings as the first layer.

Step 6
Apply the Crystallize effect which can be found under the Filter > Pixelate menu with a Cell Size of 250. Then also apply the Find Edges filter.

Step 7
Add a new 'Invert' Adjustment layer and create a clipping mask so that it only effects 'Layer 2'. Do the same with a Hue/Saturation adjustment layer and move the Saturation value down to -100.
 Note: If you are using an older version of Photoshop without Adjustment layers you will need to rasterize the Smart Object first and use the Legacy Hue/Saturation and Invert.
Step 8
Set the Blending Mode of 'Layer 2' to Screen. This completes the second stage of the effect.
Step 9
Moving on to 'Layer 3', apply another Gaussian Blur and Crystallize filter.


Step 10
Add a Hue/Saturation adjustment layer with -100 saturation, and make a clipping mask with 'Layer 3'.
Step 11
Set the Blending Mode of 'Layer 3' to Overlay.
Result

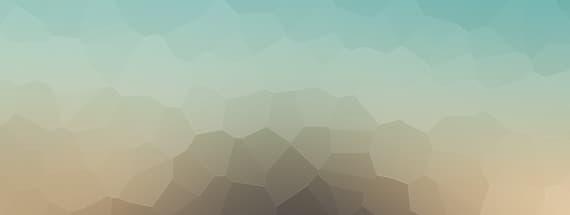
 The result should be this very attractive abstract mosaic effect using the original photograph for colors and shading. One of the benefits of using Smart Objects is that the effect can easily be changed by double clicking the Smart Object layer icon and replacing the image with another.
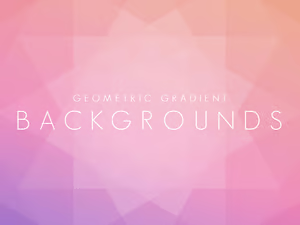
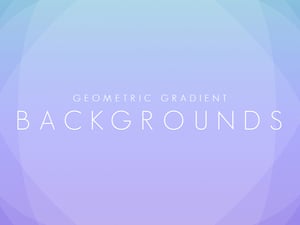
Examples Using Different Images


Related Resource


Comments