How to Create A Dynamic Scribbled Text Effect
Hand Drawn Text Effect Using Photoshop & Illustrator
This simple, fun tutorial will show you how to create a dynamic scribbled text effect using Photoshop and a little bit of Illustrator. With any luck, following these steps will have you using filters and effects that you either don't get to play with often enough, or may have never used before!
Step 1
Create a new document in Photoshop 1600 x 900 px with a white background.
Step 2
Use the Text tool to create a new type layer, and enter your text. I have used Helvetica Neue Regular and typed the word 'Scribble'.
Step 3
Right click the text layer and Convert to Smart Object.
Step 4
Go the Filter > Distort menu and select Zig Zag. Enter -5 for the amount, 10 for Ridges and Out From Center for the Style.
Step 5
Set the fill opacity for the Smart Object layer to 0, and add an Inner Shadow style with the settings below. Also create a similar Drop Shadow style with only 1px for the Size. These 2 shadows together form a stroke/outlined effect with rough edges.


Step 6
Duplicate the Smart Object layer and with the new topmost layer selected, go the Filter > Distort menu and select Twirl. Enter 4 degrees for the Angle.

Step 7
Duplicate the top layer again and this time double click the Twirl effect in the Layers panel underneath Smart Filters. Change the angle of the Twirl effect to -3 degrees.

Step 8
Adjust the layer styles for the same layer, change the Opacity to 50% in Blending Options, and disable the Inner Shadow effect.


Step 9
We will now need the assistance of Illustrator to create some diagonal scribbled lines. Open Illustrator and create a new blank document at 2000 x 2000 px.
Step 10
Draw a large rectangle with a black fill that fits the exact dimensions of the canvas.
Step 11
Go to the Effect > Stylize menu and select Scribble. Use the settings in the screenshot below to create a suitable scribble effect.
Step 12
Copy the rectangle with the scribble effect from Illustrator and go back over to Photoshop. Create a new document in Photoshop with a transparent background, and paste the scribble effect in as a Smart Object.

Step 13
Go to the Edit menu and select Define Pattern.
Step 14
Go back to the original document in Photoshop and select the first text layer again. Add a Pattern Overlay with the pattern you just created. Deselect Link with Layer and then click Snap to Origin.

Result
Here is the final result: I hope you enjoyed following this simple, fun tutorial! You can adjust the results by experimenting with different values for the ZigZag and Twirl filters. You also have tonnes of options available in Illustrator to tweak the scribbled lines effect. And don't forget that if you want to change the text you can edit the Smart Object without needing to redo any steps.
Related Resource

Chalk Text Effects (Psd)
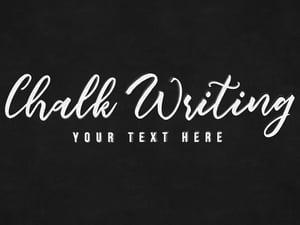
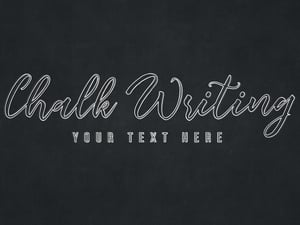
This free photoshop mockup allows you to instantly create impressive, hand drawn chalk text effects. Included are 4 different styles, solid, outlined, scribbled and 3D. Download it for free.
Download


Comments