

by Diego Sanchez
February 08, 2022
Diego prevents carpal tunnel syndrome in designers worldwide by making incredible time-saving Photoshop actions and mock-ups.


Easily Make a Rustic Paint Wood Effect in Photoshop
Photoshop Effects
There are many different methods to make a rustic paint wood effect in Photoshop. These range from changing the "Blend If" option in the Layer Styles panel, adding textures over textures, or even more complex methods using various distorion effects like Median, ripple etc. But today I would like to show you a simple method. It only requires a single texture (the one you want for your background) and just one distortion effect.
Step 1
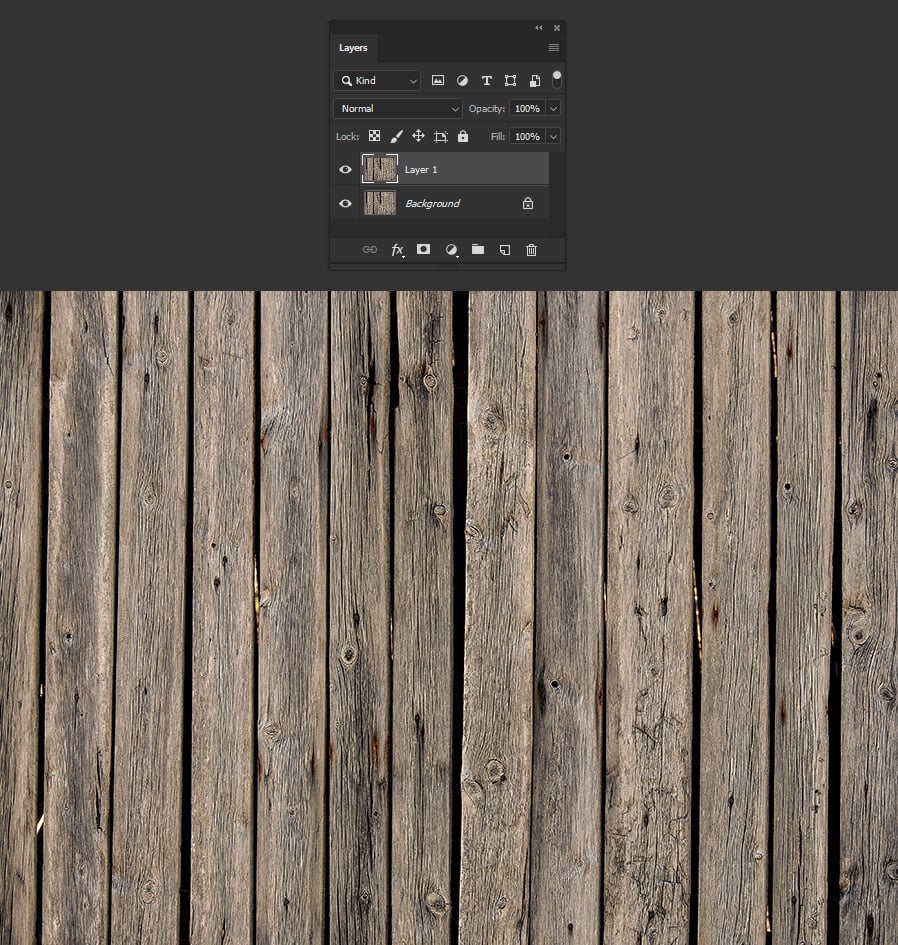
Open the background wood image that you like to use in Photoshop.

Step 2
Press Ctrl+J on your keyboard to duplicate the background layer.
Step 3
Go to Image > Adjustments > Desaturate.

Step 4
Go to Image > Adjustments > Levels. Adjust the levels to achieve a good contrast between blacks and whites while removing some of the midtones with the sliders.

Step 5
Go to Select > All and the to Edit > Copy Merged.

Step 6
Go to File > New and make a new file with the same dimensions of your original image.

Step 7
In the new file, go to Edit > Paste. Save this file on your computer as "Displacement Map.psd" and close the file.

Step 8
Back in the original file, delete the desaturated background layer.

Step 9
Draw, type or place your logo/drawing in a new layer above the Background.

Step 10
With your design layer selected, go to Layer > Smart Objects > Convert to Smart Object.

Step 11
Go to Layer > Layer Mask > Reveal All.

Step 12
Go to Windows > Channels. Select your design layer and click on the eye icon to reveal the mask.

Step 13
Go to Edit > Paste. This will paste the texture from the clipboard we saved.

Step 14
Hide the Channel by clicking again in the eye icon.

Step 15
In the Layers Panel, be sure to select the thumbnail of your design, not the layer mask.

Step 16
Go to Filter > Distort > Displace. Apply the following settings and click OK.

Step 17
Locate the "Displacement Map.psd" on your computer and click Open to apply the displacement on your design.

Step 18
Lastly, and to fine tune the effect, select the layer mask of your design and press Ctrl+L to open the Levels window. Adjust the Shadow, Midones and Highlight sliders to reveal or hide different parts of your design.


Comments