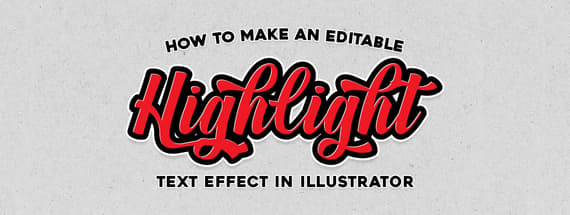
How to Make an Editable Text Highlight in Illustrator
Illustrator Text Effects
Highlighting text could be a good resource to add visual interest and emphasis to your designs. Mostly used in illustrations, this could be a great effect to use, especially over text, particularly on your website hero headers, posters, or even if you are working on a graffiti-style text effect. So today, I will show you an easy method to make a fully editable highlight text effect in Illustrator using the powerful Appearance Panel.
Step 1
Open Illustrator and make a new file at any size you want. In this case I will make mine at 1800 x 1200 px.

Step 2
Select the Type Tool (T) and using any font type your text.

Step 3
With the text selected, go to Window > Pathfinder.

Step 4
Click on the top right menu icon and from the dropdown menu select "Make Compound Shape".

Step 5
Go to Window > Appearance.

Step 6
Click on the "Add New Fill" icon twice to add 2 new fills.

Step 7
Select the first Fill layer and pick any color you want to use for your text highlight. In this case I will set mine to White.

Step 8
Click on the "Add New Effect" icon and from the dropdown menu select Distort & Transform > Transform.

Step 9
Apply the following settings and click OK.

Step 10
Again, Click on the "Add New Effect" icon and from the dropdown menu select Pathfinder > Minus Back.

Step 11
Drag the "Minus Back" layer below the "Transform" layer.

Step 12
Select the second Fill layer and pick any color that you want to use for your text. Here I've set mine to Red.

Step 13
Select the third fill layer, click on the "Add New Effect" icon and from the dropdown menu select Path > Offset Path.

Step 14
Lastly, apply the following settings on the Offset Path window and click OK.

Some Final Notes:
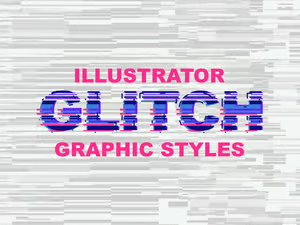
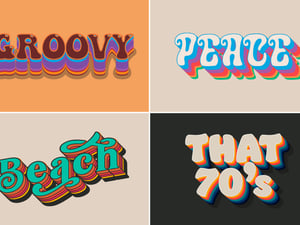
Now that you know how to make an Editable Text Highlight in Illustrator, you can edit your text as you normally do in Illustrator and easily change the text and highlight colors in the Appearance Panel like in the following examples.







Comments