
Easily Make a Custom Halftone Scuff in Photoshop
Photoshop Custom Textures
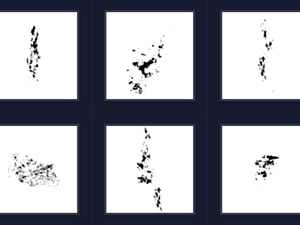
Halftone effects has been used for a long time on posters, album covers and all kind of digital illustrations due it offers a versatile addition to any project, adding a touch of organic texture, and visual interest while giving your creations a retro character. There are of course many different methods to make a halftone effect, but today, I will show you how easy is to make your own halftone scuff starting with a simple pen and paper and then applying some Photoshop filters to make it look aged and enhance your designs with a distinctive handcrafted aesthetic.
Step 1
Using a black pen over a white piece of paper make any kind of scribble you want, just try to keep the overall shape as close as possible to the scuff you want to get. Then scan it using at least a 400 dpi resolution so we can end up with a large image, which will be of great help to get a more precise effect. All scanners have different interfaces, but they all share more or less the same settings, so as a general guidance use the Color Mode in Grayscale and a Resolution of at least 400 dpi.

Step 2
Open the scanned image in Photoshop.

Step 3
Go to Layer > Smart Objects > Convert to Smart Object.

Step 4
Go to Filter > Blur > Gaussian Blur. Set the Radius to 2 pixels and click OK.

Step 5
Go to Filter > Pixelate > Color Halftone. Apply the following settings and click OK.

Step 6
Next, go to Filter > Noise > Median. Set the Radius to 2 pixels and click OK.

Step 7
Go to Filter > Filter Gallery. Under "Sketch", select the "Graphic Pen" effect and apply the following settings.

Step 8
Still in the Filter Gallery window, click on the "New Effect Layer" icon.

Step 9
Under "Distort" select the "Glass" effect, apply the following settings and click OK in the Filter Gallery window.

Step 10
Lastly, go to Filter > Blur > Gaussian Blur. Set the Radius to 0,5 pixels and click OK.

Conclusion:
Now that you know how to make your own custom halftone scuffs, you can use them as an overlay on any graphic or picture that you want to create a whole new atmosphere on your compositions, make layer masks or even convert them to vector in Illustrator and make vector patterns to extend the use of these halftone effects.


Comments