Quick Tip: How to Make Retro Text with Illustrator Roughen Tool
Retro text and graphics are all the rage. Adding some vintage flair to your designs can easily help your designs transform into another era, but it's also important to remember that a lot of vintage designs are worn, weathered, and imperfect. In this quick tip, I'll show you how to quickly add some character to your design elements using the Roughen Tool in Illustrator.

Step 1: Lay Out Your Text and Graphics
First, lay out your text and graphics in Illustrator. I've already added a Wave, Drop Shadow and Stroke to the "Taffy" text and added a taffy illustration.
Step 2: Apply the Roughen Tool
Select the text you wish to edit using the Selection Tool (V). In the menu, choose Effect → Distort & Transform → Roughen…. When the window pops up, check the Preview box so you can see what's going on. You can see that by default, the Size is set to 5%, Detail is at 10/in and Relative and Corner Points are selected. This produces quite a crazy effect.
Step 3: Adjust the Options in the Roughen Tool
Since we only want the text to be slightly imperfect, we can reduce the Size to 1px, change the positioning to be Absolute, and lower the Detail to 8/in. Also, it'll look less severe if we choose Smooth Points. Tweak the Size and the Detail until you get your desired look.

Step 4: Apply the Roughen Effect to Other Elements
Once you have your Roughen Effect perfected for the text, you can easily apply the same effect to the other elements.
With the Selection Tool, select the other elements in your design and then click Effect → Apply Roughen.
Now all of your elements have that imperfect, vintage touch. Adjust if needed.

Step 5: Finish in Photoshop
Once your text and image elements are perfected, you can drop these pieces into Photoshop.
I've used the following resources to finish up:
- Vector Labels and Frames for the sign shape
- Galvanized Metal Textures for a slight texture
- Free Subtle Grunge Brushes on top of everything to enhance the worn look
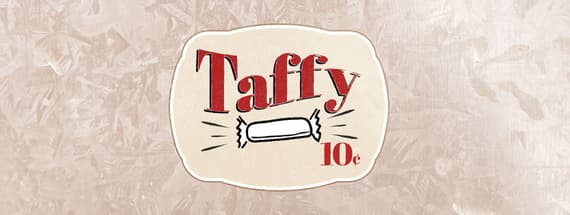
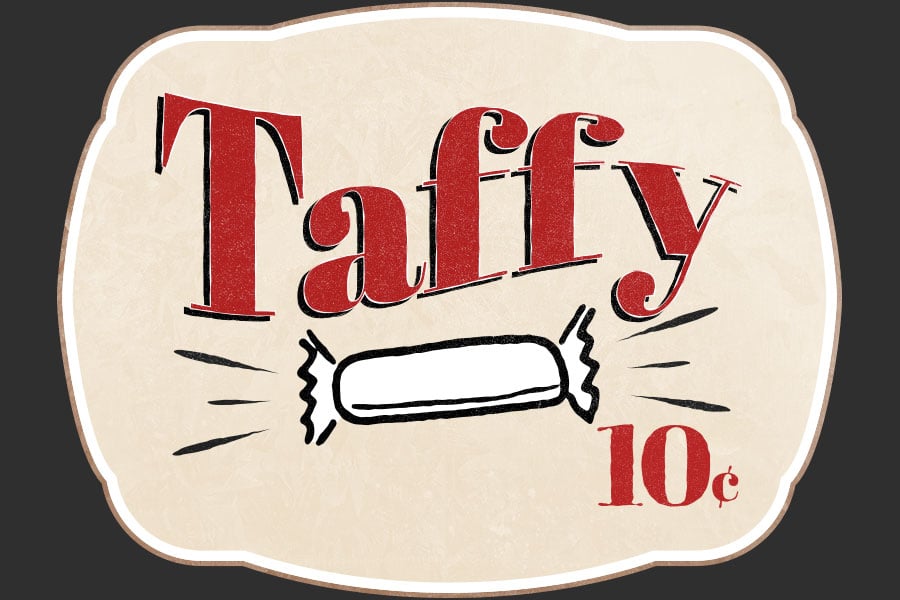
Again, here's our final product.
 Give it a shot and let me know how it goes!

Step 5: Finish in Photoshop
Once your text and image elements are perfected, you can drop these pieces into Photoshop. I've used the following resources to finish up:- Vector Labels and Frames for the sign shape
- Galvanized Metal Textures for a slight texture
- Free Subtle Grunge Brushes on top of everything to enhance the worn look
 Give it a shot and let me know how it goes!
What are your favorite Effect tools in Illustrator?

Comments