
How to Turn a Map into an Artistic Line Drawing
Vectorize a Map
Turning a Map into an Artistic Line Drawing it is easier than you think — you just need the right tools. Sure, you could use the Pen Tool in Illustrator to manually trace a map, or clean a Google map in Photoshop to remove labels (and then trace it into Illustrator only to see that the colors are not plain enough and you have hundreds of anchor points)... Or you could spend 5 minutes doing it this way.
Preparing the Map
Step 1
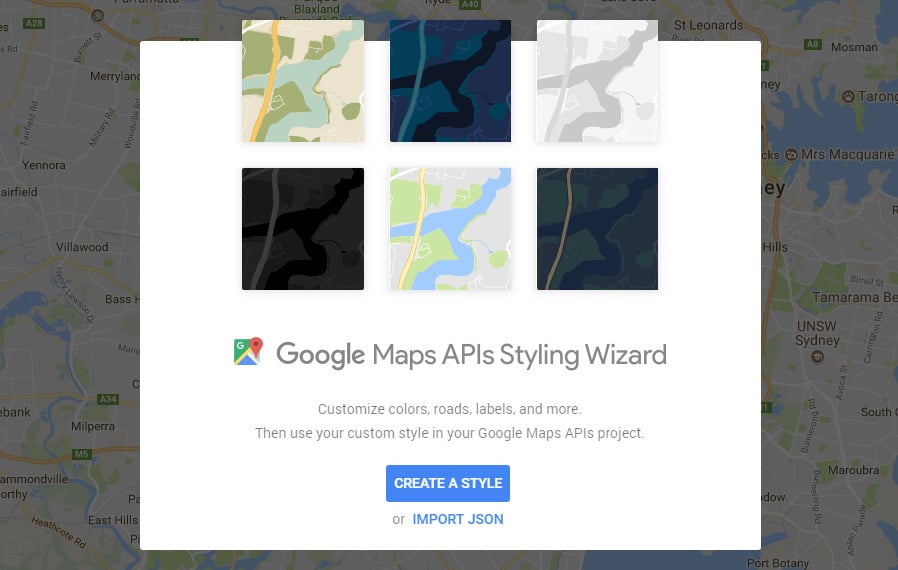
Go to the Google Map Styling Wizard and click on ‘Create a Style’ button on the welcome screen.
Step 2
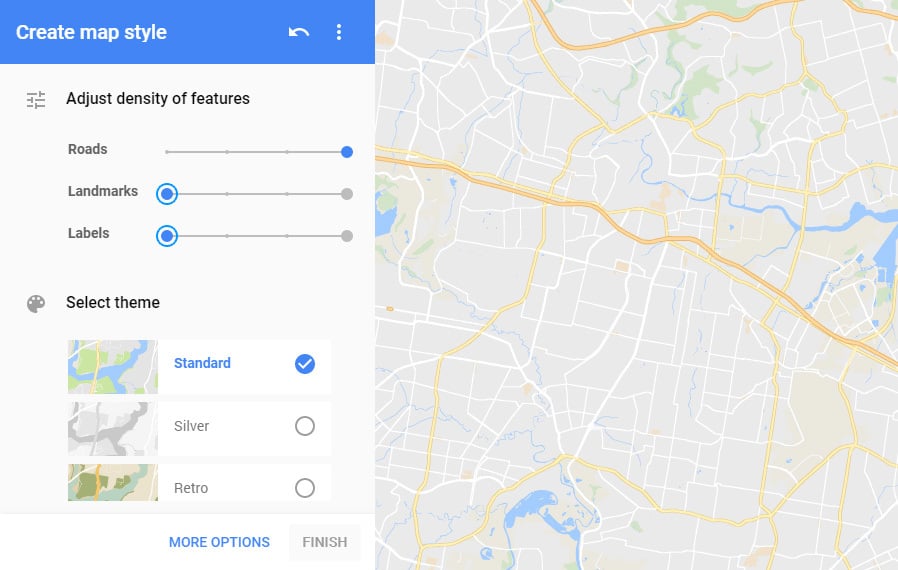
On the left panel, set the ‘Landmarks’ and ‘Labels’ options all the way to the left and be sure to have the ‘Standard’ theme selected.
Step 3
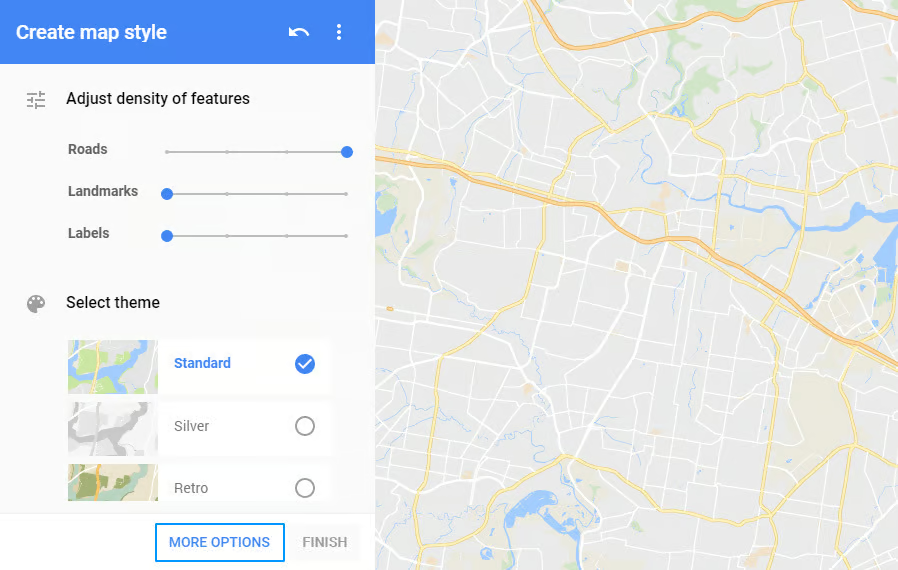
Clik on the ‘More Options’ link on the bottom of the left panel.
Step 4
On the left panel, under the ‘Road’ feature click on Highway and the under ‘Geometry’ click on ‘Fill’.

Step 5
Click over the yellow color box, and set the color to Black.

Step 6
Now, under ‘Element type’, click on ‘Stroke’ and set the Visibility to ‘hidden’.

Step 7
On the left panel, under the ‘Road’ feature click on Arterial and the under ‘Geometry’ click on ‘Fill’.

Step 8
Click over the black color box, and set the color to a medium gray like #787878

Step 9
On the left panel, under the ‘Road’ feature click on Local and the under ‘Geometry’ click on ‘Fill’.

Step 10
Click over the gray color box, and set the color to a light gray like #C4C4C4

Step 11
On the left panel, click on the first selector ‘All’ and then under the Element type ‘Geometry’ click on ‘Fill’.

Step 12
Click over the light gray color box, and set the color to White.

Step 13
Now that our basic map style is set, click on ‘Fewer Options’ to collapse the panel and leave more room to our map.

Step 14
Search for an address or location and put your map in position to take a screenshot.
Note: In this example I’ve searched for ‘O S Ranch Museum, East Main Street, Post, TX, USA’

Step 15
Take a Screenshot of the map using your favorite method and save it as JPG or PNG anywhere on your computer.

Tracing the Map
Step 1
Open Illustrator and create a new file with the size of your screenshot. In this case it will have 1540 x 975 px.

Step 2
Go to File > Place. Locate your Screenshot and click on Place.

Step 3
With the screenshot selected, click on the down arrow of the Image Trace button on the top bar, and select ’16 Colors’ from the dropdown menu.

Step 4
Before expanding the map, we will make some settings adjustments to get the best result. Go to Window > Image Trace to open the Image Tracing Options Panel.

Step 5
In the Image Trace Panel, set the Paths to 90%, the Corners to 0%, the Noise to 1% and be sure to have the ‘Ignore White’ option checked.

Step 6
Now in the top bar, click on the ‘Expand’ button.

Step 7
Go to Object > Ungroup. Using the Selection Tool (V) click and drag starting outside the artboard until you reach an empty fill area at the map side.

Step 8
Go to Select > Same > Fill Color. This will select all the empty areas of our map where it was white.

Step 9
Go to Edit > Clear, or simple hit the Delete key on your keyboard. This will delete the all the selected empty areas of our map leaving only the fills with the streets from our screenshot.

Some Final Notes
Instead of using the Pen tool in Illustrator to manually draw your map, this method is much more easier and quicker. Although sometimes due the map section you may choose will not give you a ‘perfect’ end result with perfectly clear edges, it is a good idea to try this method first before manually tracing the map and save some of your precious time. With the street map already vectorized, you can now scale it, rotate it or change the colors of the background, the Highways, Arterial and Local streets to your liking to make it look perfect on your project.






Comments