

by Tony Thomas
January 28, 2014
Tony creates pixel-perfect UI kits & icons. His pug, Wednesday, is Medialoot's beloved mascot.
How To Create an Instagram Style Vintage Photo Filter in Photoshop
This tutorial will guide you through the process of creating Instagram-esque vintage photo filters in Photoshop, by learning these simple steps you will be able to craft your own unique effects with unlimited possibilities.
Step 1
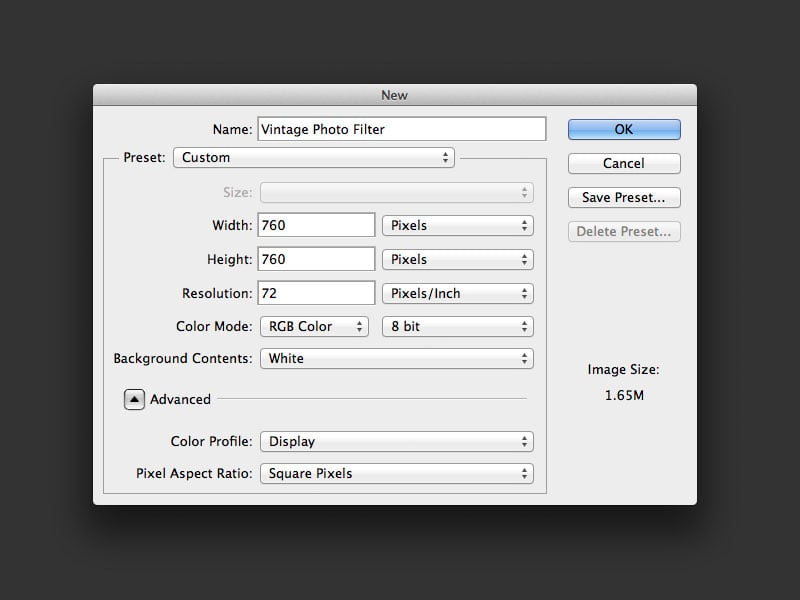 To start of with, launch Photoshop and create a new blank document. The width and height should be of equal values. The actual size is up to you and depends on the desired final output as well as the resolution of the photograph you want to work with. In general the higher the better as you can always decrease the size later.
Step 2
 Create a new blank layer and name it 'Photo'. In the layers palette right click the new layer and select Convert to Smart Object
Step 3
 Double click the thumbnail of the Photo layer to enter the Smart Object. Now paste your photograph into the Smart Object and arrange it as desired.
 Save and close the Smart Object to return to the main document. Your layers palette should look similar to how it is show in the image above.
Step 4
 To create a border around your image select the Image > Canvas Size feature from the Photoshop menu bar and add approximately 5% to the width and height values.
Step 5
 Double click the Background layer to unlock it and then apply an Inner Glow to the layer to darken around the edges of the border.
Step 6
 To create a feathered effect around the edges of the photo that meet the white border, a simple white Inner Shadow applied to the 'Photo' layer will do the trick.
 And a radial Gradient Overlay will also create a subtle vignette effect.
Step 7
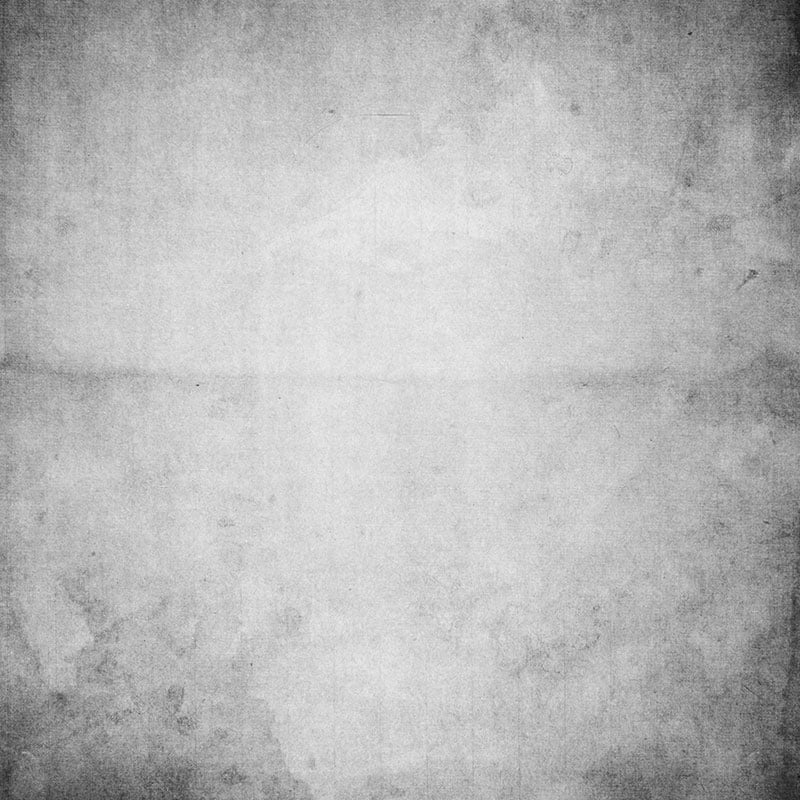
 A great way to create an aged effect is by adding a grunge texture overlay. I found this texture (free download) in the Antique Paper Textures on Medialoot.
Step 8
 Use the Hue/Saturation feature or shortcut CMD+SHIFT+U (Mac) / CTRL+SHIFT+U (Win) to completely desaturate the grunge texture.
Step 9
 Set the Blending Mode of the grunge texture layer to Overlay and adjust the intensity of the effect with the Opacity.
Step 10
 A common characteristic of Instagram filters is the light leak effect which retro cameras would sometimes create. This is quite a simple effect to recreate in Photoshop. Begin by creating a new layer named 'Light Leak' and mode of 'Linear Dodge (Add).
Step 11
 Select the Brush tool and this (free sample) from the 60 Light Leaks set on Medialoot.
With the foreground colour set to red, draw a light leak onto the canvas (note: I have hidden the other layers to focus on the placement of the brush in the image above. Your effect will appear much more subtle)
Select the Brush tool and this (free sample) from the 60 Light Leaks set on Medialoot.
With the foreground colour set to red, draw a light leak onto the canvas (note: I have hidden the other layers to focus on the placement of the brush in the image above. Your effect will appear much more subtle)

Step 12
 Using a 'Curves' Adjustment Layer boost the low and high ends of the spectrum by creating a curve shape similar to in the image above.
Step 13
 Using a 'Hue/Saturation' Adjustment Layer tick the 'Colorize' option and move the Hue slider to create a Sepia colour.
 You can then adjust the intensity of the Sepia effect with the Adjustment Layer's Opacity.
Result/Comparison
 Here is the final result (on the left) compared to the original photograph (right). As you can see, just by applying a few simple effects we can create a beautiful vintage filter that really brings out the details of the original image. And of course this is a 'filter', so we can apply this filter to any other image by simply going back to the original Photo Smart Object and replacing the image.

 Photo Credits:
Comments