

by Diego Sanchez
January 16, 2024
Diego prevents carpal tunnel syndrome in designers worldwide by making incredible time-saving Photoshop actions and mock-ups.


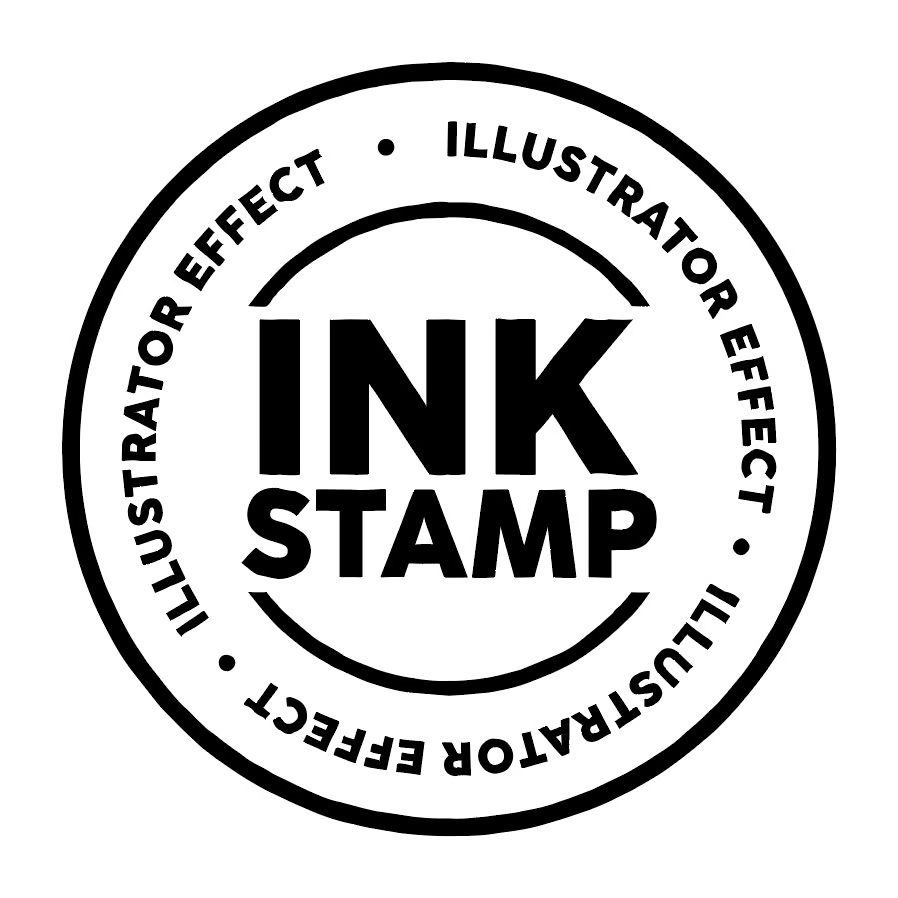
How to Make an Ink Stamp Effect in Illustrator
Illustrator Effects
Giving any kind of graphic an Ink Stamp appearance is a straightforward task in Photoshop. However, if you intend to enlarge your artwork, it's essential to have it in a vector format to preserve its quality. In Illustrator, making an Ink Stamp effect can be easily accomplished in less than five minutes by using the correct tools. Today, I will show you how to mimic this effect and convert your stamp into a vector format so you can resize it freely and adjust the color to your preferences once the effect is applied.
Step 1
Open your graphic in Illustrator.
Step 2
Set your graphic color to #858585.

Step 3
With your graphic selected, go to Effect > Stylize > Inner Glow. Apply the following setings and click OK.

Step 4
Go to Effect > Pixelate > Mezzotint. From the dropdown menu select "Grainy Dots" and click OK.

Step 5
Next, go to Effect > Sketch > Stamp. Apply the following settings and click OK.

Step 6
Go to Object > Expand Appearance.

Step 7
With your graphic selected, go to Window > Image Trace. Apply the following settings and click the "Trace" button.

Step 8
Lastly, go to Object > Expand. Select only the "Object" option and click OK in the Expand window.

Some Final Notes:
Now that you know hoy easy is to make a stamp effect in Illustrator, you can change the colors as you normally do and scale the graphic to your liking since we vectorized the effect using the Image Trace option.


Comments