How to Create a Website Header Design Using Bohemian Coding Sketch
If you have recently added Sketch, the new vector drawing app from Bohemian Coding to your design workflow or are considering a switch from Photoshop, Fireworks or Illustrator over to Sketch, then the best way to fully get to grips with the new app is to design with it! This tutorial will walk you through the process of using Sketch 3 to create what almost all websites have in common, an attractive header design.
Step 1
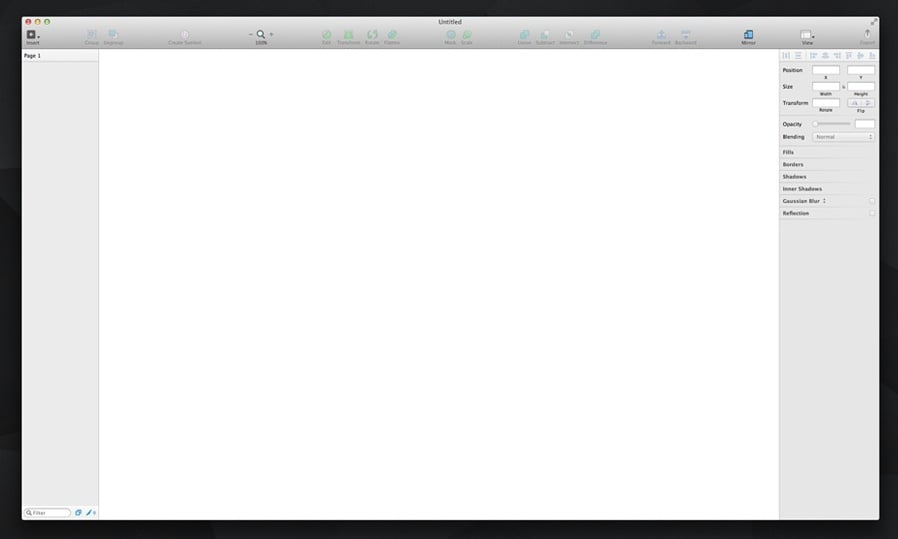
Open a new document in Sketch. That was easy :).
Step 2
All documents in Sketch have an infinite canvas. To create an Artboard in Sketch you can use the (A) keyboard shortcut, or Select Artboard from the Insert toolbar icon menu.
Step 3
Draw a rectangle onto the canvas using the Artboard tool. Aim for 1200 x 600 pixels, but if you find that tricky it is easy to adjust the dimensions of the artboard after drawing.
Step 4
Now we have our artboard ready, let's add a grid. Click on the 'View' toolbar icon and select Grid Settings... If the grid wasn't already visible, accessing the grid settings will display it. Switch from the default Square mode to Layout mode. For this tutorial the default 960px grid will work just fine.
Step 5
Select the Rectangle tool from the Insert menu or use the shortcut (R) and draw a rectangle that fills the whole artboard. Use the inspector on the right hand side to give it a dark gray fill (#3E454E) and uncheck the border option if it is on by default.

Step 6
Draw another rectangle (or duplicate the first one), set the height to 120 pixels and place it at the top of the artboard. Set the fill to white with the opacity at 10%.
Step 7
Show the layout grid if it is currently hidden and select the Text tool from the Insert menu or use shortcut (T). Click onto the canvas to create a new text layer and enter the name of your website. The typography settings can be seen in the screenshot above.

Step 8
Create another text layer for the navigation menu links. Beginning with 'Home'.
Step 9
Duplicate the 'Home' layer and hold down the alt/option key as you move it to the right in order to display the smart guides. You should have around 40 pixels between the first and second text layers. Update the text of the layer to 'About' and duplicate again. Then repeat this process for the other links.
Step 10
Draw a new rectangle and place the layer below the other navigation menu text layers. This will be the menu's active state indicator.
Step 11
Create 2 new text layers for the main headline and short description. Head over to Lipsum to get some dummy text.

Step 12
Draw a new rectangle for the outline of the button. Disable the fill and give it a 2 pixel thick blue (#72B0F9) border aligned to the inside.
Step 13
Draw a new circle layer this time to begin the icon for the button, and again give it the same 2 pixel thick border.
Step 14
Draw 2 small rectangle to form the arrow part of the icon. The exact dimensions can be seen in the screenshots. On the second rectangle you will need to delete one of the lower points and move the remaining lower point into the center to form a triangular shape.


Step 15
Create a text layer for the button label, in this case that is 'Download'.
Step 16
To create another arrow icon, first draw a thin horizontal rectangle, then duplicate it and rotate 90 degrees to form a right angle.

Step 17
Select both of the rectangle layers and combine them with the Union function. Sketch will now treat the layers as a single shape, allowing you to rotate it 45 degrees and form a left arrow.


Step 18
Duplicate the arrow and move it over to the other side of the artboard. Then click the flip horizontal icon, or go to Layer > Transform > Flip Horizontal.
Step 19
Finally to make the header more visually interesting we will add an image to the background. In this example I used this stock photo. The first thing to do is duplicate the first rectangle layer we created as this will be used to mask the bitmap image. Place the image into the document and resize to fit the artboard. With both the duplicated rectangle layer and the bitmap image layer selected, click the Mask icon in the toolbar.


Step 20
Select the Bitmap layer and apply a Gaussian Blur, then lower the Saturation to 0 to make the image completely grayscale.
Step 21
Select the Bitmap group layer and choose Soft Light from the Blending options dropdown.
Result & Conclusion
Sketch 3 is clearly a tool that can keep up with the big boys, and can often make creating web and interface designs like this a breeze. Hopefully by following this tutorial you are now that little bit more familiar with Sketch and one step closer to using it in the wild!

Comments