

by Tony Thomas
March 04, 2015
Tony creates pixel-perfect UI kits & icons. His pug, Wednesday, is Medialoot's beloved mascot.


How to Create a Vintage Badge Logo with Illustrator and Photoshop
A must-have skill for all hipsters
Ever wondered how to create those awesome retro badges that are so popular at the moment? It is surprisingly easy to create your own unique brand identity with Illustrator, and add authentic finishing touches in Photoshop.
Step 1
Launch Illustrator and create a new blank document.
Step 2
Use the Rectangle tool to fill the canvas with a black background.
Step 3
Lock the background layer to avoid selecting it by accident and create a new blank layer to work on. Then using the text tool, type out the name of your brand. The font used is Nevis Bold.
Step 4
Use the Ellipse tool to draw an oval shape in the center of the document.
Step 5
Use the Type on a Path tool and click the outside of the oval shape. Type out your statement text and use the start and end markers to align your text to the top center of the path.
Step 6
The statement text is visually a little too high here, so nudge it down around 40 pixels, or as much as necessary.
Step 7
Draw a small 7 x 7 pixel circle to the left of your statement text. Fill it with #c49c71 which is a default swatch in Illustrator and will be our highlight color.
Step 8
Duplicate the small circle on the right side of the text to balance it out.
Step 9
Draw a thin 3 pixel line with the highlight color below your brand name using the line or rectangle tool.
Step 10
Create another text layer approximately the same distance below the line, as the line is from the brand name. Type out your slogan text, the script font used is Lavandria.
Step 11
Create two text layers either side of the brand name and type out the year your brand was established, for example '19' on the left and '88' on the right, for 1988.
Step 12
It would be a nice touch to add an icon of something related to the brand, as this is a butchers logo we could draw a meat cleaver. Start with a basic rectangle and round the top left corner by 6 pixels. Apply a 2 pixel stroke using the highlight color, and set the alignment to inside.
Step 13
Draw another rectangle shape for the meat cleaver handle. Round the top right and bottom right corners as show in the screenshot:
Step 14
Use the line tool to drawn a thin 1 pixel line on the meat cleaver blade.
Step 15
Use the ellipse tool to drawn a circle with a 1 pixel stroke center aligned.
Step 16
The logo design should now look something like this:
Step 17
Let's take this over to Photoshop now for some finishing touches. Select all in Illustrator and copy to the clipboard. Then create a new blank document in Photoshop with the same dimensions as your Illustrator document and a black background.
Step 18
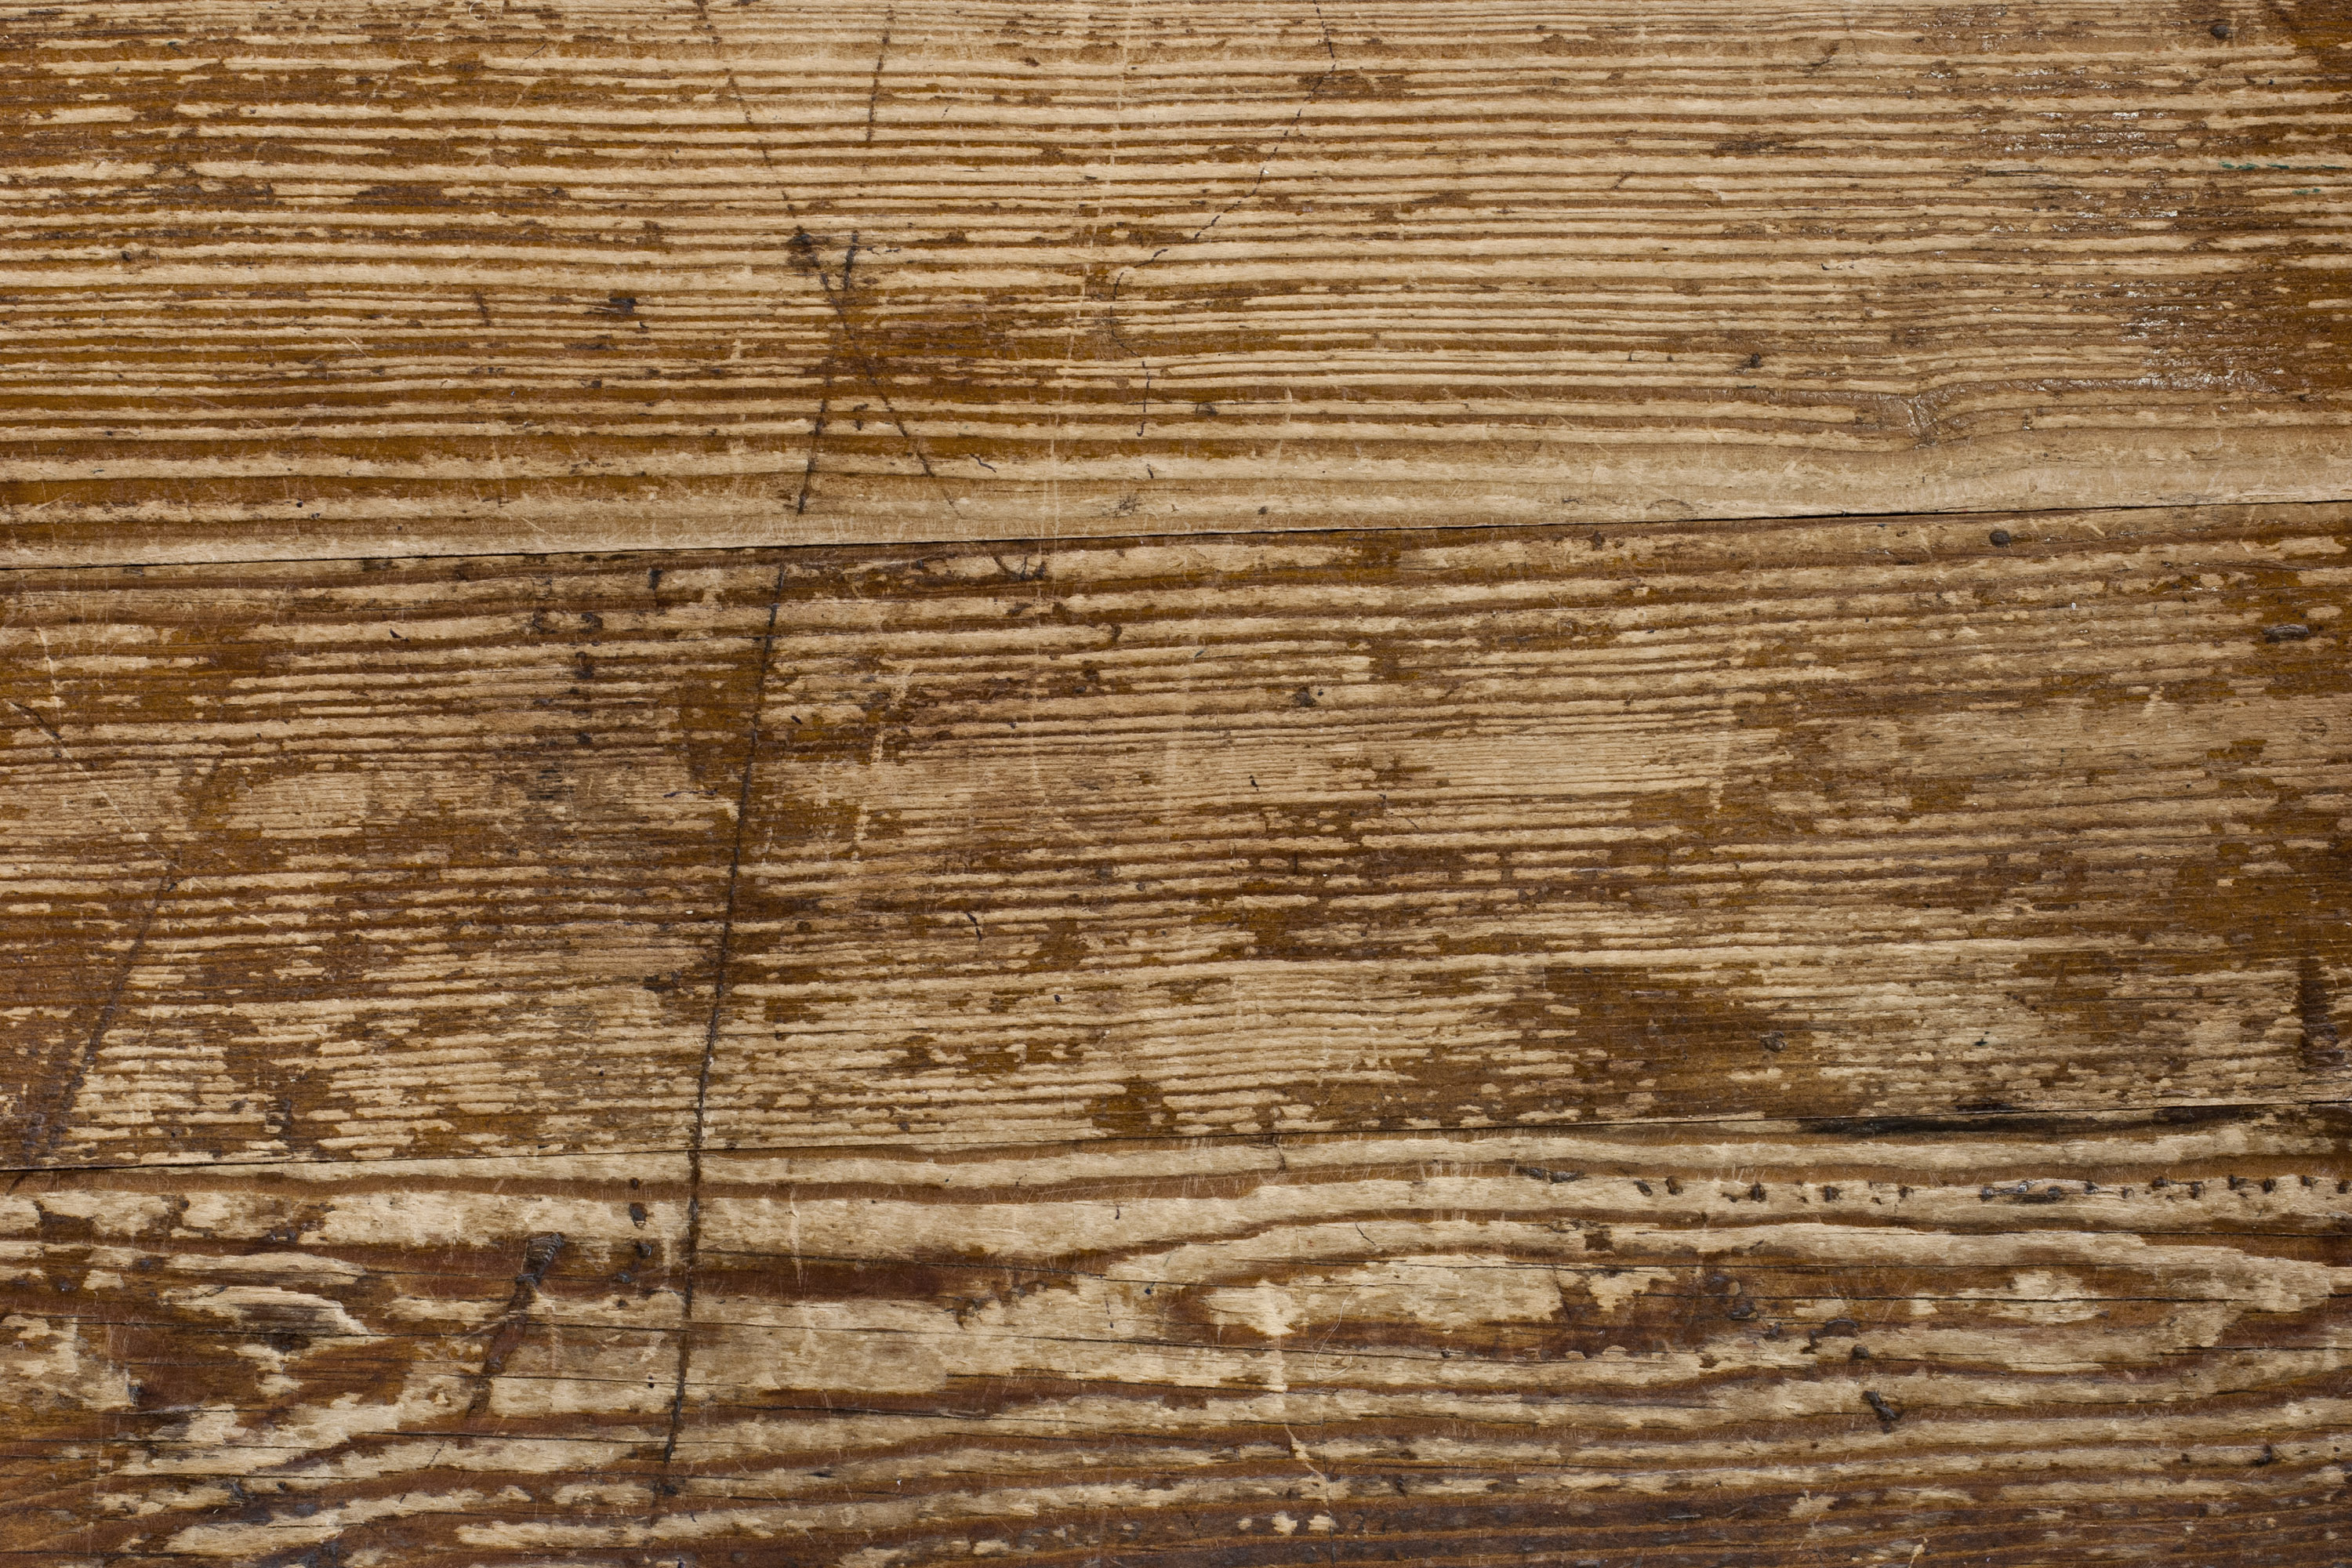
Drop in a wood texture and lower the opacity to around 25% so that is barely visible. There are lots of really great wood textures available on Medialoot, here is a link to download the texture used from the Antique Wood Textures pack.
Step 19
Next paste in the logo design and select the Smart Object option. If needed, go back to Illustrator, select all and copy to clipboard first.

Step 20
Finally, to give the logo a distressed effect, we will apply a grunge texture mask. Select a grunge texture and place it onto the canvas. Again, there are lots of really great textures available on Medialoot, here is a link to download the texture used from the Gritty Grunge Textures pack.
Step 21
Reduce the Saturation completely, and adjust the levels to remove some of the grey midtones. Then select all and copy the black and white grunge texture.

Step 22
Select the logo 'Vector Smart Object' layer and go to the Layer > Layer Mask menu, and click Reveal All. In the layers panel highlight the newly created blank mask thumbnail. Open the Channels panel and click on the eye icon to make the smart object mask visible, and paste the grunge texture. Then click on the eye icon again to hide the smart object mask channel.
Result
With the grunge layer mask applied your logo should now look something like this. Pretty nice huh?


Comments