

by Diego Sanchez
August 14, 2019
Diego prevents carpal tunnel syndrome in designers worldwide by making incredible time-saving Photoshop actions and mock-ups.

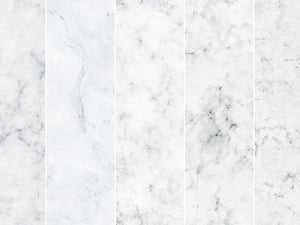

Marble Texture Tutorial: Create Smooth, Rocky Lines in Photoshop
Marble Texture in Photoshop
Creating a marble texture from scratch in Photoshop is a very easy task if you use the right tools. Of course there are many different ways to make it, but with this technique you will not only end up with a nice marble texture, but you will also make it quick. But instead of making a simple marble texture, we will get it a step further and add some gold veins to it to make it really stand out from the rest.
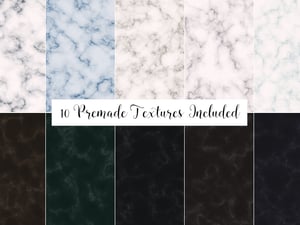
But before we start, and if you want to follow this tutorial exactly as described, please download the Gold and Silver Foil Textures that are available right here at Medialoot: Download.
Step 1
Open Photoshop and make a new file at any size you want with the Background Contents set to White. In this case, I will be using a 1800 x 1200 px canvas.

Step 2
Press “D” on your keyboard to reset the Foreground and Background colors and go to Filter > Render > Difference Clouds.

Step 3
Again, go to Filter > Render > Difference Clouds.

Step 4
Go to Image > Adjustments > Equalize.

Step 5
Go to Image > Adjustments > Levels. Set the Midtone Input Level between 2,20 and 2,30 and click OK.

Step 6
Go to Layer > Duplicate Layer. Set the name of this layer to “Copy” and click OK.

Step 7
With the “Copy” layer selected, go to Edit > Transform > Rotate 180º.

Step 8
Set the “Copy” layer blend mode to Screen.

Step 9
Go to Select > Color Range. Apply the following settings and click OK.

Step 10
With the selection active, go to Layer > New Layer. Set the name to “Gold Container” and click OK.

Step 11
Go to Edit > Fill. Apply the following settings and click OK.

Step 12
Go to Select > Deselect.

Step 13
Go to File > Place. Locate the downloaded “gold-foil-3.jpg” texture on your computer and click the Place button.

Step 14
Resize the texture to cover the whole canvas and hit the Enter key on your keyboard to commit the transformation.

Step 15
With the “gold-foil-3” layer selected go to Image > Adjustments > Levels. Set the Shadow Input Level to 80 and click OK.

Step 16
Lastly go to Layer > Create Clipping Mask to finish our marble texture.


Comments