

by Diego Sanchez
July 13, 2021
Diego prevents carpal tunnel syndrome in designers worldwide by making incredible time-saving Photoshop actions and mock-ups.


How to Make a Water Bubbles Distorted Text Effect in Photoshop
Photoshop Text Effects
Fancy the water bubble text effect? In this walkthrough, I'll be giving out the basics on how to merge texts with a background. The technique you'll see below will make texts appear distorted by water bubbles.
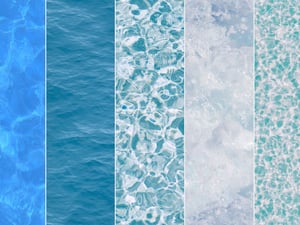
But before we begin, and if you want to follow this tutorial exactly as described, please download the following Water Bubbles image: Download.
Step 1
Open the water bubbles image in Photoshop.

Step 2
Press "Ctrl+J" on you keyboard to duplicate the background layer.

Step 3
Go to Image > Adjustments > Desaturate.

Step 4
Go to Image > Adjustments > Levels. Apply the following settings and click OK.
Note: the key here is to have a good contrast betwwen the background and the bubbles, keeping some light gray tones between (not pure black and white).

Step 5
Go to Filter > Blur > Gaussian Blur. Set the Radius to 3 pixels and click OK.

Step 6
Save the file anywhere on your computer as "Displacement Map.PSD".

Step 7
Select the Horizontal Type Tool (T) and type your text using any font you like. In this case, I will be using "Heavitas".

Step 8
With the text layer selected go to Layer > Smart Objects > Convert to Smart Object.

Step 9
Go to Filter > Distort > Displace. Apply the following values and click OK.

Step 10
Select the "Displacement Map.PSD" that we saved before and click Open.

Step 11
Go to Filter > Noise > Median. Set the Radius to 5 pixels and click OK.

Step 12
Go to Filter > Blur > Gaussian Blur. Set the Radius to 0,5 pixels and click OK.

Step 13
Go to Layer > New Fill Layer > Solid Color. Name this layer as "Text Color", be sure to check the "Use Previous Layer to Create Clipping Mask" option and click OK.

Step 14
In the Color Picker window set the color to any color that you want and click OK.

Step 15
Select the desaturated copy of the Background layer and go to Layer > Arrange > Bring to Front.

Step 16
Lastly, set the blend mode to Multiply and bring down the opacity to about 15%.


Comments