

by Diego Sanchez
November 02, 2021
Diego prevents carpal tunnel syndrome in designers worldwide by making incredible time-saving Photoshop actions and mock-ups.


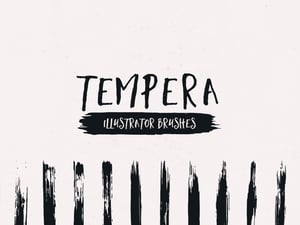
How to Easily Make a Crayon Brush in Illustrator
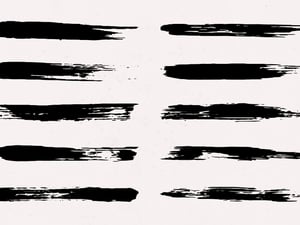
Illustrator Brushes
Illustrator includes a wide range of brushes to get you started on your illustrations. You can mimic many different styles with them, but there are times when those brushes are just not the right ones you need. So today, I will show you how easily you can make a custom brush in Illustrator, in a wax crayon style, that you can use on any of your drawings. And we're going to use a real crayon stroke to create it! You will only need a crayon, a piece of paper, and a scanner.
Step 1
Pick any piece of paper and draw a few strokes with a dark crayon color.
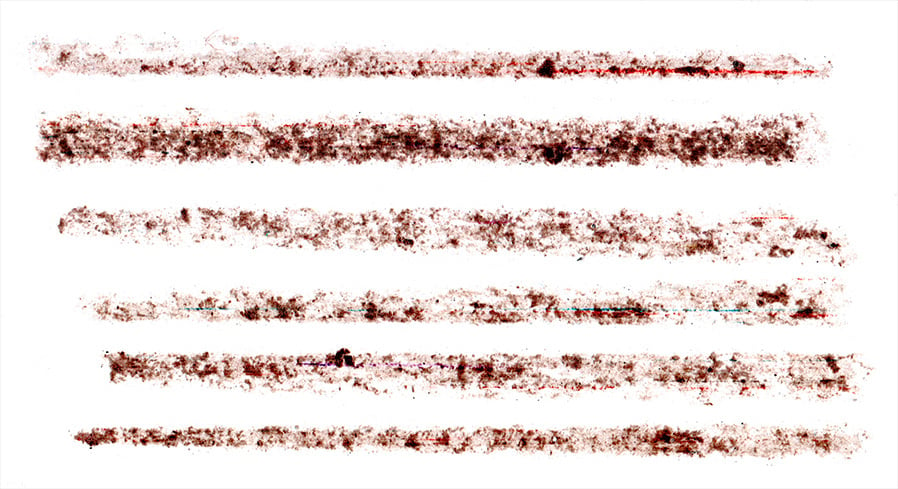
Step 2
Scan that piece of paper with the crayon strokes (a 600 dpi resolution should be fine) and open it in Illustrator.
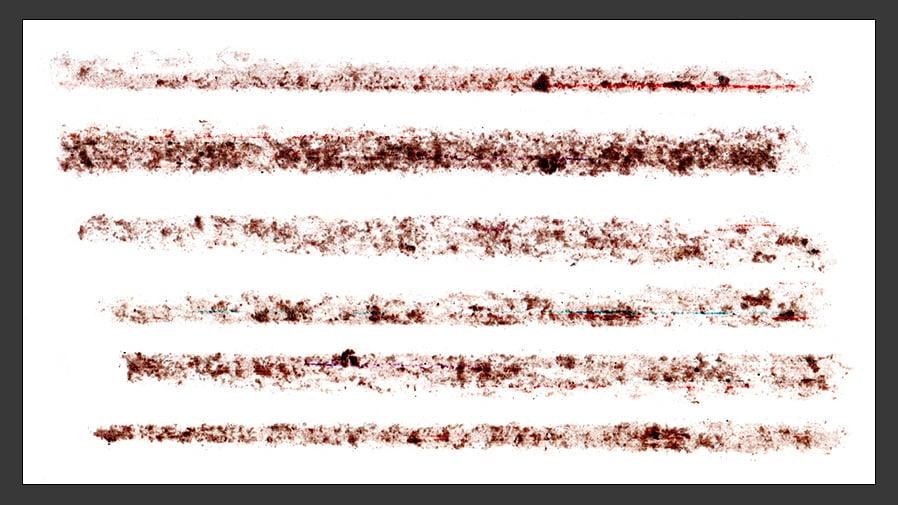
Step 3
With the image selected, go to Window > Image Trace and apply the following settings.

Step 4
Go to Object > Image Trace > Expand.

Step 5
Go to Object > Ungroup.

Step 6
Select the stroke you want for your crayon brush with the Selection Tool (V).

Step 7
Go to Object > Compound Path > Make.

Step 8
With your stroke selected go to Window > Brushes to display the brushes panel and click on the "New Brush" icon.

Step 9
Select the "Art Brush" option in the New Brush window and click OK.

Step 10
In the Art Brush Options window, apply the following settings and click OK. You should now see your new crayon brush in the Brushes panel.

Step 11
To test our brush, draw any kind of shape or line, and with the shape selected, simply click on the crayon brush in the Brushes panel.

Step 12
To change the brush color, select the shape that you have made, and in the Swatches Panel (Window > Swatches) pick any color that you want.


Comments