
How to Make an 80's Live Text Effect in Photoshop
Photoshop Text Effects
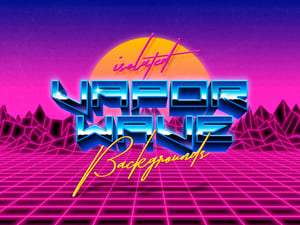
You've probably noticed the rise of 80's style shiny, chrome looks on TV shows openings, printed posters, invitations, and all over the internet. That kind of text effects can take a long time to make (depending on the complexity) and could require the use of specific textures. Also, those kind of effects often require to rasterize the type, making your text non editable. Today, I will show you how you can make a 80's text effect you can edit even after the effect is finished. And, this method will give you the ability to change the reflective chrome colors using only the default Photoshop tools and effects.
Step 1
Open Photoshop and make a new file at any size you want. I will make mine at 1800 x 1200 px with the background color set to Black and with a 16 bit color depth.

Step 2
Select the Horizontal Type Tool (T) and type your text with the color set to #808080. I will be using the Heavitas font at 80 pt.

Step 3
Go to Layer > Layer Style > Bevel & Emboss and apply the following settings.

Step 4
Check the "Contour" option in the left panel and bring down the Range to 0%.

Step 5
Check the "Inner Shadow" effect, apply the following settings and click OK in the Layer Style window.
Note: be sure to click on the Contour thumbnail and select the "Gaussian" contour from the thumbnail list.

Step 6
With the text layer selected, drag it to the "Create a New Group" icon in the layers panel.

Step 7
Select the layer group, go to Layer > Layer Style > Bevel & Emboss and apply the following settings.

Step 8
Click over the "Gloss Contour" thumbnail to open the Contour Editor, set each of the anchor points to following values and click OK in the editor.
- Input: 0 / Output: 100
- Input: 100 / Output: 99

Step 9
Check the "Contour" option in the left panel, bring down the Range to 0% and click on the Contour thumbnail to open the Contour Editor.

Step 10
In the Contour Editor, click on the left anchor point. Set the Input value to 98%,the Output value to 0%, and click OK in the Contour Editor window.

Step 11
Check the "Outer Glow" effect, apply the following settings, and click OK in the Layer Style window.

Step 12
Make a new layer on top of the layer group and fill it with a black to white gradient as shown.

Step 13
Set the gradient layer blending mode to "Overlay" and bring dow the Opacity to about 50%.

Step 14
With the gradient layer selected, go to Layer > Create Clipping Mask.

Step 15
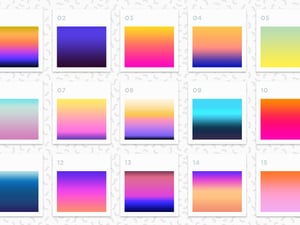
Go to Layer > New Adjustment Layer > Gradient Map. Click the gradient thumbnail to open the Gradient Editor and set you gradient colors to your liking. Here I've added 7 new Stop colors set to the following colors and locations:
- #321846 at 0%
- #93449e at 20%
- #e8cfeb at 25%
- #b450b0 at 30%
- #2b274a at 40%
- #000000 at 45%
- #ffffff at 46%
- #2038c8 at 65%
- #0c1630 at 100%

Step 16
Lastly, and to complete the effect, with the Gradient Map layer selected go to Layer > Create Clipping Mask.

Final Notes
Now that you completed the text effect, you can freely edit the text as you normally do in Photoshop, change the gradient map colors to make new combinations and even move the gradient layer to adjust the position.






Comments