

by Diego Sanchez
December 07, 2020
Diego prevents carpal tunnel syndrome in designers worldwide by making incredible time-saving Photoshop actions and mock-ups.

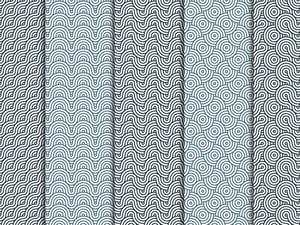


How to Easily Make an Overlapping Circle Pattern in Illustrator
Illustrator Patterns
Patterns are a great resource that every designer should have in their toolbox. But sometimes, sifting through the entire internet for the right pattern for your specific design is obnoxiously time consuming. Luckily for us, making patterns in Illustrator has become easier and faster — nowadays we can make almost any pattern we need for our designs. Today, you will learn how to make an overlapping circle pattern in 10 easy to follow steps with a technique that you can replicate and use with any other shape you want.
Step 1
Open Illustrator and make a new file at any size you want. In this case i will make mine at 800 x 800 px.

Step 2
Select the Ellipse Tool (L) and click once over the Artboard. Set the Width and Height to 200 px and click OK.

Step 3
Go to Window > Stroke. Set the Weight to 6 pt and be sure to have under "Align Stroke" the "Inside" option selected.

Step 4
With the circle selected, go to Object > Transform > Scale. Set the Uniform Scale to 10% and click the Copy button.

Step 5
Select all objects, go to Object > Blend > Make.

Step 6
Go to Object > Blend > Blend Options. Under "Spacing" select Specified Steps, set the steps to 4 and click OK.

Step 7
With all obects selected, go to Object > Pattern > Make.

Step 8
In the Pattern Options window apply the following settings and in the top toolbar, click "Done".

Step 9
With the Rectangle Tool (M) make a rectangle covering the whole canvas area.

Step 10
Lastly, with the rectangle selected go to Window > Swatches. Be sure to have the Fill selected and click once over the new pattern.


Comments