

by Diego Sanchez
March 12, 2021
Diego prevents carpal tunnel syndrome in designers worldwide by making incredible time-saving Photoshop actions and mock-ups.


How to Easily Make a Debossed Effect in Illustrator
Illustrator Effects
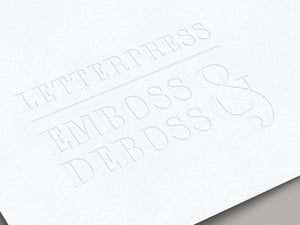
Just like Photoshop, Illustrator has many options to create debossed and embossed effects. Often used on letterheads and business cards, these are effects that should be in every designer's toolbox because sooner or later they will become handy. Today, I'll show you how easily you can make a Debossed Effect in Illustrator using only the (powerful) Appearance Panel.
Step 1
Open Illustrator and make a new file at any size you want. In this case i will make mine at 1800 x 1200 px.

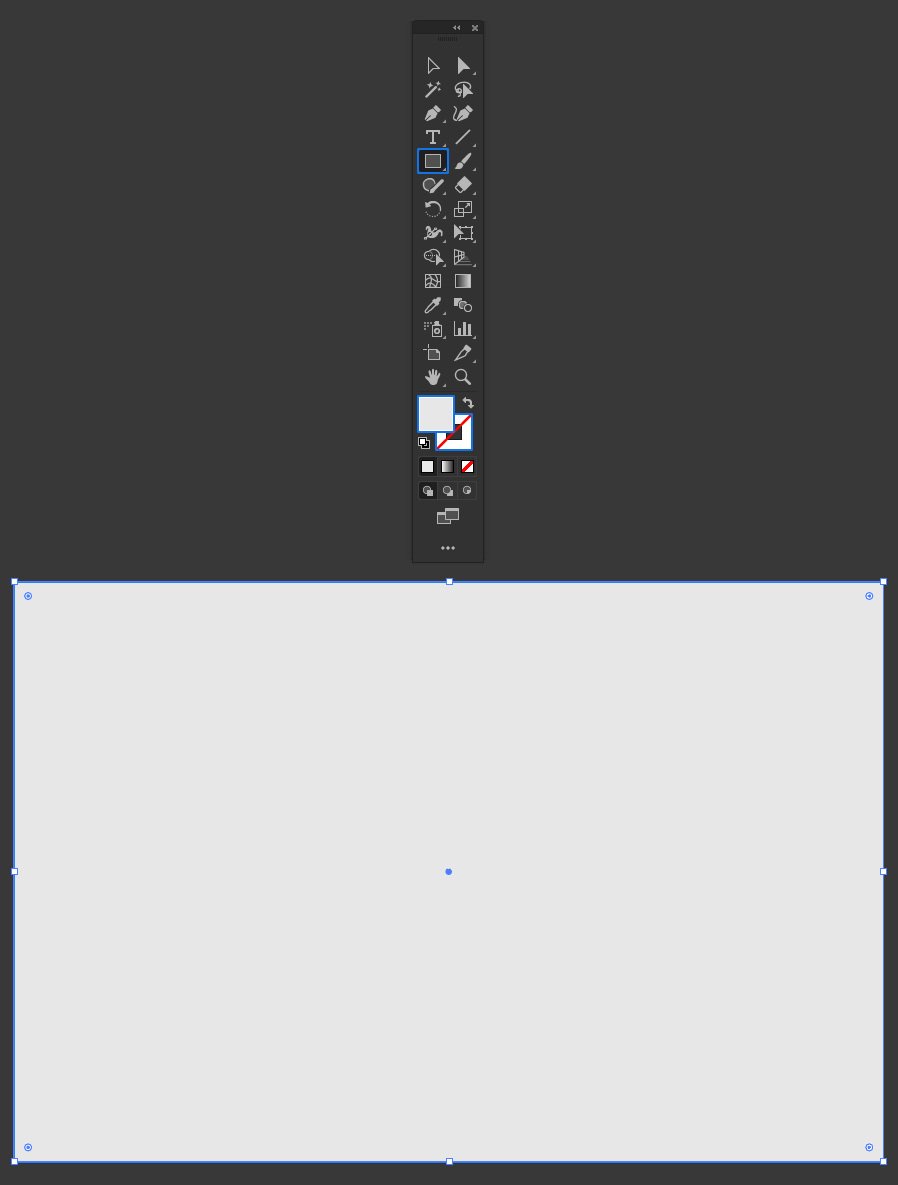
Step 2
Select the Rectangle Tool (M) and draw a rectangle covering the whole artboard using a light gray color, which in this case is set to #e6e6e7 with no stroke.
Step 3
Select the Type Tool and type any text you want. In this case, I will simply write "debossed" using Diazo MVB Cond at 300 pt.

Step 4
Set the Fill and Stroke of the text to "none" in the toolbar.

Step 5
With the text selected, go to Window > Appearance.

Step 6
Click the "Add New Fill" icon on the Appearance Panel and set the fill color to #f1f1f2.

Step 7
Click the Opacity text and set the Blending Mode to "Screen".

Step 8
Click the "Add New Effect" icon, and from the dropdown menu select Blur > Gaussian Blur. Set the Radius to 8 and click OK.

Step 9
Click the "Add New Fill" icon on the Appearance Panel and set the fill color to #e6e6e7.

Step 10
Click the "Add New Effect" icon, and from the dropdown menu select Stylize > Inner Glow. Apply the following settings and click OK.

Step 11
Again, click the "Add New Effect" icon, and from the dropdown menu select Distort & Transform > Transform. Apply the following settings and click OK.

Step 12
Click the "Add New Fill" icon on the Appearance Panel and set the fill color to #808183.

Step 13
Click the "Add New Effect" icon, and from the dropdown menu select Distort & Transform > Transform. Apply the following settings and click OK.

Step 14
Again, click the "Add New Effect" icon, and from the dropdown menu select Blur > Gaussian Blur. Set the Radius to 3 and click OK.

Step 15
One more time, click the "Add New Fill" icon on the Appearance Panel and set the fill color to #d0d1d3.

Step 16
Lastly, click the "Add New Effect" icon, and from the dropdown menu select Stylize > Inner Glow. Apply the following settings and click OK.


Comments