

by Diego Sanchez
December 21, 2021
Diego prevents carpal tunnel syndrome in designers worldwide by making incredible time-saving Photoshop actions and mock-ups.


How to Easily Make a Custom Chalk Effect in Photoshop
Photoshop Custom Effects
There are many different methods to make a design look like it was made with chalk, from using plugins to filters. But most of these methods may not have the exact look you want, due the textures or patterns they use. But there is a way to make a chalk effect that looks exactly as you want using a regular pencil. Today I will show you an easy technique to make a realistic custom chalk look in Photoshop you can use for your logos, badges, lettering, and almost any other design.
Step 1
Grab your design and (if you have it on your computer) physically print the artwork that you want to apply the effect to.

Step 2
Place a piece of paper on top of your printed artwork and using a 4B pencil (due the softness of this pencil, it is ideal to make this effect) paint the design the best you can. Simply fill the design with very light passes and avoid drawing outlines.

Step 3
With your design already on paper, scan it at a resolution between 800 and 1200 dpi.

Step 4
Open your scanned image in Photoshop and go to Image > Adjustments > Desaturate.

Step 5
Go to Image > Adjustments > Levels. Apply the following settings and click OK.
Note: Depending on your image, you may need to change these values a bit. Aim for a good contrast between black and white.

Step 6
Go to Select > All and then to Edit > Copy.

Step 7
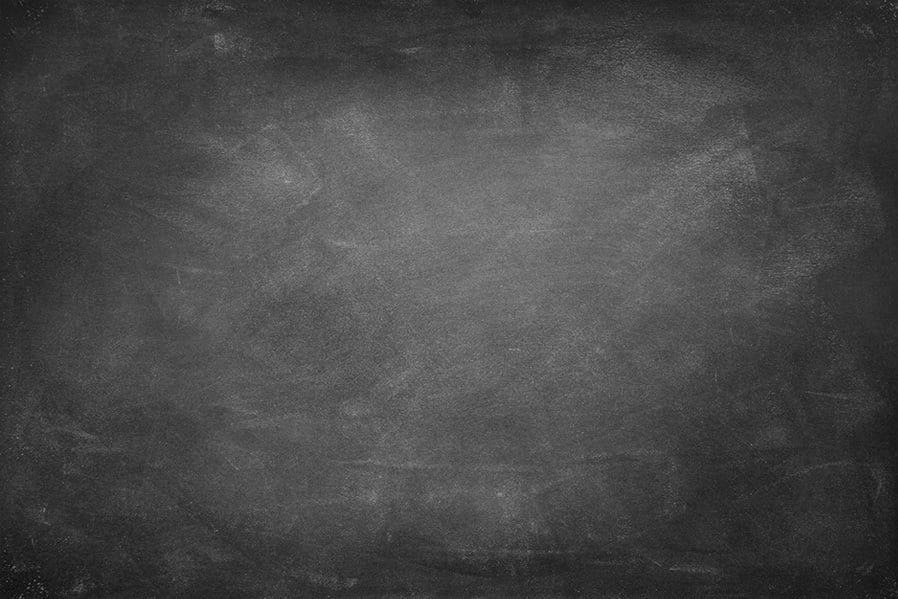
Open any Chalkboard image that you want to use as the background in Photoshop.
Step 8
Go to Edit > Paste Special > Paste in Place.

Step 9
With the artwork layer selected go to Image > Adjustments > Invert.

Step 10
To finish the effect, simply set the layer blend mode to "Screen" in the Layers Panel.


Comments