
by Tony Thomas
October 10, 2017
Tony creates pixel-perfect UI kits & icons. His pug, Wednesday, is Medialoot's beloved mascot.

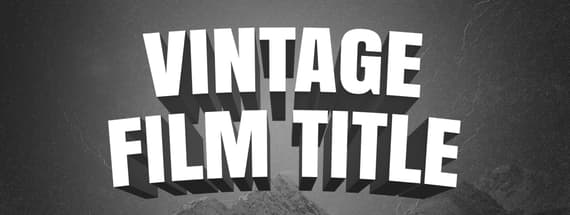
How to Create a Vintage 3D Film Title Card with Photoshop
Retro effect straight from 1920s and 1930s classic films
This tutorial for Photoshop shows you how to create the iconic black and white film title screens that you see on classic movies from the 1920's and 30's. The techniques used included adjustment layers, textures overlays and 3D tools. If you are new to using the 3D tools in Photoshop this is an excellent introduction to their basic functionality.
Preview
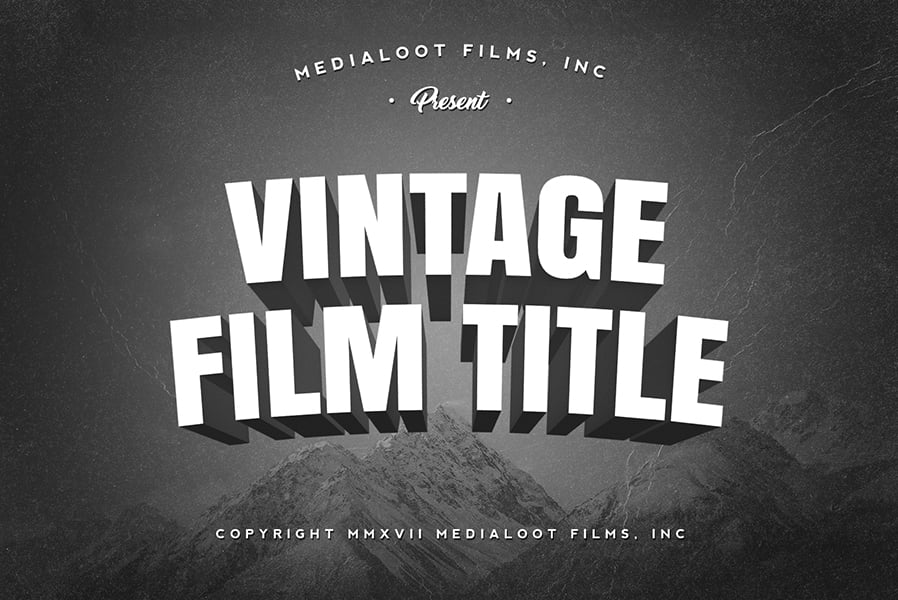
Here is a preview of what we will be making.
Step 1
Launch Photoshop and create a new document that is 1600 x 1067 pixels using the RGB color mode.

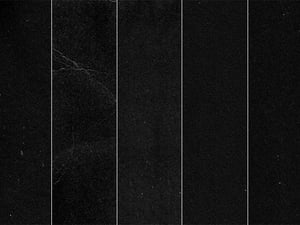
Step 2
Download this free mountain stock photo and place it onto the canvas. You can use a different photo if you want, but this one works pretty well.

Step 3
Add a new Black & White adjustment layer, and choose the Maximum Black preset.

Step 4
To really make the image look retro, add a Brightness/Contrast adjustment layer, tick the Use Legacy checkbox and reduce the Contrast to -40. This will flatten the image and help the text that we add later on 'pop'.

Step 5
To add a vignette effect, set the foreground color to #101010 and create a new Gradient Fill Layer from the Layer > New Fill Layer menu and set the Opacity to 85%.

Step 6
Make sure the foreground color is #101010 and choose the Foreground to Transparent preset. Set the style to Radial and scale to 150%.

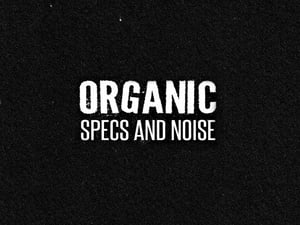
Step 7
Download this free sample from the Organic Specs And Noise set and place it into your document. Resize and rotate to fill the canvas.

Step 8
Set the blending mode of the texture layer to Screen and opacity 50%.

Step 9
Use the font Anton at 240 px to type out your film title and align the layer to the center of the artboard.

Step 10
With the Type Tool active, and text layer selected click the Create warped text button in the top bar. Choose the Arc style and set the bend to 8%.

Step 11
Open the 3D panel or go to the 3D menu and choose create a new 3D Extrusion.

Step 12
In 3D mode, open the object mesh properties. Set the Extrusion Depth to 460, and uncheck the Cast Shadows option.

Step 13
Switch to the Coordinates tab and set the X rotation value to 10º.

Step 14
Choose the Extrusion Material layer from the 3D panel and then in the Properties panel set the Shine to 85%.

Step 15
Click on the Diffuse color swatch and set it to a medium grey or simply enter -1.5 stops.

Step 16
The text looks great, but it appears to be slightly off center now that we have rotated it, so group the 3D layer and use the arrow keys to nudge the group down roughly 30 pixels.
There might be an easier way to move 3D layers than placing it in a group, if there is let me know in the comments.

When you are happy, make a selection over the text and right click then choose Render 3D Layer.

Step 17
Use the Type Tool to enter the the name of the production company with Nevis at 28 px. Place above the 3D text and align to the center.

Step 8
Double click the new text layer and give it a subtle Drop Shadow using the settings in the screenshot below.

Step 19
Warp the text using the Arc style and 20% bend. Right click the layer and Copy Layer Style for later use.

Step 20
Use Thinking Of Betty for the 'Present' text and paste the layer style.

Step 21
Use the Ellipse Tool to draw two small 8 x 8 pixel circles either side of the 'Present' text and again paste the layer style.

Step 22
And finally, use Nevis again to add the copyright text at the bottom and paste the layer style once more.

Result & Conclusion
I hope you enjoyed following along with this tutorial. Here is the final result, and as you can see it looks pretty convincing! It clearly has a modern edge, but also brings a lot of that retro charm from vintage films back to life. You can now go back and change the background image if you want or update the 3D text to the title of your film (just remember to render the 3D again afterwards).


Comments